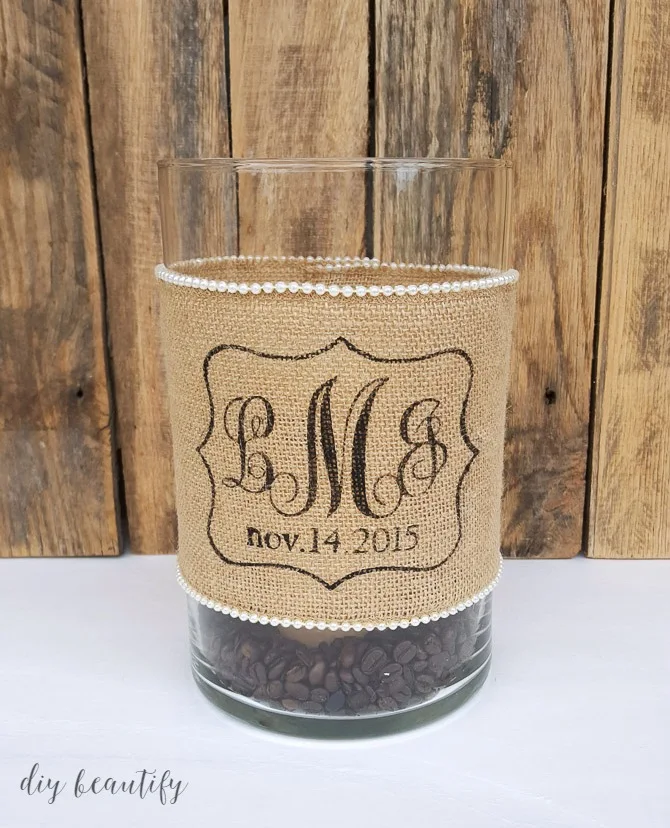
DIY Idea for Custom Wedding Gifts (Candle Holder with Burlap Monogram)
Here's an inexpensive idea for a personalized wedding gift that the recipients are sure to love!
Affiliate links may be included for your convenience; my full disclosure policy can be found here. If you click through and make a purchase I'll receive a small commission at no extra cost to you!
I can't wait to show you how you can create a stunning candle holder with a personalized burlap monogram wrap, a beautifully thoughtful and personalized gift.
When it comes to wedding gifts, I think a personalized gift is the way to go. Anyone can buy towels or sheets or dishes; that's what makes a handmade gift so special. Having an item personalized at a store can be very costly, that's why I'm going to show you how to DIY your own custom wedding gift with just a few supplies!
This project is ideal for a wedding, but it can be used to create custom gifts for anniversaries, Mother's Day, birthdays, teacher's gifts and almost anything else you can think of!
SUPPLIES NEEDED:
- large glass cylindrical vase (this is the one I used)
- wide burlap ribbon (I used this pearl-edged ribbon)
- black acrylic paint
- stiff stencil brush
- craft vinyl
- transfer paper
TOOLS NEEDED:
- Silhouette Machine or other die-cut machine for paper crafts (not pictured)
If you're a serious hobbyist, you likely have most of these supplies on hand. And maybe you own a die-cut machine, but only use it for card making! It's time to break out of that rut! A die-cut machine is a fabulous and inexpensive way to make gorgeous home decor products!
It goes without saying that you know HOW to use your die-cut machine! This is not a tutorial for that, if you need help understanding your Silhouette machine, you can check out Melissa Viscount's Silhouette School.
It goes without saying that you know HOW to use your die-cut machine! This is not a tutorial for that, if you need help understanding your Silhouette machine, you can check out Melissa Viscount's Silhouette School.
DIRECTIONS:
STEP ONE: CREATE YOUR DESIGN
I like to do this in PicMonkey because I'm more familiar with it, but you can use any program you like. If you've used PicMonkey before, this part will be easy for you too.
The basic steps in PicMonkey are to add a shape (the bracket label, which is stretched out), then type the monogram. The free font I used, monogram kk, is available for download here. I added the wedding date beneath the monogram. Keep in mind that with PicMonkey, once you save it, that's it...there's no going back to edit. So make all the changes and tweaks until it's perfect before you hit Save.
For proper wedding monograms, here is the correct order of the initials:
- wife's first name initial
- husband's last name initial (this one is larger than the others)
- husband's first name initial
STEP TWO: IMPORT DESIGN TO SILHOUETTE AND CUT
Upload the saved design jpg into your Silhouette library. Make sure you've already measured the width of the burlap ribbon so you know what size the cut design needs to be. Stretch the design to the size you want and cut it out on craft vinyl.STEP THREE: TRANSFER STENCIL TO BURLAP AND PAINT
The color of the vinyl doesn't matter because we're creating a stencil that will be discarded. Transfer paper is a MUST; it's the magical way the design will be transferred to the burlap, all in one piece (but minus the pieces we don't want; in this case, the letters, numbers and middle piece of the outside shape). If you don't know how to use transfer paper, here is a guide that explains it..
For these next steps, I'll rely on the pictures to help me explain.
(1) Use transfer paper to remove your design from the cutting mat. Peel all the positive space away from your vinyl, leaving the negative space. Now you have a stencil!
(2) Lay the stencil (still on the transfer paper so you can center it easily) on the burlap ribbon and burnish well. Gently and slowly peel the transfer paper away from the vinyl, making sure all pieces stay behind.
(3) Using black acrylic paint and a stencil brush, stencil the design. Be careful to use very little paint for a crisp design! Tip: if you're worried about mess, you might want to cover up the area area the stencil so you don't get paint where you don't want it!
(4) Before peeling the vinyl away, ensure that you covered it lightly but thoroughly with paint. Then peel the vinyl up and discard.
STEP FOUR: ATTACH BURLAP TO GLASS
Once the paint is dry, hot glue the burlap monogram around the glass vase.
|
If you enjoyed this project, here's another burlap candle holder project, just right for summer:
 |
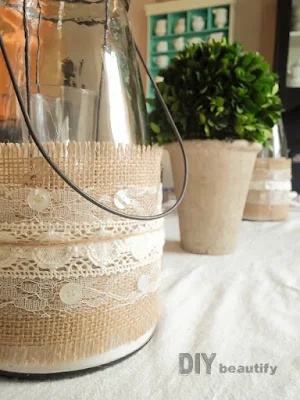
| burlap and lace-wrapped candle holders |
bringing beauty to the ordinary,
Become a DIY insider!
You'll never miss a post, and you'll get all my FREE tutorials
and more...delivered straight to your inbox!
and more...delivered straight to your inbox!
Let's be Social! Follow along on Pinterest, FB, G+, Twitter, Instagram
Popular Posts You Might Have Missed
This blog's content is for entertainment purposes only and is not professional advice. By reading this blog and attempting to recreate any content shared on it, you assume all responsibility for any injuries or damages incurred. Read my full disclaimer here.


Comments
Post a Comment
Your comments are like sunshine and chocolate! Thanks for taking the time to leave a nice one ;) I read all comments and love to respond if you leave your name and email! Otherwise, please look for my response under the post where you left it!