Stenciled Wall Hanging Christmas Decor
This stenciled wall hanging turned out better than expected, and I'm excited to try this technique again. It's easy to customize, and adds a beautiful farmhouse feel to your Christmas decor.
Every month a group of bloggers and I participate in the Create and Share Challenge. This month we were each sent a stencil from Cutting Edge and challenged to create something with it. I love how our creativity shines in these challenges and no two projects are alike!
This Christmas wall hanging was a fast and easy project and is the perfect compliment to the rest of my Christmas decor in my new home! The best part is that it takes up hardly any space because it can be rolled up and put away, then brought out each year!
Affiliate links are provided for your convenience. You can find my full disclosure policy here.
On Monday I shared another way to decorate for Christmas using this same stencil. No paint was used, but I created colorful pillow wraps that are so fun and festive! You can find that project here.
My Christmas wall hanging started with this Noel stencil. I took the picture on colored wrapping paper so you can see it better. This is a large stencil, 21" wide.
Drop cloth is a inexpensive base for so many DIY projects, and is one of my favorite fabrics to use! I had several large pieces of drop cloth in my fabric stash, so I cut a piece to size and frayed the edges by pulling several threads.
I wanted this project to have a farmhouse feel, so I had Mr DIY pick up a couple pieces of unfinished trim and cut them to size. I stained them with one coat of Minwax Early American and set them aside to dry.
When I see or hear the word Noel, it reminds me of the Christmas song 'The First Noel', and I thought it would be a nice touch to add a line of that song to my stenciled wall hanging.
I used my Silhouette machine to cut out the extra words that I needed to really personalize this stencil project.
Next I centered my stencil on the drop cloth and taped it down so it wouldn't wiggle on me and proceeded to paint the stencil.
This room was freshly painted, and I think the light gray walls look amazing with the colors of Christmas!

Disclosure: Thank you to Cutting Edge for providing the stencil for this post. As always, the project and opinions included here are all my own!
bringing beauty to the ordinary,
Every month a group of bloggers and I participate in the Create and Share Challenge. This month we were each sent a stencil from Cutting Edge and challenged to create something with it. I love how our creativity shines in these challenges and no two projects are alike!
This Christmas wall hanging was a fast and easy project and is the perfect compliment to the rest of my Christmas decor in my new home! The best part is that it takes up hardly any space because it can be rolled up and put away, then brought out each year!
Affiliate links are provided for your convenience. You can find my full disclosure policy here.
On Monday I shared another way to decorate for Christmas using this same stencil. No paint was used, but I created colorful pillow wraps that are so fun and festive! You can find that project here.
My Christmas wall hanging started with this Noel stencil. I took the picture on colored wrapping paper so you can see it better. This is a large stencil, 21" wide.
Drop cloth is a inexpensive base for so many DIY projects, and is one of my favorite fabrics to use! I had several large pieces of drop cloth in my fabric stash, so I cut a piece to size and frayed the edges by pulling several threads.
I wanted this project to have a farmhouse feel, so I had Mr DIY pick up a couple pieces of unfinished trim and cut them to size. I stained them with one coat of Minwax Early American and set them aside to dry.
When I see or hear the word Noel, it reminds me of the Christmas song 'The First Noel', and I thought it would be a nice touch to add a line of that song to my stenciled wall hanging.
I used my Silhouette machine to cut out the extra words that I needed to really personalize this stencil project.
Next I centered my stencil on the drop cloth and taped it down so it wouldn't wiggle on me and proceeded to paint the stencil.
The key to perfectly crisp edges is to use very little paint on a stencil brush and pounce from the outside in. You can always add more paint if you want it darker. I used about 1 tsp of black acrylic paint for this entire project! A little paint goes a very long way!
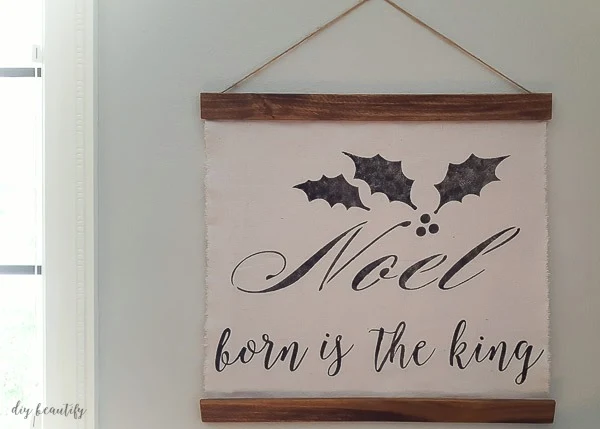
Once the paint was dry, I added the stained trim pieces using my staple gun and 1/8" staples. The trim pieces not only add that great farmhouse flair, but they allow the fabric to hang straight on the wall.
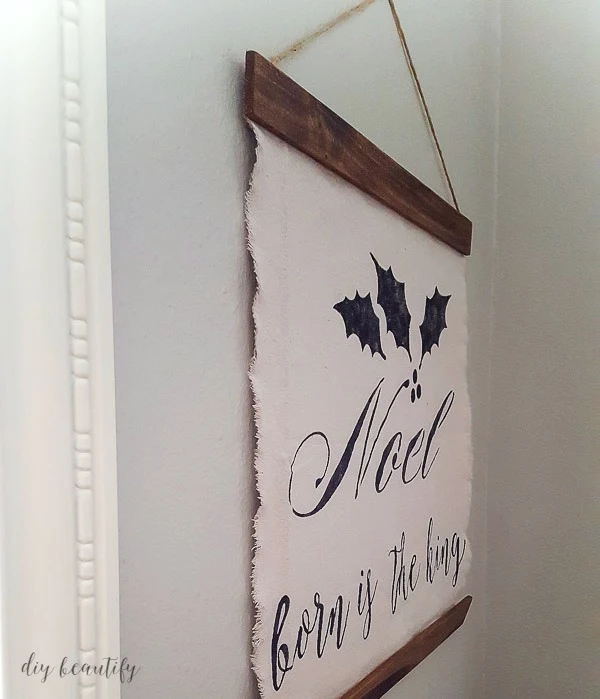
Take a look at those frayed edges!
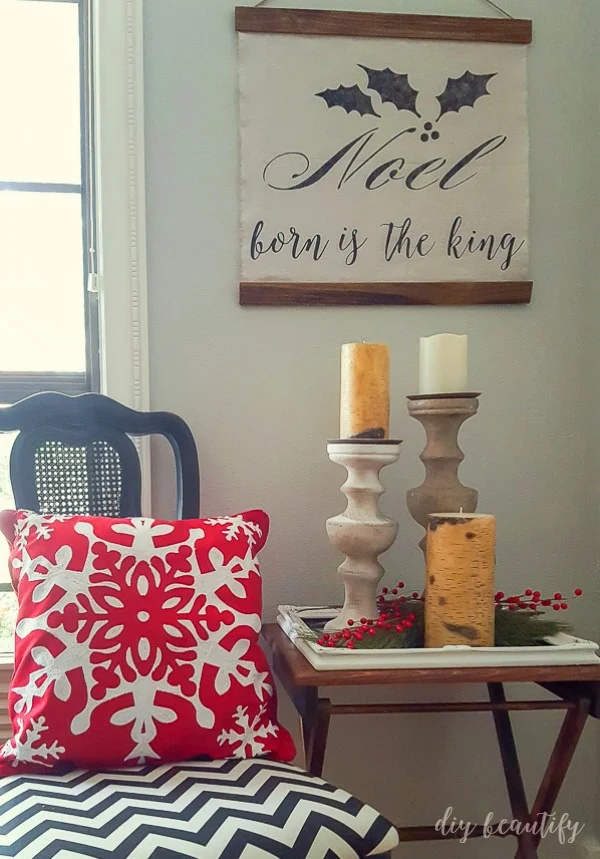
The last step was adding a length of jute cord and it was ready to hang up in this little corner of my dining room!
I love the combination of dark wood, neutral fabric and black paint!
I added a little folding table with some candles and Christmas greenery on top.
If you love this project, PIN IT HERE for handy reference!
Now I hope you'll take a look at the stencil projects by my fellow bloggers in the Create and Share Challenge! I'm sure you'll be inspired by these unique ideas! Just click on the links below for each project.
Kim Six Fix - Stenciled Spray Snow Flakes
Green With Decor - How to Stencil A Pillow For Christmas
Vintage Romance Style - The True Meaning of Noel Sign
Southern Couture - Wooden Reindeer Stencil
One Mile Homestyle - Stenciled Holiday Coloring Page Place Mats
DIY Beautify - Stenciled Wall Hanging Christmas Decor
Elizabeth Joan Designs - Stenciled Wall Hanging
Farmhouse 40 - DIY Reindeer Antlers Bulletin Board
Iris Nacole - Stenciled Christmas Tree Stand Box
Pocketful of Posies - The Easiest Christmas Cookie Decorating Hack Ever
Disclosure: Thank you to Cutting Edge for providing the stencil for this post. As always, the project and opinions included here are all my own!
bringing beauty to the ordinary,


What a lovely idea. I really like the idea of the trim pieces and the twine. Perfect
ReplyDeleteAw, thank you so much! I must admit it's a favorite piece of mine :)
DeleteSuch a great idea to personalize it.. and the monochromatic finished version is so pretty!
ReplyDeleteThank you Kim, I have so much color in my home that I wanted something more neutral. It works great with all the color!
DeleteI absolutely love how this turned out! The simple black and white with the wood touches are just beautiful!
ReplyDeleteThis comment has been removed by the author.
DeleteSuch a pretty sign! I love it!
ReplyDeleteThank you so much Iris! Happy New Year!!
Delete