Affordable DIY Art for a Teen Bedroom
An easy tutorial for making large personalized art for under $50!
This post may contain affiliate links for your convenience. View my full advertising disclosure here.
If you've been following along with me, you'll know that my nearly-teenage daughter and I have been working on a modern bedroom update for her.
We started off by painting her room and giving her French country bed a modern update with dark gray paint, and we have found some additional furniture to help with that teen-vibe, which I'll be sharing shortly.
While her walls and bed are very neutral, little DIY wanted to add color through pillows and accessories. We found several fun, colorful pillows for her bed at HomeGoods as well as a super-soft pom pom throw.
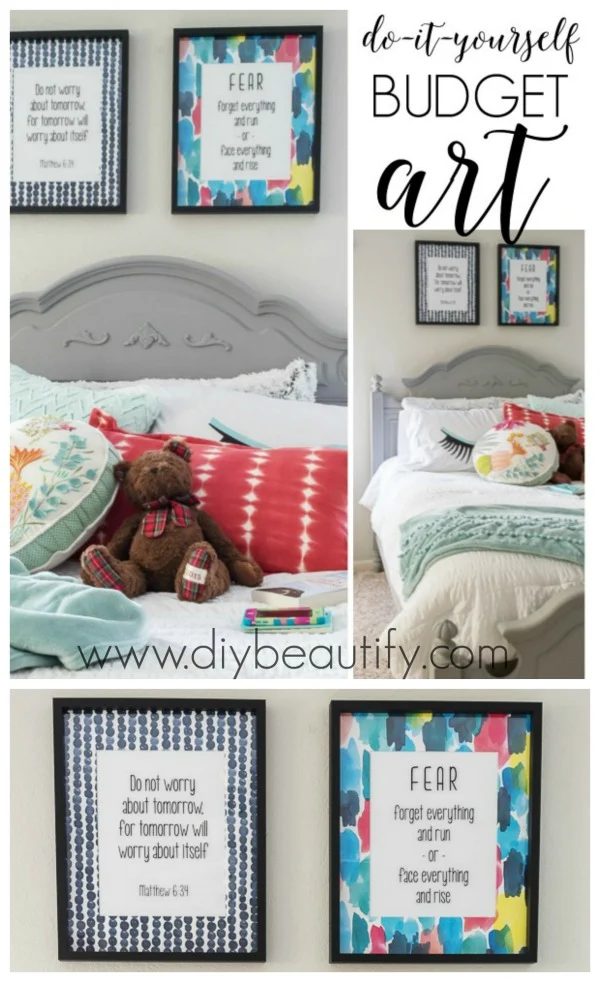
We added a punch of color by making some art to hang above her bed. I'm calling this a budget project because it came in at under $50, and includes two large art pieces. You could certainly make this for much less by using smaller frames!
This custom art started off as two matching picture frames we found, also at HomeGoods.
The frames are large, you can see that the opening is 11 x 14. With the mat and the frame it becomes more like 18 x 20...a great size for adding some dramatic art!
My daughter was very specific with her wishes for this artwork. She wanted bright colors that worked with the pillows on her bed but didn't match completely, and she wanted vinyl quotes/verses centered on the glass.
SUPPLIES USED FOR DIY ART
- cutting mat
- box cutter or utility knife
- tape
- large colorful paper (we found this pack at Hobby Lobby for 50% off)
- straight edge
- Silhouette machine (not pictured)
- black craft vinyl (not pictured)
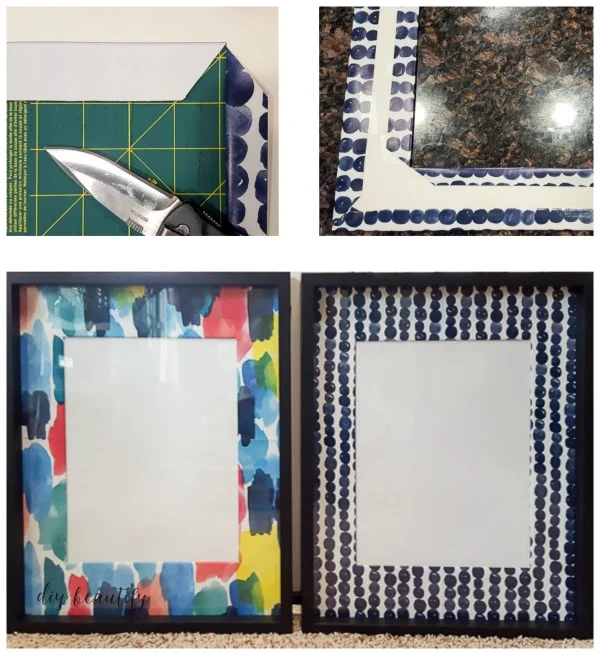
We were lucky enough to find a great package of bright papers for 50% off at Hobby Lobby. It didn't take long to disassemble the picture frames and cover the mats in bright paper.
It was just like wrapping a package...and I used transparent tape to secure the paper to the back of the mats.
The vinyl quotes took a little longer because we had to narrow down all the quotes and verses and sayings that little DIY liked into just two!
The easiest way I've found to create artwork this way is to measure the size of the piece you're making (in our case it was the 11 x 14 opening with the white background).
I went into PicMonkey and created a new design to my exact specifications (1100 x 1400). Then we found a font that little DIY liked and typed out the quote within the space, sizing it to fit the way we liked.
I saved our design to my desktop and then imported it into my Silhouette machine and cut it out onto black craft vinyl.
Using transfer paper, we carefully transferred the designs, one by one, onto the glass, centering it between the mats.
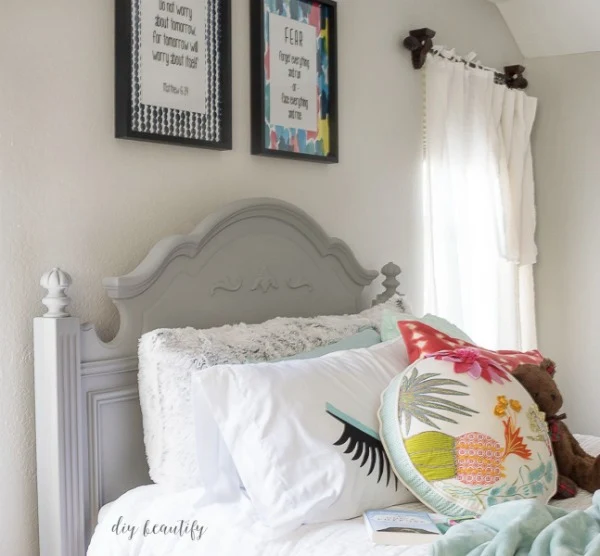
Little DIY and her dad hung the custom artwork above her bed and we think it looks great!
The DIY art is bright, colorful and bold yet still works with the colors of the pillows on her bed.
This modern teen bedroom makeover is coming together!
The best part was working together to create this art! It's good for moms to let go a little and let our kiddos make some decisions, and what better way for them to express themselves than in their bedrooms?
Please feel free to Pin this Image!
We hope that this project inspires you to make your own DIY art for a space in your own home!
bringing beauty to the ordinary,
Follow me here! Pinterest, FB, G+, Twitter, Instagram
Don't miss these Popular Posts!
Sharing with: The Pin Junkie,


This is such a fun idea Cindy and it adds loads of personality to the room. I know your girl will really enjoy hanging out in there.
ReplyDeleteThank you Mary, it was a great project to work on together!!
DeleteThis is such a cute and fun idea! I'm actually about to redo my room and this gave me some inspiration. Love!
ReplyDeleteThanks sweet Katrina, glad this gave you some ideas for your room makeover 😉
Delete