DIY Name Sign with Rusty Letters
How to make an inexpensive sign with rusty letters
Good morning friends! Today's project is a thrifty one...you know those are my faves! I love showing you how to take something ordinary...like a piece of wood...and turn it into something unique and special for your home!
You've probably seen the signs with rusty letters.
They are not cheap! And they are very generic, with words like
'welcome', 'farmhouse', 'gather'. All great words, but today I want to show you how easy it is to
create a sign with your own custom word...whether that be your family name, or the date your home was established, or your word of the year...whatever you want!
And did I mention it's thrifty?
Yes it is! My sign cost me just $8 to make! And I'm here to show you how to do it!
Affiliate links are included for your convenience; my full disclosure policy can be found
here.
SUPPLIES
- board - the older the better (piece of old fence post, something you found on the side of the road or if you have to, go buy a cheap piece of wood from the home improvement store)
- dark stain
- rusty letters (try flea markets, craft stores, thrift stores or I found some on Amazon)
- small brown screws
- chalk paint
- paint brush ( this is my favorite)
- electric sander ( this is the one I use)
HOW TO MAKE A SIGN WITH RUSTY LETTERS
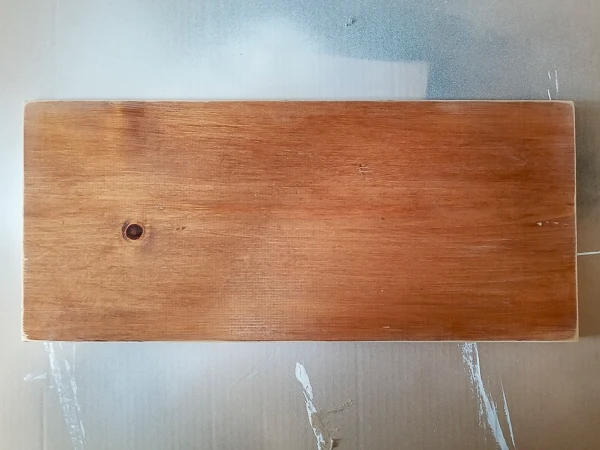
I started with a stained board that was in our discards pile in the garage. Way back when my boys were little and sharing a bedroom in Florida, their grandpa made them a shelf that went all the way around their room like a train track. It held their LEGO creations, trains, stuffed animals and all the things that were precious to them at the time.And yes, when we moved, I brought all that wood with me! I've used it in two different laundry rooms (you can see my modern farmhouse laundry room here and my recent laundry room shelf here). The wood is almost gone now, it's been chopped up for all these various projects in the homes we've lived in since Florida.
I kinda love how we're dragging that little memory and leaving a piece of it across the miles...especially since my boys are grown now and starting their own lives. It makes me feel nostalgic!
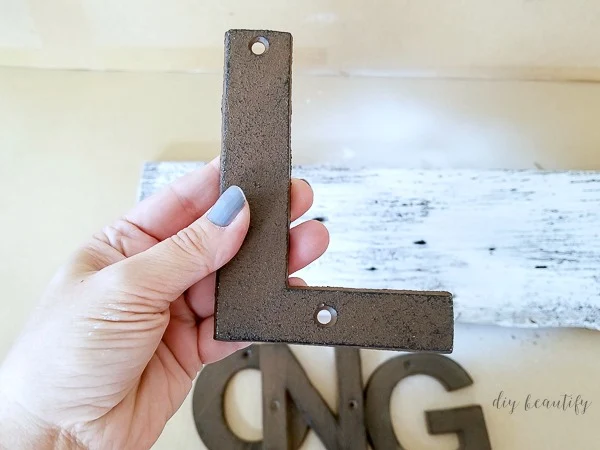
When we visited Round Top Antiques Market this past fall, I spotted a pile of rusty-looking letters for $2 a piece. They weren't actually rusty, but made to look like they were. I grabbed a set that spelled out our last name because I knew I wanted to make this sign.
I also grabbed some letters for new house numbers, but I'll share those another day.
It really couldn't be simpler to make this sign!
STEP ONE - SAND
The very first thing is to attack your wood with an electric sander! We don't want splinters so sand the top, bottom, and the edges. I also like to slightly round my corners.STEP TWO - STAIN
If your board is raw wood, go ahead and give it a thin coat or two of a dark stain. Follow the directions on the back of the can you're using. Yes we'll be painting over it, but when it's distressed, that dark wood will shine through, adding dimension.Stain needs several days to dry, and trust me, you do not want to be painting over wet stain so allow it plenty of time to completely dry. I love Early American by Minwax...two coats is just right.
STEP THREE - PAINT
Once you're confident the stain is dry, paint the board with white chalk paint. Two or three thicker coats will cover the stain and provide a nice surface for distressing.STEP FOUR - DISTRESS
You may not favor the distressed look and that's totally okay! If you want your sign to look weathered and old however, going over it with an electric sander (the edges, corners and even random spots on the top where you hit it with the edge of the sander) will give it that rustic look. Use a coarse sandpaper to really highlight the distressing!STEP FIVE - ATTACH LETTERS
Space the letters evenly on your distressed board, and attach them with short screws. A cordless drill will make this process very quick and painless!
If for some reason your letters don't have screw holes, you can use a bonding agent and glue them to the board. Lay something heavy on top while the glue is drying.
I used Command 3M picture hanging strips to hang up my sign as I didn't want to drill holes into the wall. I used these same strips to hang my vintage inspired painted quilt blocks, my GPS coordinates sign and my large subway sign - all pieces I've hung in our bright and airy sunroom.
I hope you enjoyed this thrifty way to create a rusty letter sign!
Please take a minute and PIN THIS IMAGE so you have it for future reference!
Have a great week!
bringing beauty to the ordinary,
Become a DIY insider!
You'll never miss a post, and you'll get all my FREE tutorials
and more...delivered straight to your inbox!
and more...delivered straight to your inbox!
Let's be Social! Follow along on Pinterest, FB, G+, Twitter, Instagram
Popular Posts You Might Have Missed
This blog's content is for entertainment purposes only and is not professional advice. By reading this blog and attempting to recreate any content shared on it, you assume all responsibility for any injuries or damages incurred. Read my full disclaimer here.


Looks great!
ReplyDeleteThank you!
DeleteThat's very nice, and Great inspiration. I think it'd look good to make something like that for my man cave, only with a darker stain and chrome lettering. I can probably make one that's rose-stained for the wife too.
ReplyDelete