Features and How to Make Burlap Wreaths for Halloween
I can't wait to share these burlap wreaths that would be perfect for Halloween decorating! They are easy to make and very budget-friendly!
Before we get to the tutorial though, I need to tell you that it has been so fun to co-host the Pin Junkie's Blogiversary Party for the first time! The party is still live and going for another 4 days but I saw a couple projects that I just had to SHOUT about:
Before we get to the tutorial though, I need to tell you that it has been so fun to co-host the Pin Junkie's Blogiversary Party for the first time! The party is still live and going for another 4 days but I saw a couple projects that I just had to SHOUT about:
First of all, check out this colorful and adorable Fabric Scrap Wreath from This Silly Girl's Life. You won't believe what she used as her wreath form! Isn't it just gorgeous!
And next, check out these Halloween Cake Pops from Yummy Healthy Easy. They've got Diet Soda in them to help keep calories down! I think that means that moms could eat them too, guilt-free! This mom is IN!
There are still 4 days left in the Pin Junkie's HUGE Blogiversary Party so make sure you click over and link up your recipes, DIYs and other great stuff that you want to show off, made by you. Remember, your linkups will be seen on over 20 blogs!
Alright, let's get to the Halloween burlap wreaths!
Halloween Burlap Wreaths
This post contains affiliate links, which are always items I personally recommend. You can read my full disclosure policy here.
Update: since this post was first written, the burlap people have come out with some amazing burlap ribbon so these wreaths are even easier to make and don't shed as much!
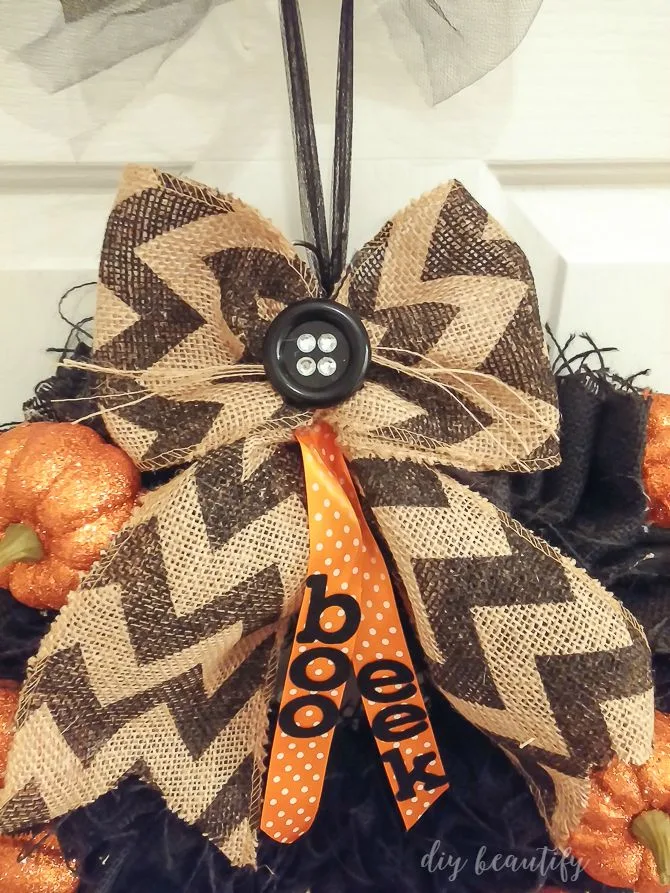
My Halloween burlap wreath is covered in glittered pumpkins and sports a chevron burlap bow, polka dot orange ribbon and black sticker words added for fun.
How to Make a Burlap Wreath
Supplies:
- metal clothes hanger
- 2 yards of flat burlap (sold by the yard) or 2-3 rolls of burlap ribbon
- pliers
I'm sorry I don't have pics of the process (bad, bad blogger) but the basic steps are very easy, trust me. The form of this wreath is a metal clothes hanger.
Step One:
Use pliers to take apart a metal clothes hanger and reshape it into a rough circle. Leave the ends open.Step Two:
If you buy your burlap by the yard, lay it flat (folded like it comes from the store) and cut it into about 4" wide strips. Cut all of your burlap. You want to cut from the fold across to the open side so that when you open your strips up, they are twice as long as what you cut.
Step Three:
Poke one end of the metal hanger into an end of one of the burlap strips and start weaving it through. Think of it as an over, under process. You will poke the wire into the middle of the burlap the same distance apart (I usually do about 3-4") over and under, over and under until you get to the end of your strip. Then start with another until you have used up all your strips. By that point your wreath should be looking nice and full. If for some reason it's not...run out and buy more burlap :)
Step Four:
You'll need the pliers again to twist the wire around itself to close off the circle and make a loop for hanging; you may have excess wire that needs to be snipped off.
The wreath may not be looking too pretty at this point; in fact it will look like a bunch of folded burlap around your wire. This is where you fluff it up. Take small sections and twist them so that you are bringing the ends of the burlap to the forefront and the folded sections are now hidden. This really brings fullness to the wreath and jazzes it up.
Did I just say "jazzes"?? LOL
For this Halloween wreath, I bought a package of glittery pumpkins and hot-glued them around my wreath, taking care to hold the pumpkins in place for awhile until the glue set.
I also added a chevron burlap bow and some other cute accessories.
If you look really carefully at the close up picture below, you can just make out the loop I made from the clothes hanger for hanging the wreath...it's peaking out behind the bow. You can either hang your wreath from that loop...or add some ribbon or black tulle to the loop and hang the wreath from that.
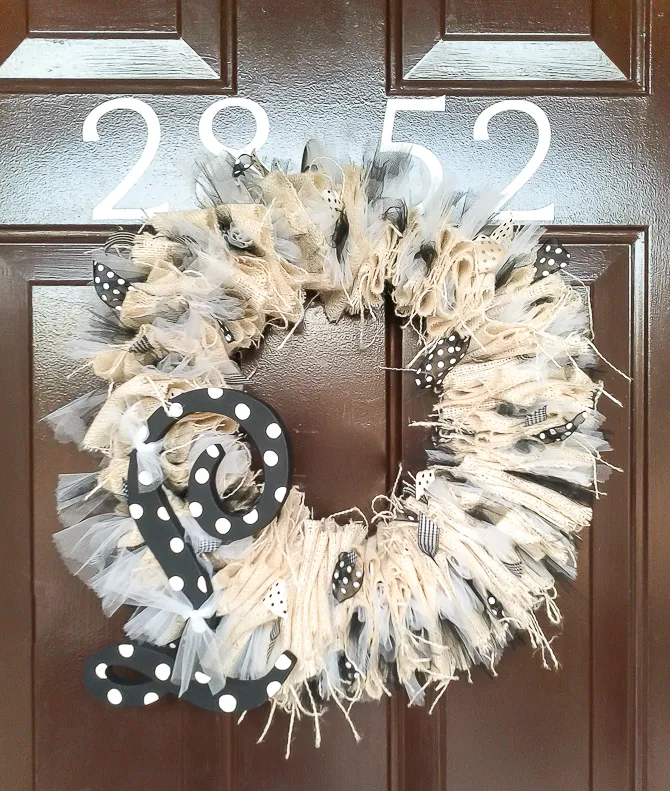
The burlap wreath below has the addition of ribbon and tulle cut and just tied in between the loops of burlap.
And this wreath is simply burlap.
I am of the opinion that one can never have too many wreaths :)
If you have any problems making this wreath, let me know and I'll do my best to walk you through it!
Happy decorating!
bringing beauty to the ordinary,


Sharing with:
The Pin Junkie


Cindy~ These wreaths are so pretty, you'd never know how simple it was to make them. Plus using a coat hanger instead of buying a frame.. brilliant! I have a roll of burlap I bought with a coupon at Michaels.. I finally have something to make with it! LOL Thanks for sharing & have a great weekend :)
ReplyDeleteThey really are easy, Wendy! Thanks for your sweet comments! I do have to warn you that 1 roll of burlap probably won't be enough...you will likely need 2-3 (at least Michael's has a weekly coupon, right!). I found that if I didn't make the wreath really full, the weight of the burlap would cause it to "puddle" at the bottom..so you need to really fill it up so that doesn't happen :) I'd love it if you came back and shared your wreath!
DeleteSuper Cute!!!!!!!
ReplyDeleteThanks! So glad you like and thanks so much for taking the time to leave a friendly comment :)
Deletehalloween is my favorite holiday so it's only natural my reaction that i feel inspired by this - plus it's also on my dad's birthday ��
ReplyDelete