DIY Photo Clip Frame Gift Idea
Giveaway Winner
I am happy to announce the winner of the Brit+Co wood burning tool and cheese board kit. Congratulations to...Susan Ryan, you are the winner! Please email me your contact info.
Today's project is a bright and cheerful diy, and would make a great gift for any occasion.
I absolutely love making personal gifts for my friends and family...I think it's fun to pour a little of their personality into a homemade gift.
This diy photo clip frame was created for a friend's wedding shower recently.
This post may contain affiliate links; thanks for supporting my blog
It's a custom picture frame...and not only is it super cute, it's functional and easily changed out as well.
I picked up this pretty frame and a package of magnetic bull clips at Walmart.
I wanted to brighten up the frame because the printable I created to go inside was mostly neutral, so I gave the frame one coat of turquoise chalk paint. This is such a happy color of turquoise! I dry brushed it using very little paint so some of the pretty wood grain would still show through in spots.
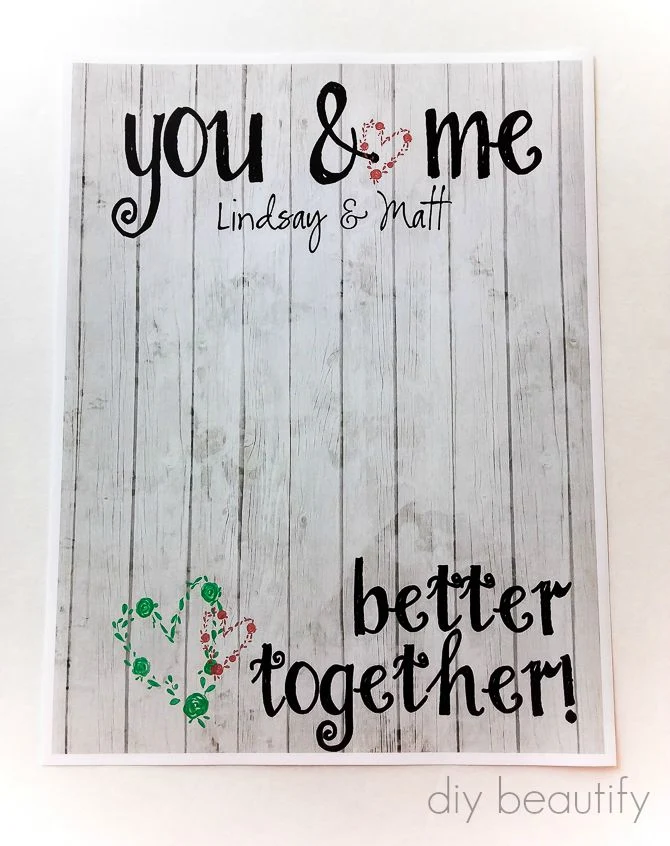
The printable was created in PicMonkey. I rely on PicMonkey for both editing and creating on an almost daily basis! It's an excellent resource, especially knowing I can use my own fonts that I've saved to my computer!
After I secured the printable inside the frame, I glued the bull clip onto the front of the glass using E-6000 glue. I've found this stuff to be the best glue when you're wanting to secure two different surfaces, like glass to porcelain, metal to glass, etc. It's a little smelly but it really works!
There's just one little thing to remember when you're using this glue. Once you have your object where you want it, just walk away and let it dry for a couple hours. If you mess with it, it'll just slide around on you and make a big mess (I might have learned that one from experience!)
My friends can now add their own picture to the clip. It's a custom look for a little bit of work!
And it's so easy to change out whenever they want.
I carefully packed it up in bubble wrap and sent it on it's way.
My dear friend (hi Lindsay!) loved it and I love knowing a little piece of me is in their home!
This is a straightforward diy project. If you're not comfortable creating your own graphic, you could always make one by hand or use scrapbook paper, even stickers or rub ons like these ones!
I'm hoping that next week I'll get to share our deck makeover with you. We've been working hard on it and it's nearly finished. There were a few stumbles along the way...things that could have been avoided...sometimes you just have to learn stuff the hard way, right?
bringing beauty to the ordinary,


Comments
Post a Comment
Your comments are like sunshine and chocolate! Thanks for taking the time to leave a nice one ;) I read all comments and love to respond if you leave your name and email! Otherwise, please look for my response under the post where you left it!