How to make a Leather and Lace Bracelet
(This post first appeared on Designer Trapped in a Lawyer's Body)
If you're a 'DIY-er', I'm sure you've spotted something in a store before and thought, "I can do that!".
That happened to me this past spring when I was at the Country Living Fair. I found this amazing leather and lace bracelet that was so cute. I loved it but it was too expensive, so I set out to recreate it even though I'd never worked with leather before!
 |
| The bracelet that inspired this project! |
Here is the tutorial so that you can recreate this ultra feminine bracelet for yourself. Affiliate links are added for your convenience. You'll find my full disclosure policy here.
Supplies Needed to make Leather and Lace Bracelet:
- leather strip in color of your choice; a leather belt might work as well, and since making this bracelet I've spotted these pre-cut leather cuffs that would be perfect too
- you want something fairly stiff so it holds its shape
- Tim Holtz Hitch Fasteners (these are the ones I used) or snap fasteners with long post
- heavy-duty scissors
- craft knife
- sand paper
- hammer (if using snap fasteners)
- awl or Crop-a-dile to punch holes
- laceand satin pieces
- lighter
- button or faux diamonds for the center decoration
- E-6000 adhesive
Step One:
Cut the leather
Measure your wrist and cut the leather to size, allowing about 3/4" overlap to attach the fastener. I actually used heavy duty kitchen shears to cut the leather into a strip, and they worked well. Use a small piece of sand paper to rub along the cut edges and smooth the fuzzies. You can see that my leather is a little bit wonky; believe me, you will not notice any minor imperfections once the flower is added!
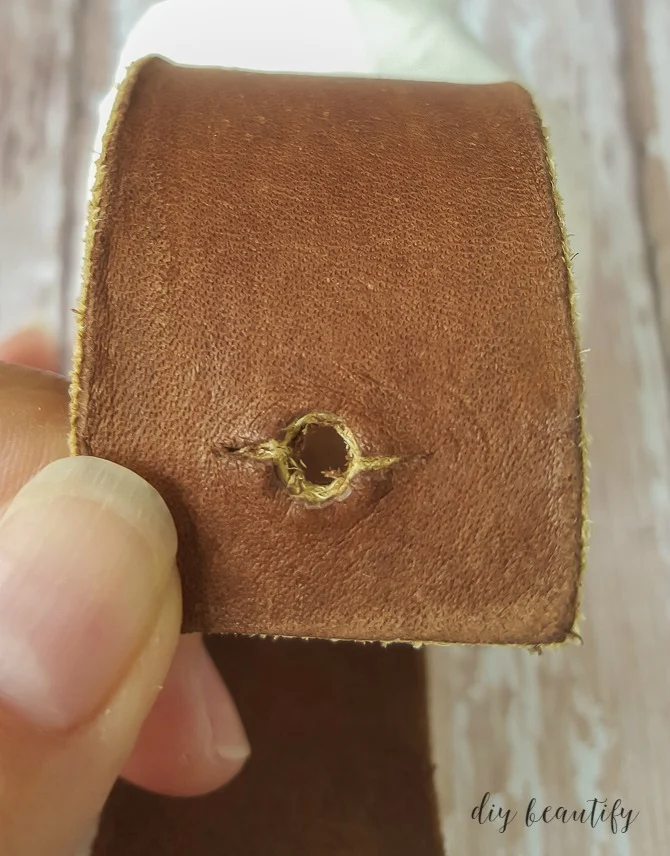
Then in the other end of the leather, you'll need to slice a small slit with a craft knife through the hole you already punched so the ball can poke through. That's how the bracelet attaches.
You can see how easy it is to get on and off. You want a snug fit, so don't make that slit too big!
Click on the arrow to watch:
Step Two:
Punch holes
Using the awl or Crop-a-Dile, punch a hole in each end of the leather strip in the middle and about 1/2" in from the end.Step Three:
Add Fasteners
Following the directions on the package, attach the fasteners. I was unable to find snap fasteners with a long enough post to fit through my leather, but I did find these Tim Holtz Hitch Fasteners and they worked perfectly! They are different from snap fasteners in that both pieces are attached at the same end of the leather strip. You're left with a little ball sticking up.Then in the other end of the leather, you'll need to slice a small slit with a craft knife through the hole you already punched so the ball can poke through. That's how the bracelet attaches.
You can see how easy it is to get on and off. You want a snug fit, so don't make that slit too big!
Step Four:
Create the flower
The best part of this leather bracelet, in my opinion, is the gorgeous satin and lace flower. I'm going to redirect you to watch this video that I shot when I created a similar flower for my embellished hat.Click on the arrow to watch:
The only thing I did differently for this bracelet is that I added a couple layers of ruffled lace (using this tutorial) in addition to the layers of satin. Once my flower was finished, I glued a vintage button (from a coat my m-i-l had years ago) to the center of the flower and then glued the flower to the center of my leather bracelet with E-6000 glue. I rested a heavy object on top until the glue set, about 2 hours.
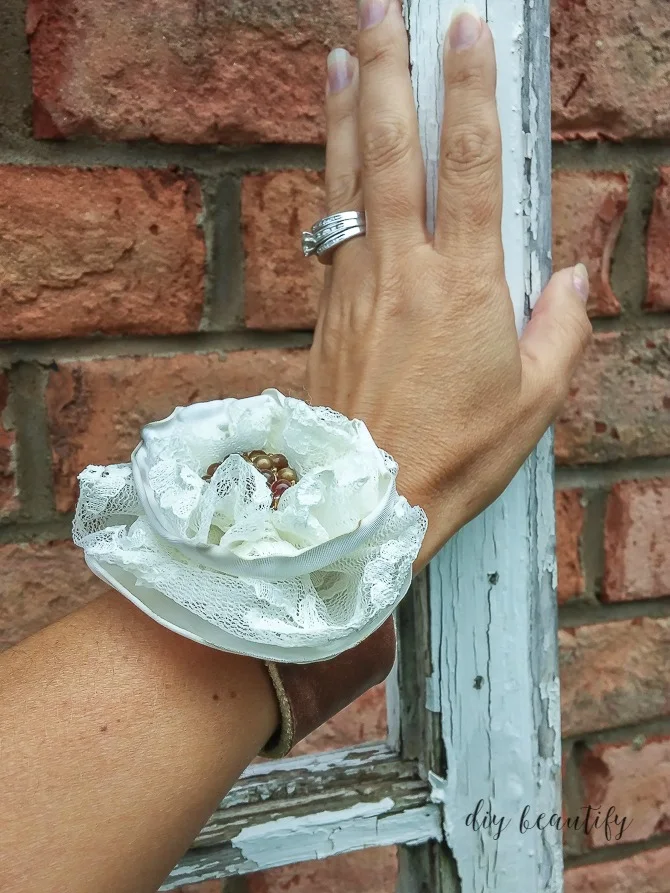
Isn't it pretty...feminine and rustic all at the same time. My total cost was only $10! I already had many of the supplies listed on hand and just needed to purchase the leather and the fasteners.
I am tempted to wear this leather and lace bracelet with just about everything!
Isn't it pretty...feminine and rustic all at the same time. My total cost was only $10! I already had many of the supplies listed on hand and just needed to purchase the leather and the fasteners.
I am tempted to wear this leather and lace bracelet with just about everything!
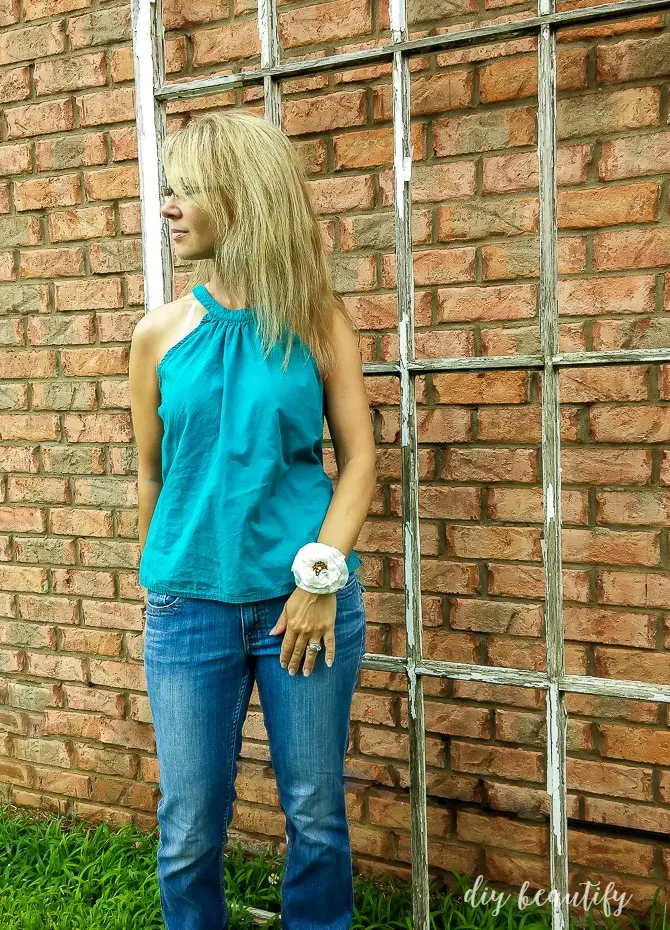
Fortunately it goes just as well with summer outfits...
...as it does with cooler ones! I LOVE it with my leather boots!
And how do you like the savings? Pretty amazing, right?
Now that I know how easy it is, I plan to make more! In fact, I want to make one with even more ruffly layers and lace...and I'm on the hunt for a vintage pin to use in the center!
I hope you try this bracelet...for yourself or to give as a gift! If you have any questions, please add them to the comments and I'll be sure to answer them (make sure to include your email if you want a direct response from me; otherwise, you'll find my answer in the comments section on this page!)
Sharing with: French Country Cottage, The Pin Junkie, Tidbits, Shabby Art Boutique, Design Dining and Diapers, Tatertots and Jello, The Turquoise Home, Designer Trapped, Maison de Pax, 3 Little Greenwoods,


Wow. I love your bracelet. I would love to try to make one. It really is beautiful! Great job!!
ReplyDeleteThank you Stacy, your comments are so appreciated! I hope you make a bracelet for yourself!!
DeleteYou have great ideas! This is also so adorable. And Thanks again for linking up at the Create- Share-Inspire Link party. Please come back soon, I can't wait to see more of your projects
ReplyDelete~Emily
Emily you made my day! Thank you 😊
DeleteBeautiful! I think this bracelet can be worn on rustic weddings.
ReplyDeleteI agree, that would be stunning! Thank you for your comment!
DeleteThis is beautiful!! I think I would want the leather piece a Little daintier but I’m thinking how cute this would be for my granddaughters wedding. Maybe with more flowers for her but singles for the brides maids. Hmmm you’ve got my wheels turning..lol. Gorgeous!!
ReplyDelete