Make a Coffee Filter Wreath for $5!
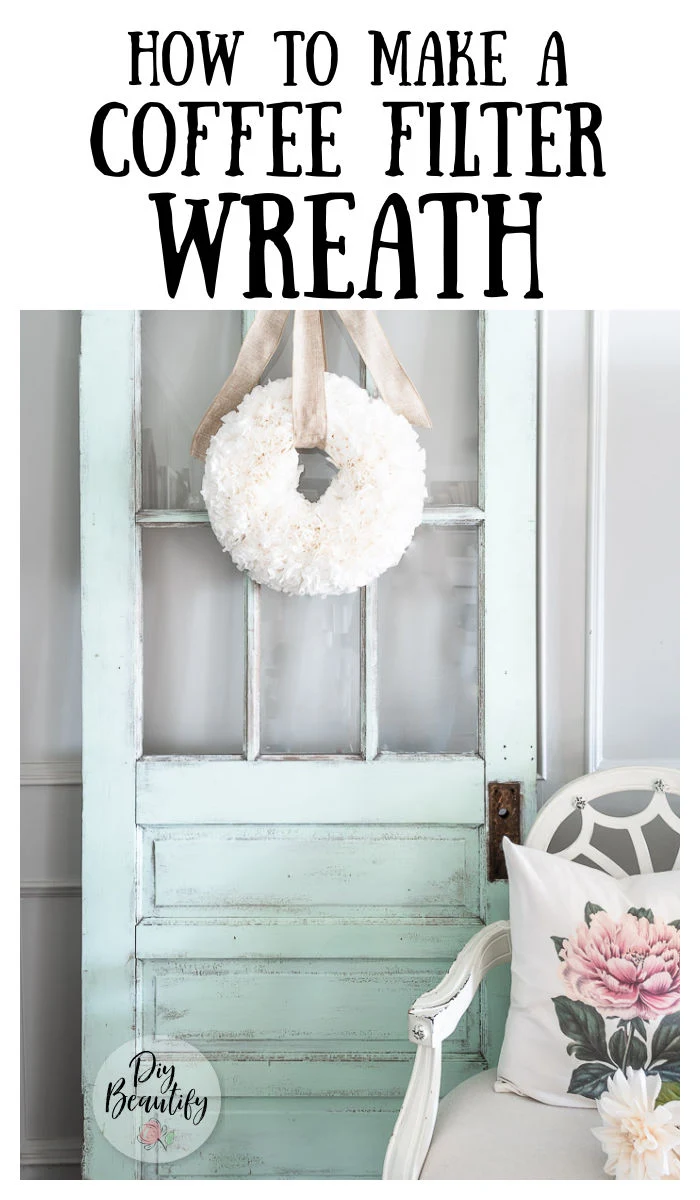
A coffee filter wreath is budget friendly and easy to craft! An hour or two is all it takes to make a stunning wreath from humble paper liners! Follow the tutorial below for my best tips.
Affiliate links may be included for your convenience;
my full disclosure policy can be found here. If you click through and make a purchase I'll receive a small
commission at no extra cost to you!
How to make a coffee filter wreath
A coffee filter wreath may sound and look complicated, but I promise you it is easy! I'll break down all the steps for you below and share my tips for getting the best results, some which may surprise you!Not only is this DIY wreath easy, but it requires just 3 supplies!
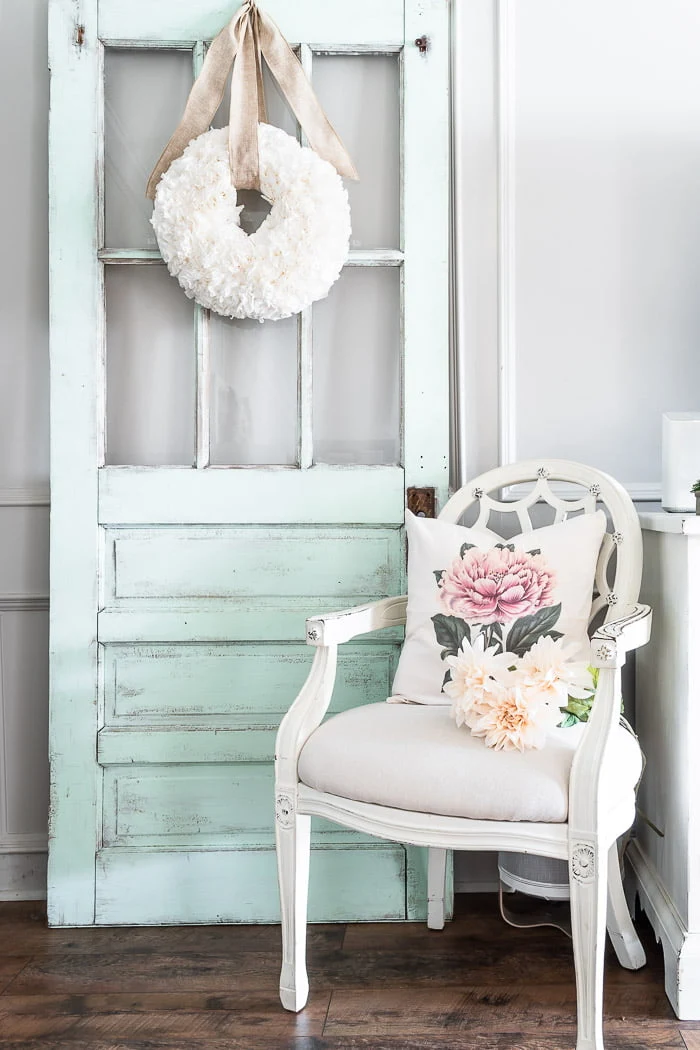
I think you'll agree that it is a stunning wreath. No one will ever guess that you made it so cheaply or with coffee filters!
The kicker is that a coffee filter wreath does take some time to accomplish. You'll need about 1-1/2 - 2 hours to make this wreath. So just make a full pot of coffee, crank the tunes and think of this as craft therapy! Better yet, get together with a couple girlfriends and make wreaths together!
Supplies needed:
- wreath base (I used a 12" straw wreath form) You can buy one for right around $2.00 if you use a 40% coupon at Michaels
- hot glue gun and lots of glue sticks (I'm assuming you already have these and didn't include them in the cost to make the wreath)
- 1-2 pkgs white coffee filters (the basket style like these that come 200/pkg) You can save some money by buying them at the dollar store, although you only get 150/pkg. You could get away with one package, but I made my wreath super full and found I had to dip into the second package so save yourself the hassle and buy two!
If you shop smart, you should easily be able to make this wreath for no more than $5! Use a coupon for the wreath form and buy your coffee filters at the dollar store (that's about $4.00) If you need extra glue sticks, you can purchase those at the dollar store as well.
Steps to Make a Coffee Filter Wreath
My first TIP to success with this wreath is to
leave the plastic on the straw wreath form! If you remove it, it's not
a big deal, but it's much messier!
Also, you will be doing a lot of gluing. I found it easiest to prep the coffee
filters first and have a stack of
coffee filter florets ready to go, rather than making them one at a
time!
Here are some pictures to show you exactly how to make this pretty wreath.
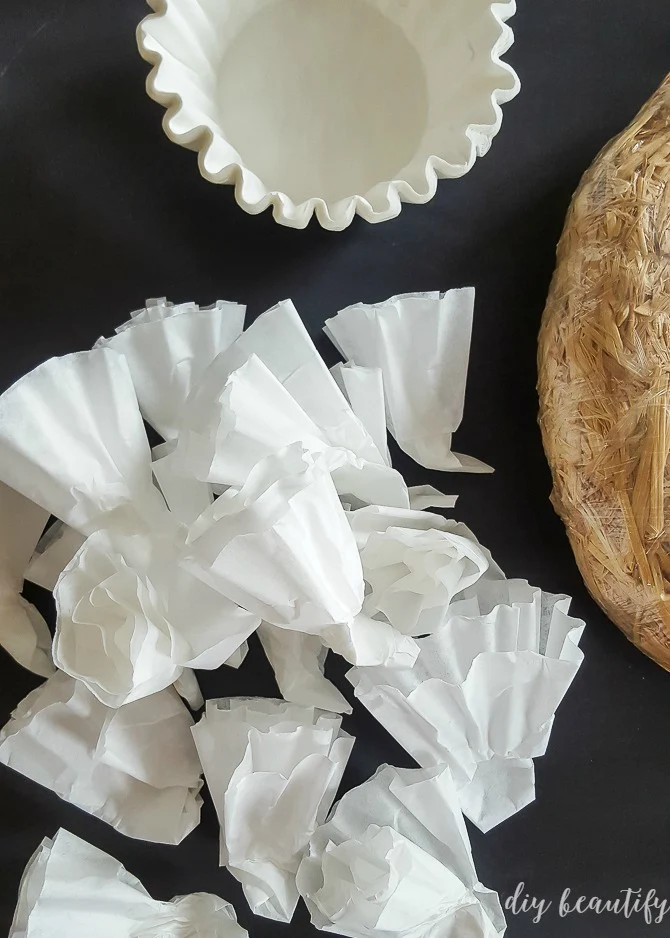
Here is my little stack of folded coffee filter florets, ready to be glued onto the wreath form.
Where do I start?
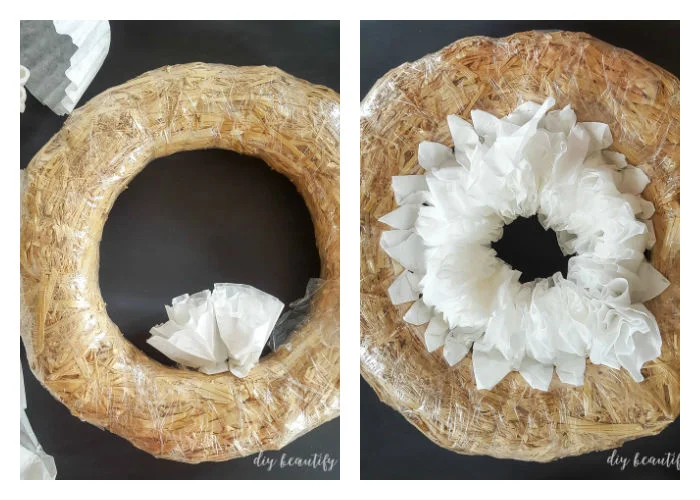
I started gluing the coffee filters to the inside edge of my wreath form,
working my way around until I met up with the first filters. Then I carried on
filling in the wreath, working my way to the outside edge of the straw form.
Make sure to leave the back of the wreath empty, as it will make hanging the wreath much easier.
This is what it will look like when the inside edge is complete. You'll
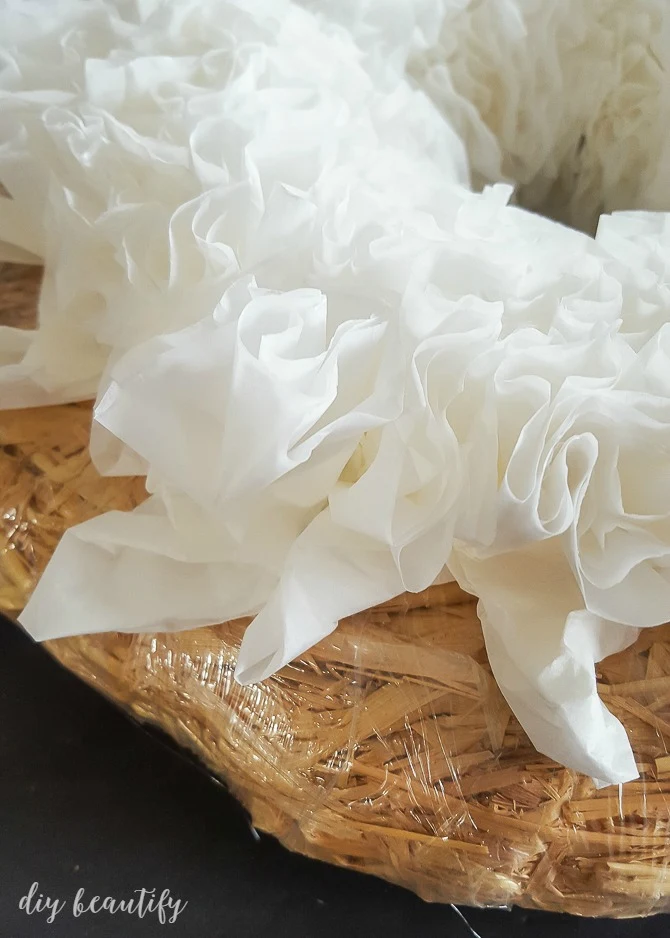
achieve the best results if you glue the filters really close together.
Make sure to leave the back of the wreath empty, as it will make hanging the wreath much easier.
I found as I got closer to the outside edge that I had some excess flaps of filter after gluing them down, so i just gave those a little trim with my scissors.
Almost done!
At this point I was eager to be finished, but that outside edge took the longest (it does have the largest surface area after all!)
Update
I made this wreath 7 years ago when we lived in Tennessee. It traveled with us
when we moved to Texas and has hung in our current home and still looks as
good as the day it was crafted!
The details on this wreath are pretty amazing! Because the filters are so
close together, they have kept their shape, even during a long distance move!
I've used my easy coffee filter wreath for
Christmas decorating, as well as all year long. You can give it a different look by simply
changing out the ribbon you hang it from. I think this wreath would be
beautiful made with dyed coffee filters for a totally different look!
I would love to know if you make a coffee filter wreath following my
instructions! Come back and leave me a note in the comments or better yet,
send me a picture of your finished wreath! I've also got a tutorial for a
coffee filter tree, you can find that
here. It's beautiful and surprisingly sturdy!






.jpg)


I love this beautiful white wreath! Definitely my color choice. Beautiful job!
ReplyDeleteThank you so much Jacqueline, I think I'll be able to keep it up all year because of the neutral color.
DeleteThis looks absolutely beautiful!!! One of your newest followers.
ReplyDeleteIris
The Blue Birdhouse - DIY Blog
Iris, welcome! I'm delighted you chose to follow along. Thank you for your sweet words 😊
DeleteLove this in so many ways! So full and beautiful! Thanks for linking up with us at Create - Share - Inspire! Hope to see more of your lovely projects.
ReplyDeleteThank you Cami!
DeleteI can use this in other projects as well. Thanks for posting! I wonder if this would work with cupcake cups?
ReplyDeleteYes, I'm sure you can make these with cupcake liners as well! They're a little stiffer to work with. You can check out a gingham cupcake liner tree I made last year here:http://www.diybeautify.com/2014/11/gingham-tree--cupcake-liners-coffee-filter.html. I used a little bit of a different technique, but it turned out very well.
DeleteI love this! Super easy and budget friendly- my 2 favorites! Also, I like that it can be used year 'round- not just at Christmas. Thank you for sharing at The DIY Collective!
ReplyDeleteThank you Brooke, I agree that this budget-friendly wreath can be used year round, making it a great use of a few dollars!
DeleteWhat a lovely wreath!
ReplyDeleteThanks Erica!
DeleteI absolutely love this! I made one of my own with your directions and it turned out so cute. :) Thanks for the tutorial. Here's my wreath if you want to check it out and I cited your tutorial!
ReplyDeletehttp://www.happilywithoutacompass.com/k5osohpl8q0zy7eti1rus488ai95j0/2016/3/16/diy-coffee
Anne McCartney
I was thinking if it wasn't such a pain it would also look great with the ends lightly painted. It is beautiful white though.
ReplyDeleteKelli
Hi Cindy, I found your site because I needed to know how to fold the coffee filters. Your tutorial showed me just what I was looking for. I want my wreath to be as beautiful as yours. Many thanks.
ReplyDeleteI'm so glad you found my tutorial helpful! It's a beautiful wreath that will last for many years!
DeleteLove this wreath & your gorgeous white hutch! Would you mind sharing where you got it from? Thanks!
ReplyDeleteOh btw, my email is caroljsharma@gmail.com thanks again!
ReplyDeleteI dip dyed mine pink for Valentine's Day. This was time consuming, but absolutely worth it! It's so beautiful and surprisingly sturdy. Thank you for this!
ReplyDeleteMary, what a fun idea! I'm so glad you enjoyed making this wreath (and making it your own!).
DeleteCindy, thanks for the jump-start. I have a garbage bag filled with prepared coffee filters. Unfortunately, I have skipped over it for other crafts. I prepped my filters by using acrylic paint to lightly color the edges of the filters when they were still stacked together. Took a little time to dry, but it resulted in an awesome affect. My wreath is very light and delicate and believe it or not it can still be considered a neutral color with highlights. THANKS.
ReplyDeleteWould it be easier to start at the outside of the wreath form and work in? That way you might be able to see better as the rows form. Wondering
ReplyDeleteSure, you could do it that way.
DeleteCindy, are all the filters facing the same way? In other words, are the little folded ends all facing out toward the edge of the wreath?
ReplyDeleteI was also thinking that perhaps the red and white cupcake holders could be tucked among the coffee filters if you wanted a little more color? What do you think?
Yes, the filters are all facing the same way. The closed end is the part that's glued to the wreath form! I think adding the cupcake liners would be a great addition! In fact, I made a tree using both. You can view it here https://www.diybeautify.com/2014/11/gingham-tree--cupcake-liners-coffee-filter.html
DeleteI used the brown coffee filters and did a burlap buffalo checked ribbon brown and black...so awesome!
ReplyDeleteThat sounds fabulous!
DeleteWould it be quicker to use pins to stick through the paper into the wreath form? Would they not hold as well as glue gun sticks?
ReplyDeleteYou could certainly try pins Gae, but I personally think the hot glue is easier. 😉
Delete