How to Make a DIY Barn Quilt
This DIY barn quilt with a painted Ohio Star pattern is easier to make than it looks and all your neighbors will want one when they see it hanging above your garage, barn or other outbuilding! It adds a touch of colorful history to your home! Read on for the full tutorial.

So rather than try to force rabbits out of a hat...I'm focusing on a great DIY project that anyone can do! This barn quilt is a great way to beautify the outside of your home and add some colorful history!
Before we get to the tutorial, can I just wax poetic about my in-laws for a
minute?
From the first time I met them, mom and dad Long have embraced me and made me
a part of the family! I have no scary mother-in-law stories to tell you
because I truly love and enjoy my mom-in-law!
They are generous and hospitable and their home is a treasure trove of fun,
meaningful and unique finds! In fact, I would say that they were instrumental
in helping to shape my love of home decor and helping me find my style. They
are both collectors; my father-in-law collects antique jugs and Coke
memorabilia while my mom-in-law collects nativities and has over 700
nativities from around the world! She also loves to quilt, and when she
requested a barn quilt for their garage, I was happy to help!
Barn quilts are classic Americana, and there are actual barn quilt trails that
you can follow to see some of them. You can read more about the
history of barn quilts, and find more about
barn quilt trails. Maybe there's one in your area!
A barn quilt is a quilt square that is recreated on wood for displaying
outside. Just as with hand-stitched quilts, barn quilts tell a story. Here are a few
barn quilts I spotted in the small NC town where my in-laws live.
This is the old train station in the middle of town. I've taken lots of
pictures of this building over the years because it is so unique and I love to
imagine when it was a working station.
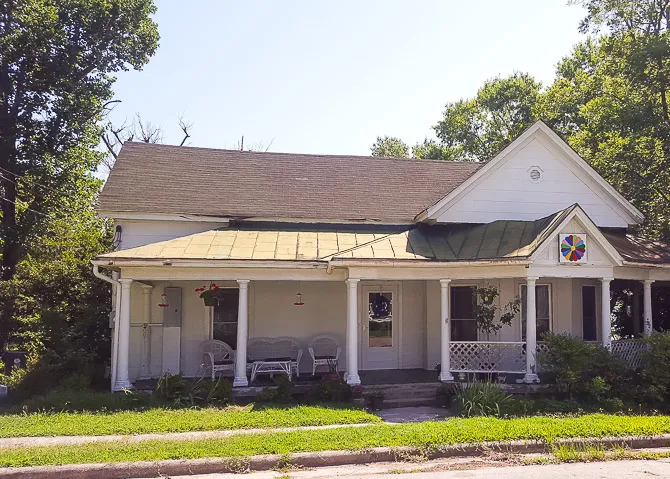
This small house in town has a colorful Dresden Plate barn quilt.
And a local produce market has a huge barn quilt...gotta love those energetic
tweenage cousins posing in front of it.
My mother-in-law grew up in Ohio and requested an Ohio Star barn quilt. Lucky
for me, it's probably the easiest pattern to translate to wood! If you prefer
another pattern, you can do a search online.
Affiliate links provided below for your convenience.
Find my disclosure policy here.
How to make a DIY barn quilt
Supplies used:
- pressure treated plywood (cut to 4' square in store, or whatever size you choose to make your barn quilt)
- 2x4's to brace the back for hanging
- L-brackets
- outdoor marine paint in colors of choice (they'll tint it in-store for you)
- paint brushes and rollers in various sizes
- painter's tape (optional)
- measuring tape and pencil
- straight edge
Easy Barn Quilt Tutorial
The Ohio Star pattern may be the easiest pattern to replicate because it's simple straight lines. No pattern needed, just simple measuring.Let's get to the tutorial.
Step 1
Step 2
Paint the board with two coats of white marine paint. We kept it extra simple with no borders.Step 3
Measure and mark the pattern with a ruler and a pencil. The Ohio Star pattern is made by dividing the board into thirds and drawing straight lines across, then connecting the corners with diagonal lines. And just like that, it looks like a star!Step 4
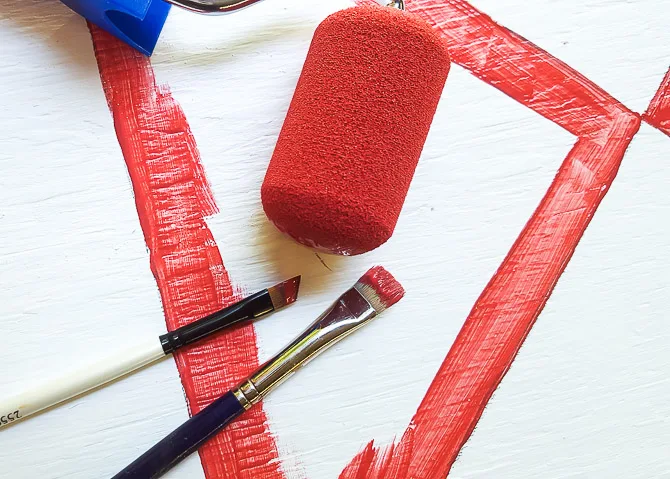
If you have a complicated pattern, you may want to tape the edges to make painting easier. I chose not to tape. Paint the star with a contrasting color.
I originally planned to use a small roller brush for this part, but found I
needed something infinitely smaller to stay inside the lines in the corners
and edges. I relied mostly on a flat craft brush for those areas and then
filled it in with a larger brush and the roller.
Doesn't look great close up, does it? Red paint is like that...it takes about 3-4 coats to really cover well. Don't worry about your edges being completely perfect...remember, this quilt will be hanging on a building so you won't see any small mistakes or slightly uneven lines!
The painting definitely takes the longest because you need to wait for it to dry before painting another coat. Four coats later it looked a lot better!
Marine paint is intended for wet conditions. If you choose to use another
paint, you'll want to seal the painted barn quilt with several coats of
clear polycrylic sealant. Stay away from polyurethane as it tends to yellow white paint!
Doesn't look great close up, does it? Red paint is like that...it takes about 3-4 coats to really cover well. Don't worry about your edges being completely perfect...remember, this quilt will be hanging on a building so you won't see any small mistakes or slightly uneven lines!
The painting definitely takes the longest because you need to wait for it to dry before painting another coat. Four coats later it looked a lot better!
How to hang a barn quilt
My father-in-law took over at this point and screwed the 2x4's to build a frame at the back of the quilt. He used L-brackets to secure them together.
The frame gives the wood barn quilt stability so it won't warp in the changing weather. It also provided a frame for him to drill into and secure the barn quilt to the garage, rather than drilling into the quilt itself and messing up all my hard work!
It took 2 men to hang this barn quilt on the garage. One to hold it in place
from the outside and one to drill into the wood frame from inside the
garage.
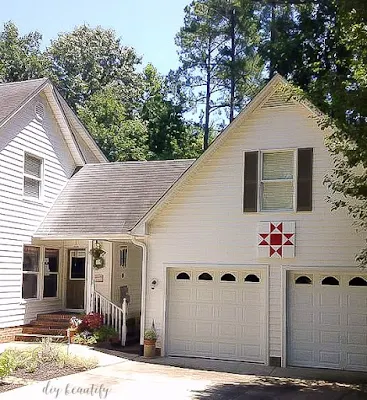
This Ohio Star barn quilt looks so good in place and adds that perfect touch of country style to my in-laws home. I love the pop of red on the white siding!
A barn quilt was the perfect addition to their little house in the woods!
I don't have an open space to showcase a barn quilt on the front of my new home, but I may make one for our large backyard patio.
Have you ever taken a barn quilt trail?


Pin this image for later

bringing beauty to the ordinary,


Thank you, thank you! For bringing part of my Ohio heritage to our home, but also for being such an integral part of our family. You became our daughter-in-love even before your marriage to our son. We love you and thank the Lord for your grace, beauty and creativity! Love MOM
ReplyDeleteAwwww, thank you mom! Love you too xoxo
DeleteCindy this is such a statement making piece. Love the simplicity of it but it also makes a big impact. And your mom is right!!
ReplyDeleteMary, thank you so much, you are so sweet! I do love how this barn quilt adds color and charm to the whole house!
DeleteWould like more detailed info on the installation of the barn quilt. Want to make one for our barn (a very old milking barn- similar to the vintage/look) of the photo accompanying your article. I also want to make a smaller one for my garden shed, which is new construction. Also, since this post is a few years old, how has the barn quilt held up in the weather? No sealant? I live in Washington state!
ReplyDeleteWhat are your specific questions re installation? As far as holding up in the weather, marine paint is intended to get wet! It's held up just fine!
DeleteBeautiful! Can you tell me how it was attached to the siding of the house? How it was hung on the siding? We would like to do this on a new garage but my husband does not want to drill holes into the siding. Thank you.
ReplyDeleteThank you. Did you read through the entire post? I do explain how it was hung!! 😉
Delete