How to Make a Topiary With Artificial Boxwood Greenery
Follow this easy tutorial to make a stunning topiary for your home using artificial boxwood greenery from the craft store.
While I don't exactly love doing dishes and dealing with a messy kitchen, I do take pride in having clean kitchen counters putting something homemade on the island. It may be a freshly baked basket of muffins...or a handmade topiary, which I'm going to show you how to make! Check out more of my DIY projects here.
This project is not only budget-friendly, but it will last a long time because it's made with artificial greenery. Shopping sales and using coupons, I was able to make this 25" topiary for around $20!
This post may contain affiliate links for your convenience. View my full
advertising disclosure
here.
Supplies Used
- Styrofoam topiary form
- floral foam
- 1" dowel or sturdy stick
- urn or pot (see similar here)
- artificial garland (like boxwood)
- craft reindeer moss
- hot glue, scissors, serrated knife, toothpick
How to make a DIY boxwood topiary
The urn that I purchased came with a $6 price tag because it was a little damaged. Those chips around the edge don't bother me at all! It was too small to hold the floral foam as is, so I had to give it a little shave with a serrated knife. I sliced off small pieces at a time so that it would still be a tight fit. Ideally, the base should sit a little lower in the urn, but I was planning to cover it with moss anyway, so it was no big deal!
I had about 2 feet of leftover dowel from another project, and inserted this
into the floral foam, pushing it all the way to the bottom. Then I stuck the
round topiary form on top, again pushing the dowel so it went about halfway in
the styrofoam round. Basically, you want everything to be good and sturdy. Use
some hot glue if needed.
Next, I pulled the greenery off the boxwood garland and cut the ends to
separate them into individual stems.
* Note: it was cheaper to buy one garland using a coupon, than individual
picks
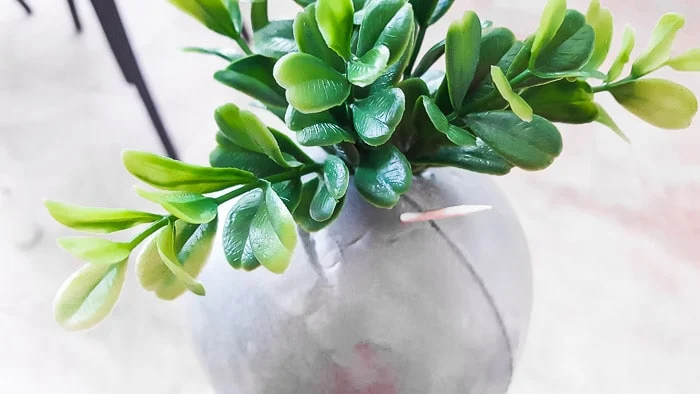
Beginning at the top, I used a sturdy toothpick to create a hole in the
Styrofoam ball and then inserted a stem. I continued around the ball, adding
new stems about an inch apart.
I didn't use any hot glue, as the stems held well in the sturdy Styrofoam. I
pushed each stem in as far as it would go...until the first set of leaves was
flush against the ball.
I am so pleased with how this DIY topiary turned out! It's a whopping 25"
tall...definitely dramatic! By placing the stems close together, you can see
that none of the base is visible! And yes, I used every single bit of the
6' garland I purchased!
I'm sure this DIY topiary will enjoy playing "musical-rooms" in the future as
I love to shop my home to keep my decor feeling new. For now, I am loving the
pop of green in my mostly black and white
farmhouse kitchen.
Click
here to see all my kitchen projects.
I hope you are inspired to make this easy DIY topiary! Would this homemade
topiary look beautiful in your home? I'd love to know if you try making it.
Please let me know in the comments.
Pin it to remember!
bringing beauty to the ordinary,


Love your topiary, will make it when I get rest of required supplies. Already have foam ball, moss, stick, and container so will get started soon. We'll be going to town on Wed. which is Goodwill sr. discount day and sr. discount day at Herbergers where will be getting hubs Father's day gift. Try to take care of several errands on one trip.
ReplyDeleteAm anxious to make my topiary for coffee table or kitchen island, like to change things around in rooms. Maybe even the buffet in kitchen.
All the years have subscribed to many blogs have never run across yours, like what I see so far. Going to get some of that lemon verbena cleaning solution, like our house to smell good. Don't think our City Mkt. carries that brand doggone it.
Have wonderful week
Thank you for your sweet comments, have fun shopping and making your topiary!!
DeleteI always think that green topiaries look so classy in home decor. Thanks for the tutorial about how to make one.
ReplyDeleteThanks Mimi, and you are welcome 😉
DeleteFabulous job. I love this post. Have one, but want two. Thanks to you I can now make a second one.
ReplyDeleteThank you! Enjoy the process ☺
Delete