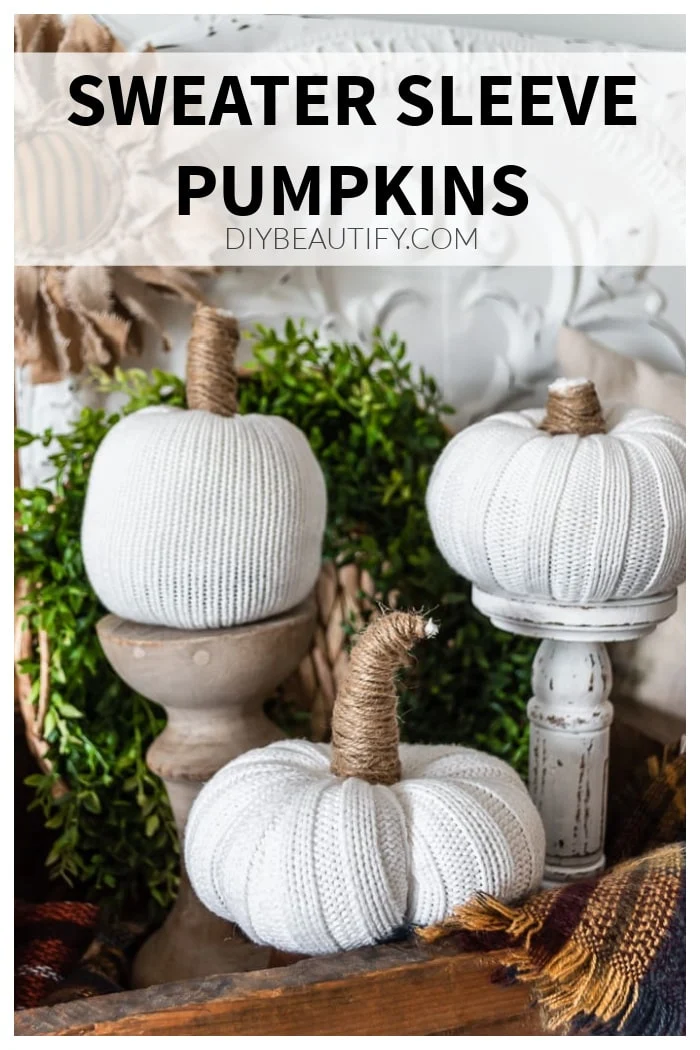
How to Make Pumpkins From Sweater Sleeves
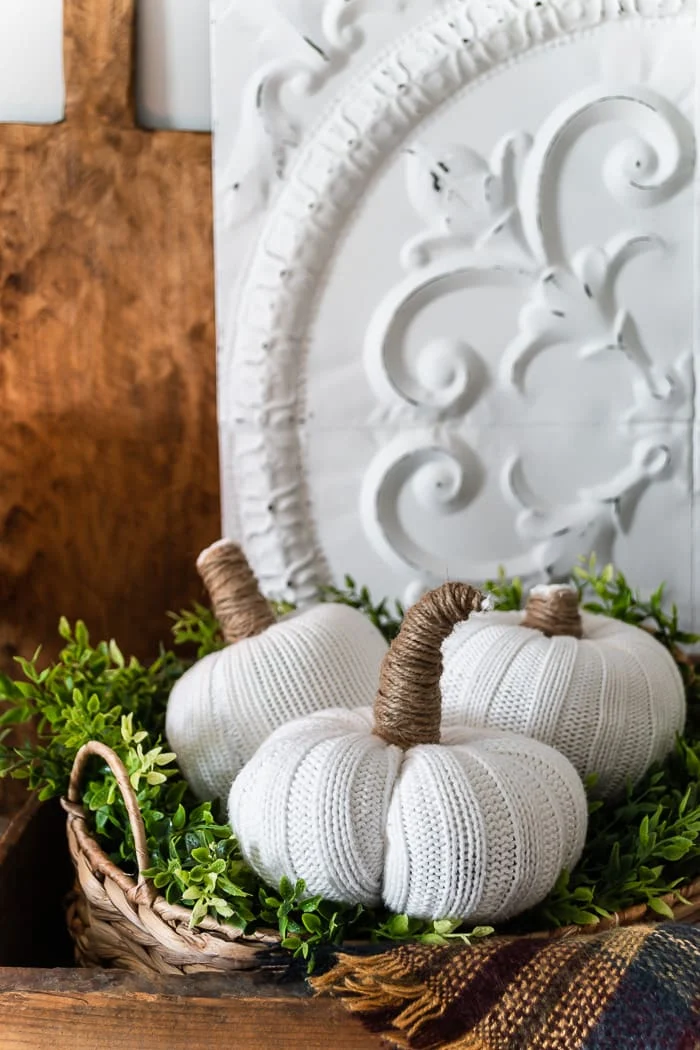
Sweater sleeve pumpkins are a great way to upcycle old or thrifted sweaters! They are easy and cheap to make and will add so much charm to your Fall decorating.

Updated 9/2022
Affiliate links are included for your convenience;
my full disclosure policy can be found here.
Update: You can see how easy it was to install our wood walls here and you can view the messy before and gorgeous after of our sunroom reveal by clicking here!
A little history of my relationship with sweater pumpkins 😍
Sweater pumpkins and I go waaayyy back. In fact, one of the very first blog posts I ever published back in 2013 was a sweater pumpkin tutorial!
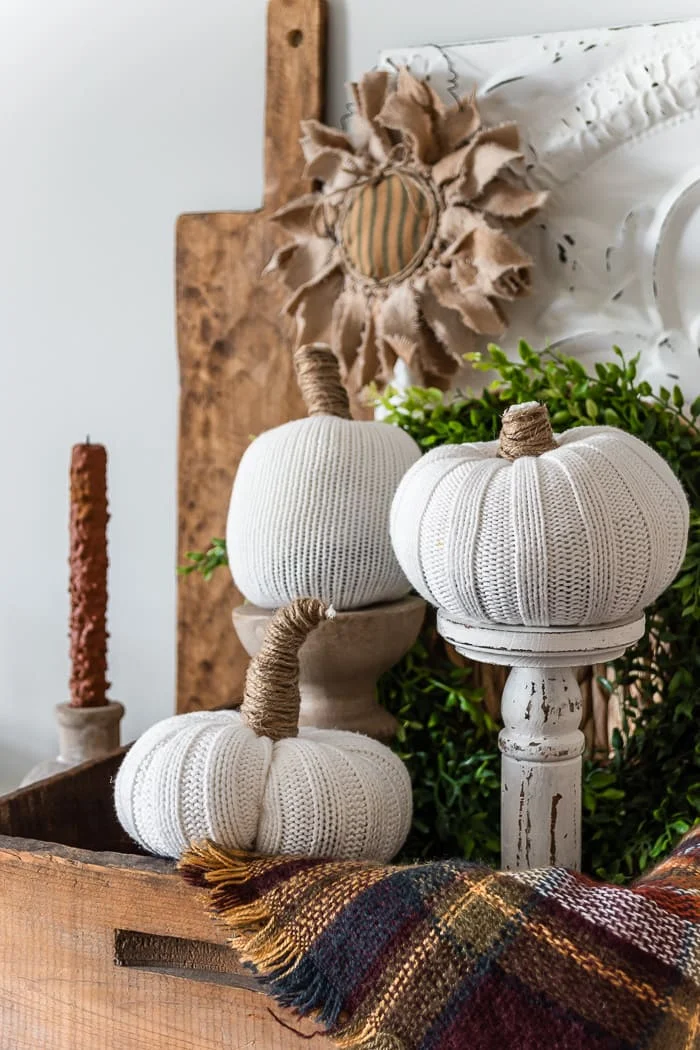
I cringe when I look back at those pictures...my photography skills have come a long way! I keep crafting these pumpkins because not only are they easy and affordable...but they are just so cute...and it's easy to tuck them in a corner, on a book or candle holder, in a basket...you get the idea!
Easy DIY pumpkins made from sweater sleeves
Click to see all my Fall DIYs
I didn't set out to make more sweater pumpkins this year, but then I visited
the thrift store. I found a duck egg blue sweater on sale at Goodwill for .75$
and was unable to resist it! I also bought a large white sweater with lovely
ribbing details. I believe I made 8 pumpkins from just the sweater sleeves
alone!
Tip: when purchasing sweaters to make pumpkins, look for ones with a
tight weave; we don't want any of the beans to fall through. Any ribbing
or cables (see below) will add more interest to your DIY pumpkins!
I made these pumpkins while we were waiting out Hurricane Harvey and wondering
if our street was going to flood. Thankfully it did not, but as you can
imagine I had a lot of nervous energy to burn off and making a pile of sweater
pumpkins seemed to help, so that's what I did! The result is a pumpkin patch
full of sweet sweater pumpkins, each with its own bendable, realistic-looking
stem!
Supplies to make sweater pumpkins
- sweater sleeves
- rubber bands
- dried beans (lentil or black beans are a good size)
- polyester fiberfill
- jute twine
- glue gun
- heavy duty needle and thread (optional)
Sweater sleeve pumpkins, the easy way
Step by step instructions are below the image.
Step One - prep sleeve
Cut sleeves off sweaters at the armpit. Cut sleeve in half. Turn inside out
and wrap end tightly with a rubber band. Turn right side out.
Step Two - dried beans baby
Add an inch or two of dried beans to the bottom. This helps pumpkin hold its shape and gives it a weighted base.Step Three - add the fluff
Add polyfill about halfway up the sleeve.Step Four - tie closed
Tie top with rubber band as tightly as possible. You could also use a strong piece of yarn or jute twine to close the top of your pumpkins.Step Five - conceal
Tie jute cord tightly around the rubber band.Step Six - make stem slimmer
Cut corners off remaining sleeve to reduce bulk.Step Seven - wrap step
Wrap jute twine as tightly as possible along the length of the stem we are creating. You will notice it getting narrower as you get to the end because we removed the bulk in the previous step.Step Eight - finish
Glue end of jute to stem.That's it! You can see these pumpkins in action all around my fall-decorated home!
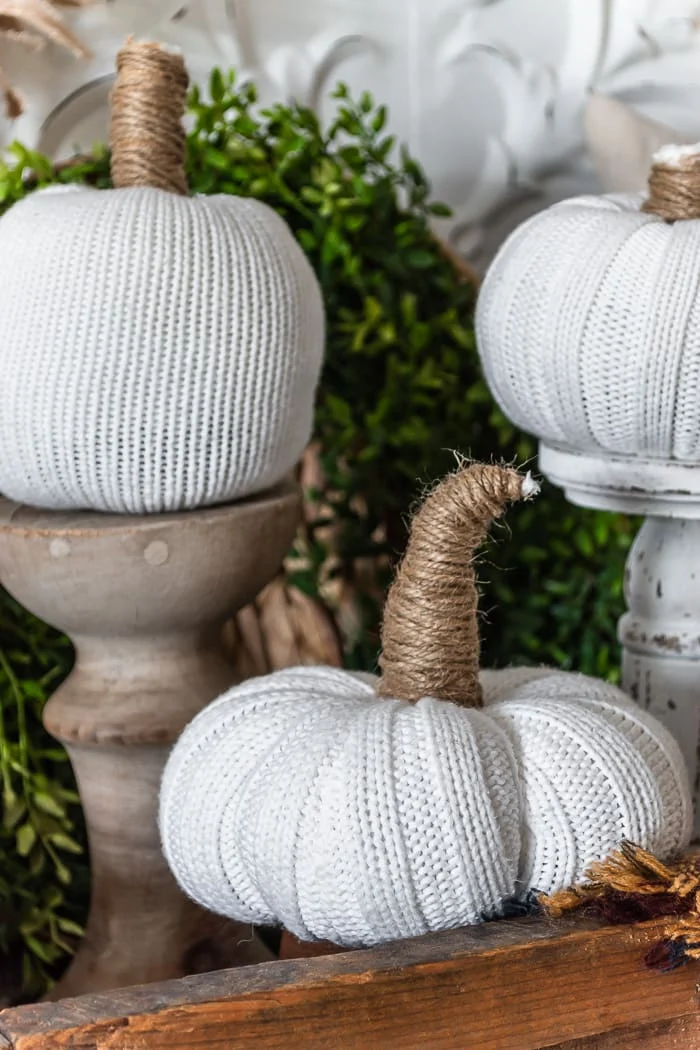
If you're sharp, you've noticed that some of my DIY pumpkins have short,
stumpy stems. That's because I chose not to trim the bulk of the sweater
sleeve. I like the variation!
And if you're comfortable with a needle and thread, it's quite easy to add segments to your sweater pumpkin.
How to add segments to DIY pumpkins
Step One - thread needle and push through pumpkin from bottom
Knot end of a length of sturdy thread (I used this cotton yarn).Starting at the middle of the base, insert needle into pumpkin and draw it up at top of stem. You may have to squish the pumpkin to get the needle to pass all the way through and use a pair of pliers.
Note: this is not a normal needle, it's longer and thicker with a larger eye.
Step Two - create segments
Pull thread around pumpkin back to the base. The thread will show on the side of the pumpkin.Now repeat Step One a few more times, to create as many segments as you want. It may be difficult to pass the needle through the rubber bands, and beans. A thimble will make it easier because you'll be able to push on the needle with your finger. Or you can use a pair of pliers to pull the needle through all the layers.
Space the segments out evenly. Pull tightly on the thread each time you draw it through the pumpkin. You will end with the thread on the bottom of the pumpkin. Knot it to finish and clip thread.
You will wind up with a flatter pumpkin that has segments, like the front one in the picture here. I didn't make segments on these other two pumpkins. So it's really up to you depending on what look you prefer.
I hope you're inspired to make a few sweater sleeve pumpkins after seeing how cute they are and how easy they are to make!
Send me any questions you have if you need help understanding this tutorial and I'll do my best to help you through it!
Don't miss these amazing Fall DIYs to make today
-
DIY Pumpkins from Loop Yarn
-
Paper Bag Leaf DIY Fall Garland
-
Copper Magnolia Wreath made from Paper Bags
-
How to Make a Pinecone Pumpkin
-
DIY Farmhouse Heirloom Pumpkins
-
How to Make High Gloss DIY Porcelain Pumpkins from the Dollar Store
-
Easy Crochet Chain Sweater Pumpkins
-
How to Make a Beaded Fall Wreath Swag
Pin it to Save it
bringing beauty to the ordinary,


Beautiful! Amazing! I will make this with my kids! Thank you for the ideas!
ReplyDeleteThanks Francena, these will be perfect to make with your kids!
DeleteOh my gosh...these are adorable! I can hardly wait for our local Goodwill store to open today. Thank you for this neat tutorial Cindy & for making it sound so easy.
ReplyDeleteI will be making these for gifts..and several for our home too.
Becky, I hope you have fun making pumpkins... and find some great sweaters from Goodwill!
DeleteBecky, I hope you have fun making pumpkins... and find some great sweaters from Goodwill!
DeleteThis is perrrrfect! I got to make these. Great tutorial
ReplyDeleteThank you!
DeleteLovely sweater pumpkins, Cindy... And I LOVE the aqua color you chose! I've pinned this to my fall board, and I'm following you now on Pinterest and IG... I'll be featuring this on my Tuesday Turn About... please contact me if there is any issue with this! :-D
ReplyDeleteThanks so much Julie!
DeleteSo so cute. I went out and bought 5 sweaters and made a bunch of these. I like how you created the stem much better than I did.
ReplyDeleteThanks Eileen, they can be addicting to make! The stems do take some practice 😉
Delete$0.75/sweater at Goodwill! Man, mine never has anything that cheap :-)
ReplyDeleteAnd recommendations on what to make with the remaining "body" of the sweater?
Gotta snag those 50% off sales Marie! Use the body to create a large pumpkin!
Delete