How to Make a $3 Farmhouse Tree Topper
An easy tutorial to make an inexpensive Christmas tree topper with farmhouse style. This project only cost $3 to make!
Welcome back to all my long-time friends and if you're a new follower, a special
welcome
to you!
Well, Christmas is in full swing at the diy beautify house! I haven't yet roped Mr DIY into hanging the exterior lights, but (heads up if you're reading this babe)...next week, it.is.on!
So, I'm sure you think that my projects always turn out perfectly all the time 🙂 I mean, I'm a crafter and a DIYer, that's my job...so it must always go smoothly, right?
Weellllll...that is actually not the case! I have my share of craft fails that never make it onto the pages of this blog! We just pretend that they never happened (as we stuff them into the garbage can or drag them out to the curb on garbage day...we meaning I...just so we're clear!).
Today I am going to share one of my disasters with you! So brace yourself (you've been warned!).
But before we get to that, a little back story...
I haven't had a 'real' Christmas tree topper for years! There was the year I bought the giant green angel with wings...but apparently someone in our family has a fear of porcelain doll heads...and actually, it was quite hideous, so buh-bye it went!
I have pretty much made do each year with either hanging a Santa hat on the tree top or a velvet stuffed star that I made looong ago.
Our tree was due for an update...but Christmas tree toppers can be expensive!
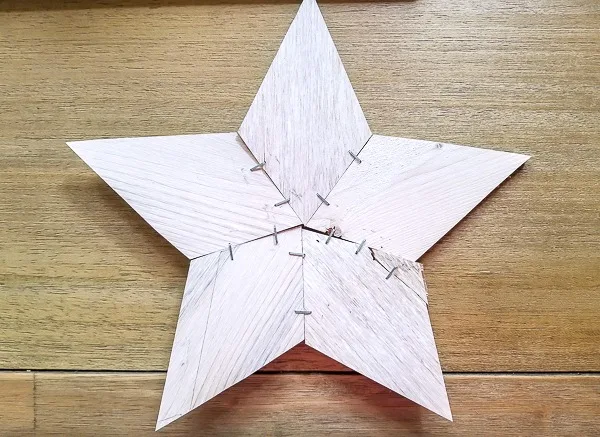
We recently added reclaimed wood walls in our sunroom, and I had a few pieces of wood leftover. I thought, 'wouldn't it be great to make a 5-sided star using the leftover wood!'. Not only really cool, but really free too!
I measured and marked, cut and stapled...
...and this is what I wound up with...
Obviously there's something to be said for marking twice! Can we just say it...EPIC FAIL 👀😕😜
Clearly I am neither a builder, nor good at math! Eyeballing it doesn't really work when precise measurements are needed!
This one did not get donated to the Goodwill; it went straight in the trash! It was back to the drawing board for this mama!!
And it was Target Dollar Spot to the rescue for an adorably farmhouse tree topper that I customized!
I spotted this $3 wood snowflake on one of my weekly visits and knew it would make a fantastic tree topper...especially after I added a little farmhouse goodness to it!
Here's how I did it:
Affiliate links are included for your convenience; my full disclosure policy can be found
here.
SUPPLIES FOR TREE TOPPER
- $3 wood snowflake (about 8" wide)
- dark gray chalk paint ( this is the exact one I used)
- paint brush (my favorite brush for pretty much everything!)
- white chalk paint ( this is the one I used)
- clear wax
- finish sander
- drill
- long white twist tie
HOW TO MAKE A $3 FARMHOUSE TREE TOPPER
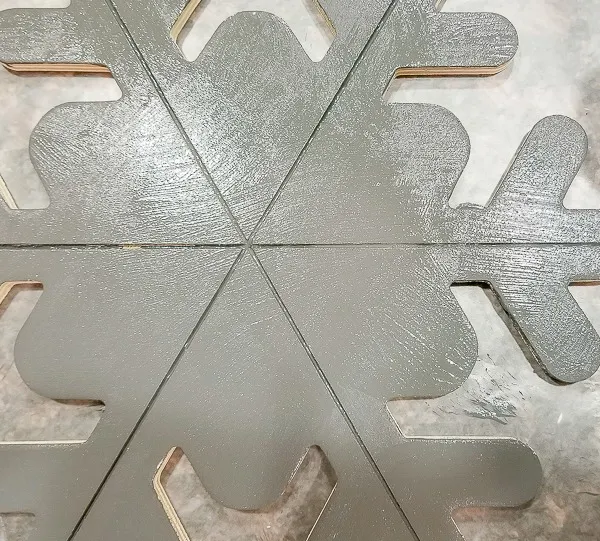
I started this project in the evening, so I apologize if my pictures reflect the lack of light!The first thing I did was to paint the snowflake with dark gray chalk paint, making sure to get the paint down into the grooves. One coat was enough.
I didn't bother painting the back or the sides because my tree is in a corner and it wouldn't be visible anyway!
Next, I painted 2 coats of white chalk paint over the gray (sorry, no pic).
Once all the paint was dry, I distressed the snowflake edges using my finish sander (my best non-human friend!). I took it down to the bare wood in some places, and just made it look all chippy and farmhouse-y!
That gray wood peeking through gives it dimension and instant age!
I applied a coat of clear wax to bright out a bit of sheen.
Then I used a small drill bit to make two holes right in the middle, indicated by the arrows below.
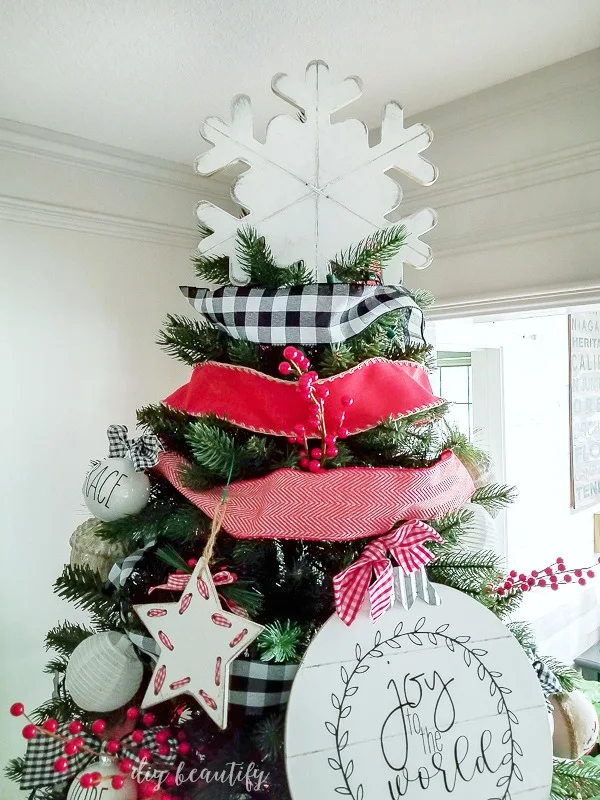
I threaded a long white twist tie through the holes, and tied the snowflake to my tree top.
Easy peasy, and the perfect topper for my farmhouse Christmas tree!
I'll be sharing more pictures of my tree, my home and lots more tutorials in the upcoming weeks so be sure you're following along!
Please PIN THIS IMAGE below for future reference because you know you need a farmhouse Christmas tree topper, right?!
It doesn't get much cheaper than $3 for a sweet tree topper that you can totally customize to suit your tree's style and color!
Personally, I think it looks best in white, what do you think?
bringing beauty to the ordinary,


I'm in love with your topper! And you're right, it doesn't get any better than a topper you can customize.
ReplyDeleteThanks Erlene ☺
Delete