DIY Sign with GPS Coordinates
Affiliate links are included for your convenience; my full disclosure policy can be found here.
Speaking of Millie...can you even? 💜💜💜
GPS COORDINATES SIGN
Okay, on to today's project, how to make a sign for your home with
your exact GPS coordinates!
Unique signs are very popular in home decor. And a sign with your coordinates is not only cool, it's unique. It's fun. Think of it kind of as a fingerprint. No one else has the exact same house coordinates as your family!
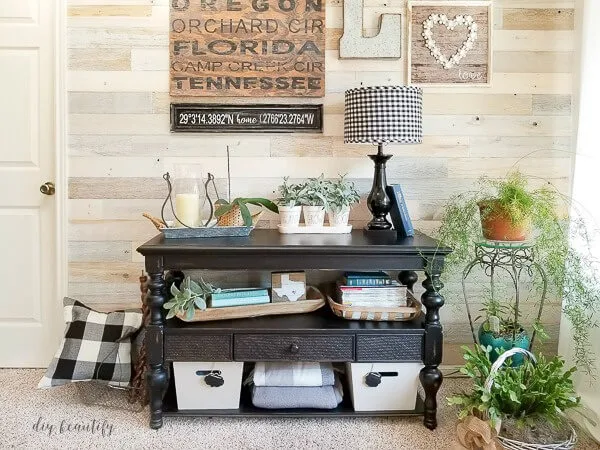
A coordinates sign is a fun addition to a gallery wall! I'm all about adding personality to a home through the unique. In our house, the letter "L" and the number "5" are repeated because those are unique to our family!
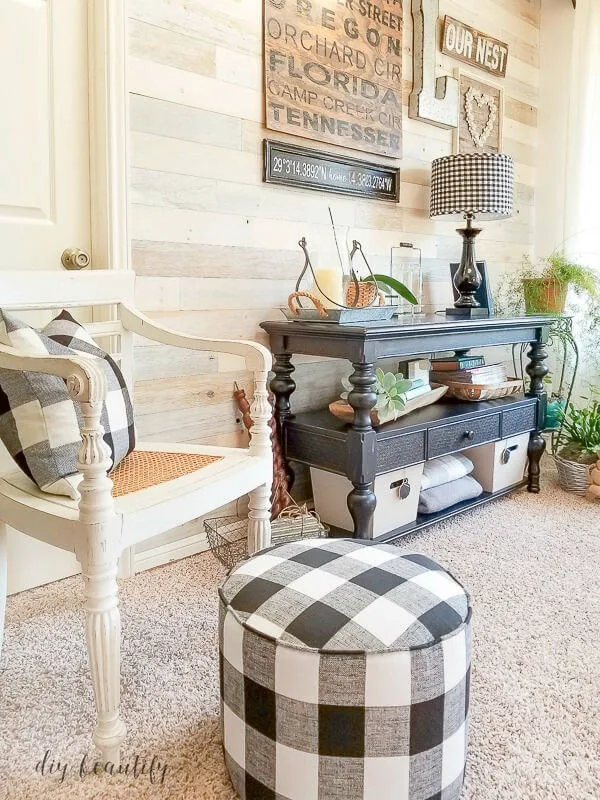
This DIY sign added another layer of personality to the gallery wall in our recently made-over sunroom.
SUPPLIES NEEDED
- board or old sign
- paint
- coarse sand paper or electric sander
- Silhouette machine (optional)
- craft vinyl or stickers
- transfer paper (if using vinyl)
HOW TO MAKE A GPS COORDINATES SIGN
Let me back the bus up for just a minute.
I love signs; in fact, my home is full of them! Last spring I
recycled an old sign to make it better fit my style. Unfortunately, something weird happened with the paint on that sign. It turned pink! True story! I'm not sure if it was the sun shining on it through the window or what.
And of course, it's really difficult to tell in this picture but trust me...that white was splotchy pink.
I never throw away boards or old signs! And I plan to remake this saying on another board I have. But for now, the length of this board made me think it would be a perfect fit for a GPS coordinates sign!
I was worried about painting it white again, so I went the opposite and painted it black. Two coats covered the white.
You could buy a board and stain it or recycle an old sign like I did.
Once the black paint dried, the sign board looked quite glossy and "new". I used a coarse piece of sandpaper and rubbed it down quite well to rough it up, distress it and age it. I knew I wouldn't be able to do much to distress the craft vinyl I was planning on using on top so I distressed the board as much as I could before adding the coordinates on top.
I went to this web site and found the latitude and longitude coordinates of my home, as well as the GPS coordinates (which I think look cuter!) Also note: I have slightly smudged the coordinates while editing photos, just to protect our privacy!
Next, I measured the length and width of my board, and opened my Silhouette software. I typed up the coordinates, stretching them to fit within my board. I also added the word "home" in between the two coordinates, and cut out my numbers onto white craft vinyl.
If you don't own a Silhouette or a Cricut, you can still make a coordinates sign! You'll just have to work a little bit backwards. Find some stickers that you like and lay them out so you'll know how big to buy your board.
I really like how the crisp white numbers look on the distressed board! And the black really pops on our wood walls!
Pin this image to save for later!
What do you think of this DIY sign idea?
Click here to find out how I made the buffalo plaid ottoman for only $17!
bringing beauty to the ordinary,
Become a DIY insider!
You'll never miss a post, and you'll get all my FREE tutorials
and more...delivered straight to your inbox!
and more...delivered straight to your inbox!
Let's be Social! Follow along on Pinterest, FB, G+, Twitter, Instagram
Popular Posts You Might Have Missed
This blog's content is for entertainment purposes only and is not professional advice. By reading this blog and attempting to recreate any content shared on it, you assume all responsibility for any injuries or damages incurred. Read my full disclaimer here.


How did you get the degree symbol on your cricut/silhoutte? I am having trouble finding a degree symbol!
ReplyDeleteThanks
I typed Alt+0176 to get the symbol.
Delete