How to Distress Shiny Craft Vinyl for Vintage Signs
This DIY sign is made with craft vinyl, but it looks vintage and distressed. I'm sharing the easy technique and tips for the best results!
Affiliate links may be included for your convenience; my full disclosure policy can be found here. If you click through and make a purchase I'll receive a small commission at no extra cost to you!
My friends, I have discovered a new technique for distressing vinyl which I'll share in a minute. I wasn't planning on making so many things for fall, but when I see something I like, it triggers the creative part of my brain! It fires up and just won't be satisfied until I make something! Are you like that?
I've made a lot of fall signs this year! There's the 'grateful thankful blessed' sign that I made using a $3 sign I found at Target, the shabby farmhouse 'hello fall' sign that cost just $4 because I used wood I found curbside. And then there are the signs I haven't shown you yet (unless you follow me on Instagram). Like this sign I painted one Saturday morning (while the rest of the family was still sleeping) for my side entry door...
And this sketch that I made on my Silhouette machine and framed.
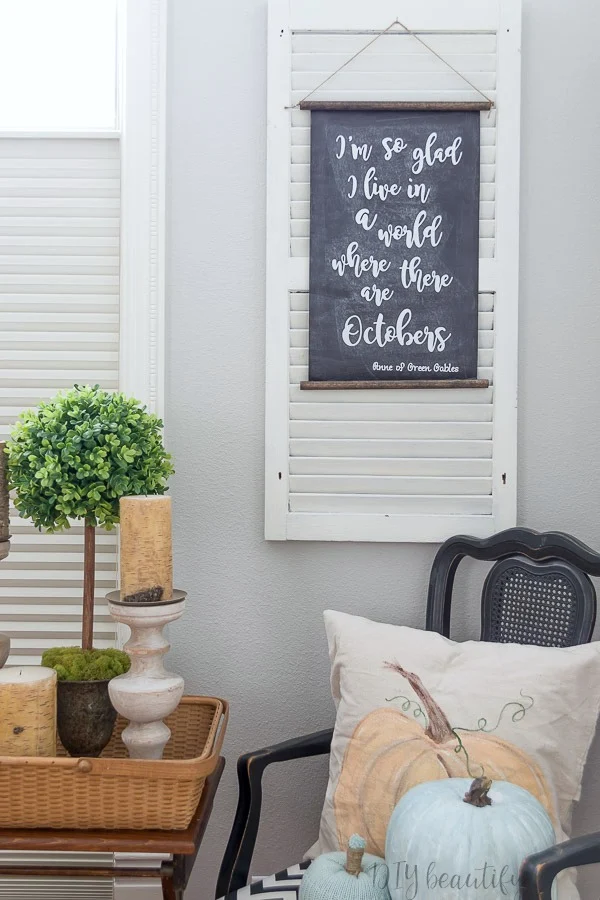
Oh, and this chalkboard scroll that I made using one of my favorite Fall quotes! You can read my 3 tips for creating stunning vignettes here.
In all this creating, I stumbled upon an easy way to distress shiny craft vinyl to create a sign that looks worn and vintage!
I'll be honest that I wasn't sure if this idea would actually work, but as you can see, my distressed fall sign turned out beautifully and I'm excited to share the process with you today.
Supplies Needed:
- Silhouette or Cricut die-cut machine (I purchased the Cameo 3 in this bundle last fall)
- craft vinyl in a variety of colors
- transfer paper (this is my favorite)
- your own design, or one you've purchased online (I used this Harvest Market design)
- 18" square board (any wood is fine)
- white chalk paint (this is my go-to paint)
- brown acrylic paint (I used Burnt Umber)
- brushes
- palm sander (I love this one)
How to Make a Vintage Sign with Distressed Vinyl
I started off with a piece of pine cut to 18" square and sanded smooth.When that dried, I painted a heavy coat of white chalk paint, making sure to leave lots of brush strokes and texture. I set it aside because this took awhile to dry.
In the meantime, I cut out my design using my Silhouette machine. I'm not going to go into any detail on how to do this, because I've shared that several times before. I used different colors of glossy vinyl to match the blue and orange fall theme I've used for cozy fall decorating this year.
Once my heavy coat of white paint dried, I sanded it with my palm sander, smoothing the ridges and revealing some of that burnt umber paint along the edges. Doesn't it look like it's been sitting in someone's barn for a couple hundred years? Okay, maybe not, but this was a very easy way to create an aged look on a new piece of wood!
I used my transfer paper to perfectly center my vinyl design on the board. See how perfect the vinyl looks? It's all glossy and shiny...but I wanted a distressed look to match the aged board I had painted! So read on to find out how to distress shiny craft vinyl!
This next step is the one I was nervous about. I decided to take my palm sander to my vinyl! I wanted to see if I could lightly distress it without ruining the vinyl.
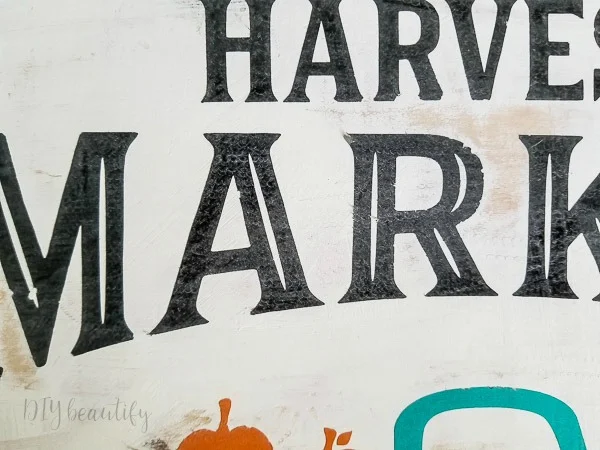
I went lightly, and focused mostly on the black letters. It really took just a few seconds to sand off that shine! Look at this beautiful distressing! You can see that some of the letter corners were sanded right off. I'm glad I stopped when I did!
Tip: when distressing vinyl with a palm sander, go lightly and quickly! You can choose some select spots to distress a little heavier with the edge of the sander. If you're nervous, try using a piece of sand paper so you can adjust pressure manually.
And that was all it took! So easy and quick! I just wiped off the residue and my sign was done! I didn't bother to wax because remember I was going for vintage, distressed and aged. So the matte look from the sanded board and the distressed vinyl is just perfect as is!
I am really excited that I discovered this easy technique for distressing craft vinyl! I'll definitely be using this again when I want to make a vintage-looking sign!
As always, please feel free to pin and share this image with your crafty-loving friends!
bringing beauty to the ordinary,
Become a DIY insider!
You'll never miss a post, and you'll get all my FREE tutorials
and more...delivered straight to your inbox!
and more...delivered straight to your inbox!
Let's be Social! Follow along on Pinterest, FB, G+, Twitter, Instagram
Popular Posts You Might Have Missed
This blog's content is for entertainment purposes only and is not professional advice. By reading this blog and attempting to recreate any content shared on it, you assume all responsibility for any injuries or damages incurred. Read my full disclaimer here.


Comments
Post a Comment
Your comments are like sunshine and chocolate! Thanks for taking the time to leave a nice one ;) I read all comments and love to respond if you leave your name and email! Otherwise, please look for my response under the post where you left it!