Easy Placemat Pillows
Stop paying top dollar for seasonal pillows - make your own from inexpensive yet beautiful place mats! This tutorial will show you how easy it is!

Updated 01/2023
Affiliate links may be included for your convenience;
my full disclosure policy can be found here. If you click through and make a purchase I'll receive a small
commission at no extra cost to you!
Pillows. Do you love them?
Cute seasonal pillows can get really pricey though...especially if you're looking to acquire them during the season. I'm sharing an inexpensive way to MAKE YOUR OWN cute pillows, even if it's only 13 days before Christmas!
How to make your own pillows for about $8 each!
I love purchasing seasonal placemats and home decor during the off season, when you can find it on clearance!Supplies
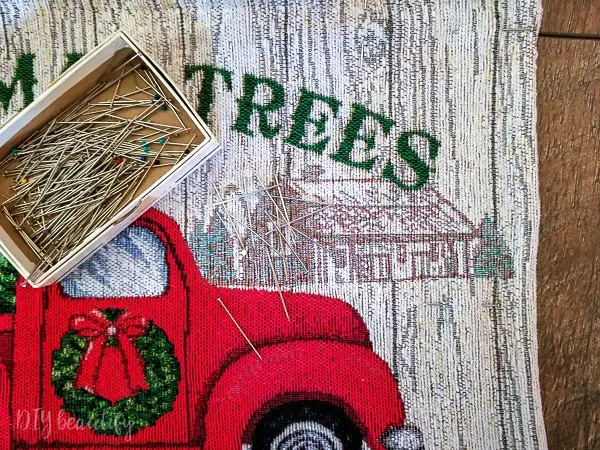
- seasonal place mats (I found mine at Big Lots)
- bag of polyfil stuffing (you'll need one per pillow)
- DMC embroidery floss and embroidery needle (optional)
- fabric glue or sewing machine
- straight pins
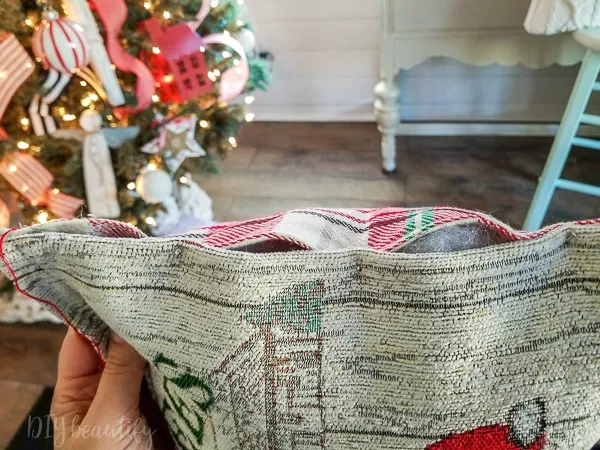
The nice thing about these place mats is they are very sturdy, and the plaid
one is double-sided...but the best part is the price...I bought these for
only $2.50 each!
Now, there are multiple ways to adhere your place mats to create a pillow
cover. If you are anti-sewing, or don't own a sewing machine, you can
definitely make this pillow using a good fabric adhesive!
I own a sewing machine, and it's my preferred choice because it's more
permanent. So my first step was to pin my place mats together, with the good
sides facing OUT!
Note: normally when sewing pillow covers, you will be sewing with the
good sides together and the wrong sides out; this is just the opposite!
The edges of the place mats are finished nicely already which is why we
are doing it this way!
I then sewed the place mats together on three sides, leaving one short end
open.
Pillow stuffing trick
If you've ever stuffed a pillow before by grabbing handfuls of stuffing and
adding it to the case, you'll know that lumps are inevitable. So to
counteract that,
I left my stuffing in the bag and cut the end off
one of the short ends of the bag.
I then added the entire bag of stuffing to the pillow cover, open end
first.
Because it's in plastic, it slid quite easily into the pillow cover.
This is by the easiest way to stuff a pillow cover with polyfil, and I'll never do it another way again! No lumps!
The last step was to sew the open end shut. I pinned my open ends together.
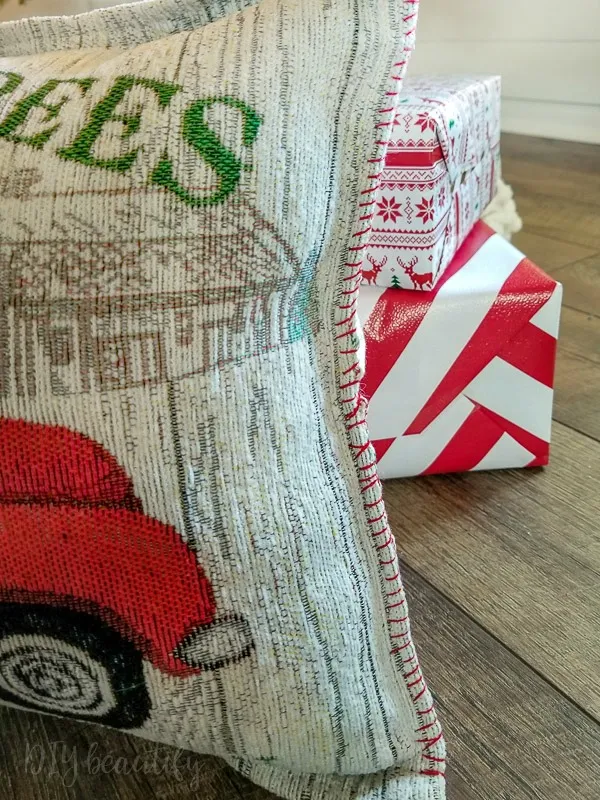
I opted to use DMC floss in red because I wanted my stitches to be visible. DMC embroidery floss (or thread) comes in a strand made up of 6 individual threads. I cut off a 24" length and separated it into 2 strands of 3 (if you zoom in on my thread below, you can see that it's actually 3 threads). An embroidery needle is thicker and also has a larger hole for threading, making it much easier to hand sew the place mat.
I just sewed a simple whipstitch. It's not perfectly even, but it adds a bit of additional interest to the ends of the pillow (I did the same to the opposite end, even though I'd already sewn it closed with the sewing machine).
I like the colorful stitching on the ends!
What a great idea right? Turn place mats into pillows in just a few minutes! This cute Christmas truck pillow cover was a perfect complement to my bright and festive Christmas decor this year! I shared a farmhouse Christmas tour earlier this week; if you missed it, you can catch up here.
I will definitely make more of these simple place mat pillows! And I think they'd make great gifts!
The red plaid place mat I used for the back was double-sided, so that makes
my easy DIY pillow reversible! It's cute on the front AND the back...bonus!
Wasn't that a fun (and simple) DIY Christmas project? AND inexpensive! My pillow cost me less than $8!! I'd love to know if I inspired you! Send me a picture of your completed pillows!
PIN to Save
Sharing and Pinning my images is a great way to support my site, thank you ❤
This is the type of project that is perfect for any season! For instance here's a pillow I made using a pair of heart-shaped place mats from the Target Dollar Spot! It cost $3!
And now let's see what my friends have been up to...
This is the type of project that is perfect for any season! For instance here's a pillow I made using a pair of heart-shaped place mats from the Target Dollar Spot! It cost $3!
And now let's see what my friends have been up to...
bringing beauty to the ordinary,


I LOVE IT ALL!!!!!!!!!!!!!!!!!!!!!!!!!!!!!!!
ReplyDeleteThank you sweet friend!
DeleteYour Christmas pillows are such a delight for any Christmas style! Thanks for sharing the simple way to stuff a pillow. (I have been doing it wrong for a LONG time0
ReplyDeleteMerry Christmas, Cindy.
Thank you friend!
DeleteYour DIY pillow is gorgeous! I've used napkins to make pillows but never thought of placemats - great idea!
ReplyDeleteThanks so much!
DeleteI loved this tutorial. I'm going to try making me some Christmas pillows if I can FIND any Christmas Placemats left!! I love your blog site and enjoy all your tutorials you give us. You're so talented and I enjoy trying them.
ReplyDeletejean
Thank you Jean, ...good luck finding some cute place mats!
DeleteLove it ...Thanks for sharing it with us
ReplyDeleteThank you Lyla!
DeleteThis idea is fantastic! Love how you sewed the pillows AND the stuffing technique! Do you think the whip stitch would work for the entire pillow if I don’t have a sewing machine?
ReplyDeleteThank you! Yes I don't see why not 🙂
DeleteOh, boy...now I have to go find me some Christmas placemats!!! These are so very cute and so very easy that I really want to make some as maybe a little gift for my neighbors!! Thank you so much for sharing, especially the stuffing part!!
ReplyDeleteYou're so welcome Karolyn! I'm so glad you're excited for this project! Check Big Lots for placemats, that's where I found these ;)
DeleteLoved your idea and how easy they are to make. Yes, you have inspired me to make some!! Thanks!
ReplyDeleteI made some this past weekend, but I opened up one end of the placemat and stuffed it. This way you only use one placemat per pillow. Getting them at the Dollar Tree is a real bargain!
ReplyDelete