Antiqued Easter Eggs
A little trial and error, and a lot of determination, led to these antiqued Easter eggs! I hung them from a DIY tree planted in a dry brushed pot. I'm sharing all the details below!
Affiliate links may be included for your convenience; my full disclosure policy can be found here. If you click through and make a purchase I'll receive a small commission at no extra cost to you!
Craft Fail?
This project could also aptly be titled "The One Where Nothing Went as Planned" or better yet, "That Time I Almost Threw it all in the Trash and Walked Away in Disgust!" I wouldn't call it a craft fail but that's only because I'm so determined!
And I'll admit I spent WAY TOO LONG on these silly eggs! But it was a nice break from all the master bedroom projects, and a little bit mindless (which sometimes ya just need!)
The Original Plan
I'll admit I'm not sure what I even had in mind when I bought these eggs. But I just thought they were so cute, and you know how it goes when you're at Target...you buy all kinds of things you don't need!I pulled them out the other day, thinking to decorate them with permanent markers. This is the point where it all started to go downhill.
Um, no. Just no! I have graduated kindergarten! Don't you hate getting all excited about a marker color because the cap is so pretty...but the actual marker is absolutely nothing like it? C'mon marker people...give us the cap colors!!!!!!!
The Backup Plan
This led to the backup plan. Color. Lots and lots of color, applied using acrylic paints. The problem that you can't see in this picture, is that as the paint dried, those markers flowers were bleeding through and they were looking a little fluorescent! Definitely not what I wanted!Okay, I thought cunningly, how about a little crackle? That will disguise the marker and make a very cool effect.
So I shook up the Crackle Medium, painted it on and waited the 4 hours it said it would take to dry....
...and waited....and waited....and waited...and waited...and waited....and waited...and waited...and waited...and waited...and waited...and waited...
...and ONLY ONE egg crackled! Out of 8 or 9 eggs. What the what?
Backup to the Backup Plan
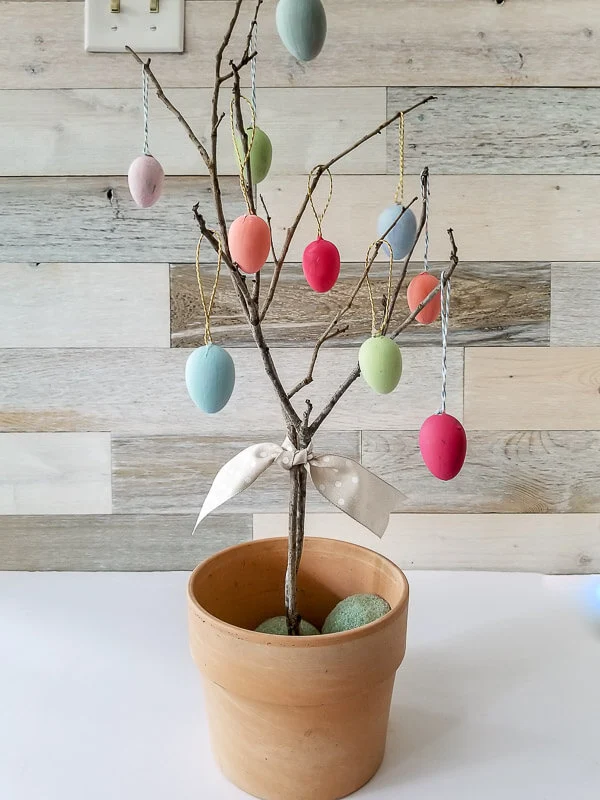
At this point, it really was survival of the fittest. I would NOT GIVE UP! Those eggs were NOT going to get the best of me!!! I'm a craft diva, a craft queen, goddess of all things crafty (I think the paint fumes were starting to get to me!)On the positive side, you can see I found a couple perfect sticks in the backyard, and "planted" them in a terra cotta pot with some styrofoam balls I had on hand.
I guess I was thinking the acrylic paint is why the crackle didn't "take", so I repainted all the eggs with white chalk paint and then applied the crackle medium. I thought the color peeking through the white would be fabulous!
Can you guess what happened? Nothing. Abso-frickin-lutely-nothing! The eggs just look a sorry mess! UGH
A New Plan
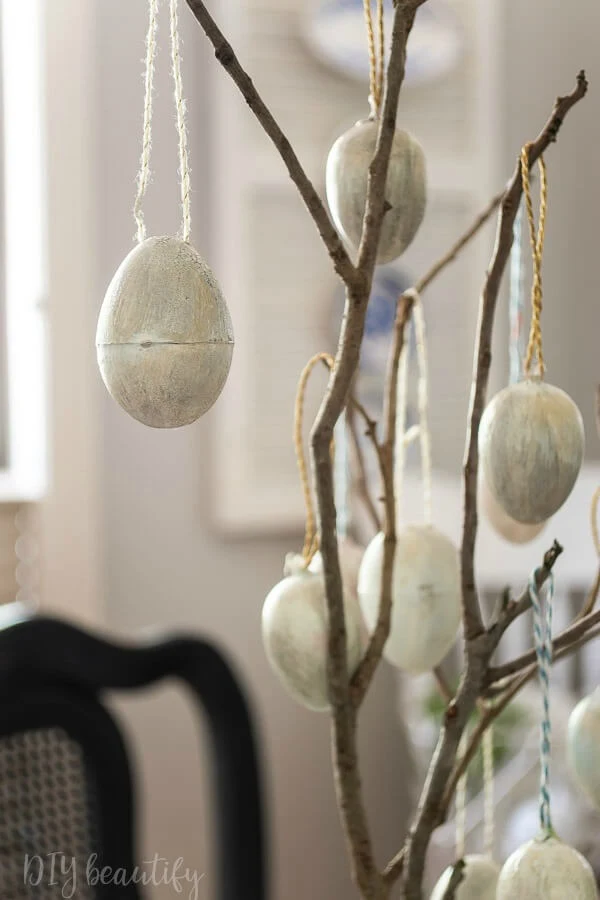
When you're in the absolute depths of craft despair, there is really only one solution that will cure all ills...pull out the dark wax and antique the suckers!!! 😄😏I rubbed on a little tiny bit of dark paste wax and immediately rubbed it off.
And the eggs finally made me proud!
I still think more color showing through crackles would have been pretty, but it was not to be.
So, after all the egg drama, I present to you...
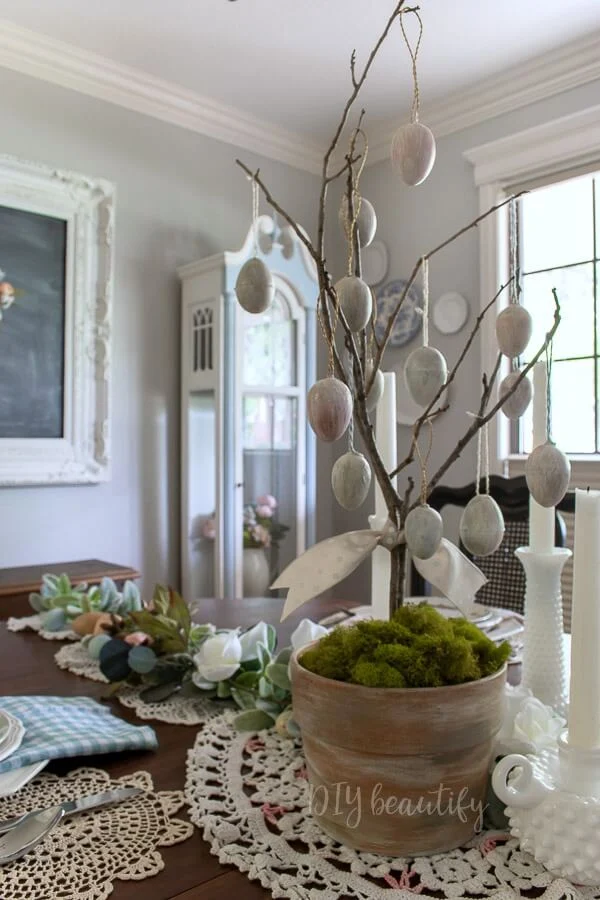
Antiqued Eggs
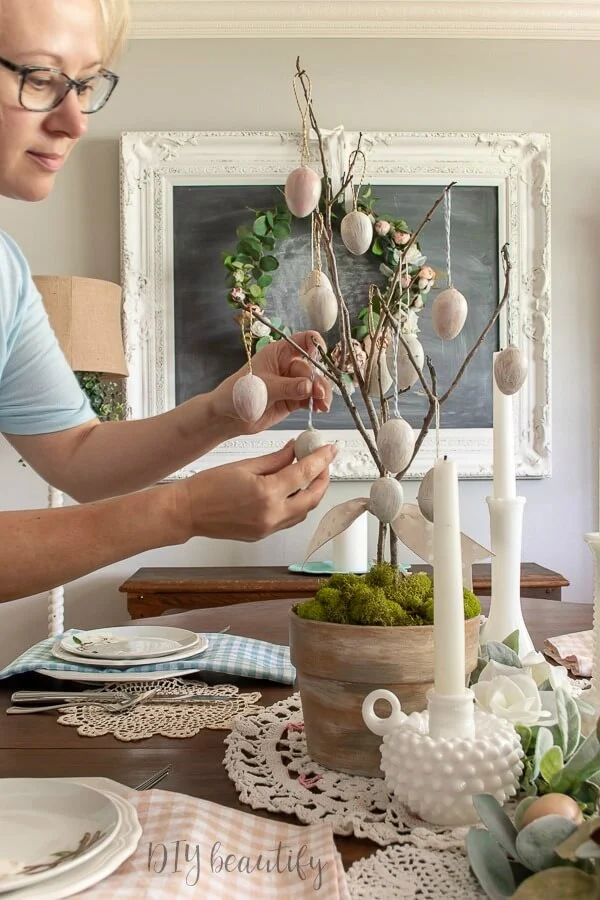
I may still have had an angry-ish face when I took this picture...😜😠 Really, I think I was trying not to squeeze the eggs to death!
The terra cotta pot got a little dry brush of white, then gray paint and then finished off with, you guessed it, dark wax!!!
I guess these eggs knew somewhere in their little faux eggy hearts that they could never compete with all the color in my dining room. They didn't want to stand out...they wanted to blend in.
The End.
Whew.
If you're looking for more DIY Easter egg crafts, these ones gave me no problems!


Your fabulous tale of crafty determination, put a smile on my face...well done :)
ReplyDeletekind regards Jean
Thanks Jean, you're very sweet 😉
DeleteHello, are these eggs plastic? What material? Thank you, cute project!
ReplyDelete