Faux Brick Wall with German Schmear
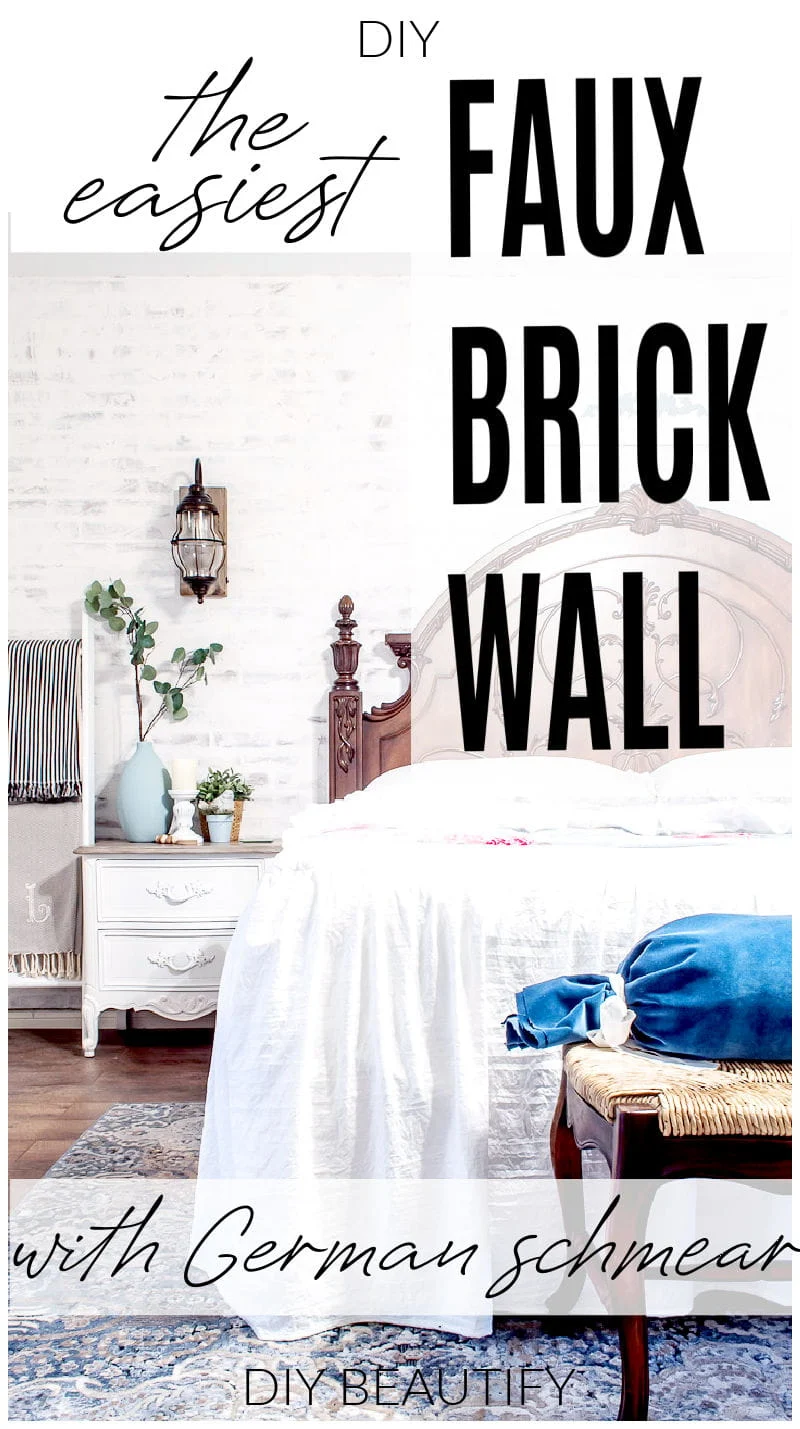
Add European farmhouse charm to any wall with this easy faux brick wall and German schmear treatment!
Affiliate links may be included for your convenience;
my full disclosure policy can be found here. If you click through and make a purchase I'll receive a small
commission at no extra cost to you!
Hello, hello! Welcome to Week 2 of the One Room Challenge, when our European Farmhouse bedroom makeover takes off! Today I'm sharing how we added a faux brick wall and did a German Schmear treatment on top!
You can catch up on other week's projects by clicking on the links below. At
this point, we're on Week 2 so the only catch-up would be our master bedroom
plan.
Complete list of projects for our bedroom makeover
- Week 1 - Makeover plans for our main bedroom
- Week 2 - you are here
- Week 3 - Giving oak dressers a weathered wood makeover
- Week 4 - Main bedroom makeover progress (and building barn doors)
- Week 5 - Making a velvet bolster pillow and DIY insert
- Week 6 - European farmhouse bedroom makeover reveal
Don't miss the amazing reveal of our budget-friendly European farmhouse bedroom!
I'm sharing the complete step by step tutorial to this easy faux brick wall as well as a video tutorial and complete supplies list below, but I've got some 'splaining to do first! 😉As always, Instagram was filled with ideas...like Natalie's approach, using her finger to create grout lines. But then I saw Hayden's super budget friendly brick wall which used painter's tape. Until I thought about the actual process of trying to make straight lines with tape...and a bad back 😟
I didn't give up though, kept looking for inspiration and when I spotted Whitney's gorgeous faux brick wall in her guest room, I knew this was the technique that would be perfect for our project!
Before we get into the tutorial, let's take a little look at where we started.
Bedroom 'before'
There's not much to love about the current state of our room! And those green walls were the first thing to go!
Painted Walls
Once Mr DIY and our son moved all our furniture into the middle of the room, I was cleared to paint. One of my favorite white paints is Bistro White by Valspar. It's the perfect white in my opinion...not too stark, not too creamy. I find it reads as a true white in our home and pairs well with our gray walls and farmhouse neutrals. It is considered a 'warm white' if that helps you. We used it in our sunroom makeover as well as in my farmhouse office, which is right off those french doors in our master.When you are painting white over a darker color (like beige and green in our case), you will need to do two coats...UGH...I know, it's a bummer! But there's no way around it! I worked my way around our bedroom walls (leaving the focal wall green for now), and then did it all again. I was wiped out by the end of the day, but the room was WHITE!!! And of course I forgot to take a pic! But that's ok because the real focus of this week is that faux brick wall with German schmear, and I was pleasantly surprised at how easy it was!
The easiest way to make a German schmear faux brick wall
I'll share a complete supplies list below, but let's get this party started!
FYI...this is not the least expensive of the faux brick wall tutorials out
there! This one cost us about $130 for the entire wall (our bedroom is
huge!), which is still pretty cheap in my opinion! If you're looking for an
even less expensive option, click on one of those links I shared up above.
But c'mon, old world European charm for $130 is amazing!
Step 1: Cut brick panels to size
The first step is to carefully measure your wall and cut your brick panels to size. We needed to purchase 4 panels and had to cut a little off the ends, as well as the side of the last one. Mr DIY cut the panels to the size we needed with his SKIL saw. If you don't own this type of saw, you can rent one for half a day!
Designer Tip: to avoid seams, cut brick panel around a few of the
bricks, making sure to match the ones beside it on either side. We
didn't think about doing this until after our panels were on the
wall!
Here's a close up of the brick panel outside where the lighting is better.
You can see that it's not very thick, but it has a nice authentic looking
texture to it!
Step 2: Nail panels to wall
Once we marked the studs, we nailed the brick panels into our wall, being very generous with the nails. There were a few panels that ended where there was no stud, but we were able to nail each individual brick to better hold the panel to the wall. And it appears I didn't take a picture of this step, probably because both my hands were needed to hold the brick in place while Mr DIY did the nailing.
Repeat for all the panels. Again they're not actually nailed yet, but this
gives you an idea. We were careful to match up grout lines when we added
another panel.
I did remember to take a picture once all the panels were up and nailed. And
of course, at this point Mr DIY thought it looked great and we should just
leave it. But nope, I had my vision!
Step 3: Caulk seams
Once all four panels were securely attached, we caulked the seams. In hindsight, I'm not sure this step is necessary, but I wanted to try to disguise the seams as much as possible before doing the German schmear treatment.Step 4: German schmear
Insider Tip: after following other tutorials, the recommendation was to use a wide plastic putty knife rather than a metal one. The plastic one is more flexible, allowing you to get the joint compound where you want it.
I actually made a very short video of this step, so you can watch to see exactly how to apply the joint compound (make sure your volume is turned up!). I apologize that my camera was the wrong way (#videonewbie here!) 😕 I've gotten much better at videos, you can follow me on YouTube here.
It took me about two hours to apply the German schmear to the entire wall, and I quite enjoyed this step of the process. I was a messy little "schmearer" and there were clumps of joint compound on the floor (that's why I used the drop cloths!) Here I am just getting started...
You can see I'm getting close to finishing the top portion. I found it easiest to work my way across the top half and then come back and do the bottom half. It was less up and down the ladder and moving it.
We left the joint compound to dry overnight. In the morning, I could see that the grout lines had dried kind of yellowish. I was half expecting this to happen, as others had this issue so I was prepared.
Step 5: Whitewash
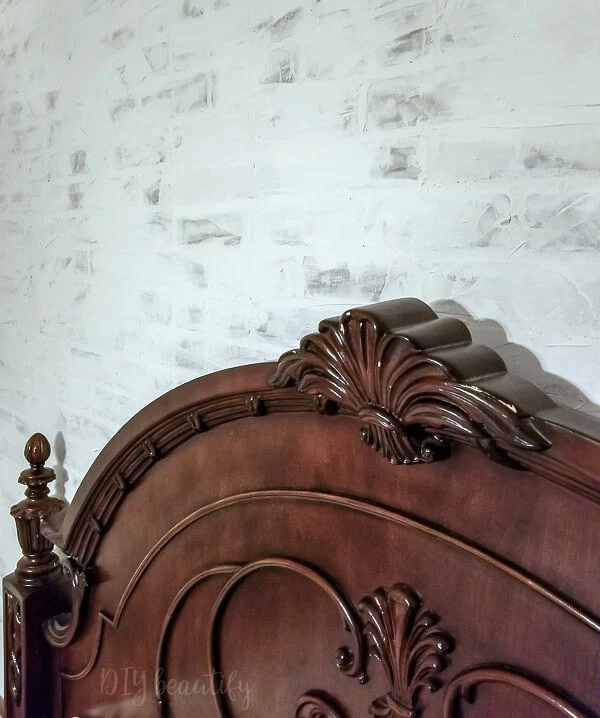
I mixed up a whitewash using 1:1 wall paint and warm water and then simply brushed it on the entire wall. You can see in the image below that the left hand side of the picture has been whitewashed. It really helped to not only cover the yellow, but to blend the whole wall together, giving it that old world charm that I was after!I am in love with how it turned out!
It has great texture because I was careful not to smooth the joint compound too much! You can do more or less depending on the look you want.
I really love how our dark headboard looks against the faux brick wall...so much so that I wonder what I could have been thinking to consider painting it! I've decided NOT to paint the headboard! The contrast of the dark headboard with the white distressed brick is just perfect! I can't stop staring at my new faux brick wall!
If you have any questions about this project, either the faux brick panels or the German schmear, please feel free to ask in the comments section below!
PIN IT TO REMEMBER!
Supplies for a faux brick wall
- Kingston brick hardboard panels
- compound miter saw
- nail gun
- level
- latex caulk
- pre-mixed joint compound
- wide plastic putty knife
- drop cloths
- white paint
UPDATE: our room is finished and we are loving the results! See our
European farmhouse master bedroom reveal
here.


Love it! Great job!
ReplyDeleteThanks Sandra!
DeleteIt's crazy how nice your headboard and might stand look now-- they are beautiful! But I. Your 'before' picture they looked dated and mismatched. Great job!
ReplyDeleteCindy, I absolutely LOVE your wall. I'm going to do the exact same thing to our wall, it's an arched ceiling so I'll start in the middle top and work my way around that. Anyway, I'm wondering about putting pictures up on that wall afterwards. Will the joint compound fall out if you nail into it? Thanks! Colette
ReplyDeleteThanks for your kind words Colette! I was worried about that too, but it's easy! Just use anchors for your screws, and if you need to move something later, the holes are a cinch to fill with more joint compound! :)
DeleteThis looks so beautiful! I can’t wait to try it! One question...how did you use your compound miter saw to cut the panels? Mine only has about a one foot sway... Thanks!
ReplyDeleteHi Erica I just asked Mr DIY and he confirmed that he actually used a skill saw, not a miter saw. Oops! Updating the post now!
DeleteOH, OK! Thank you for that. I was trying to figure out how and it just wasn’t adding up. I have a skill saw so I’m going to give it a try!
Delete