How to Make a Fake Cake
Fake cakes are a fun way to add some fresh-baked goodness to your home decor that will actually last! These cakes are a cinch to make and very affordable!

Affiliate links may be included for your convenience;
my full disclosure policy can be found here. If you click through and make a purchase I'll receive a small
commission at no extra cost to you!
Fake Cakes Just for Fun!
Sometimes you need to do something JUST FOR FUN! This is one of those projects. I know some of you won't get it and are wondering why bother making a fake cake when you can just go ahead and make a real one...
Well, here's why. This cake will stay pretty forever! It's an inexpensive item
to make that will add beauty to your decorating. You can decorate your fake
cake however you'd like.
I first saw these cakes when my girlfriend Angie asked if we could get
together and make them. Then, once I started searching, I found them
everywhere! Fake cakes are used not only by professional bakers and bakery
displays, they're being incorporated into home decor!
Who doesn't want to be greeted by the site of a beautiful cake when they walk
in the door...real or fake? It adds homey-ness to a room!
Fake cakes are easy and inexpensive to make. Here's what you'll need.
Supplies
- styrofoam rounds (Dollar Tree sells these ones, Walmart sells these and Hobby Lobby sells these)...obviously the diameter will determine the size of your cake, so if you have a favorite cake plate you'd like to use, measure it first
- hot glue
- brown acrylic paint and a foam brush (optional)
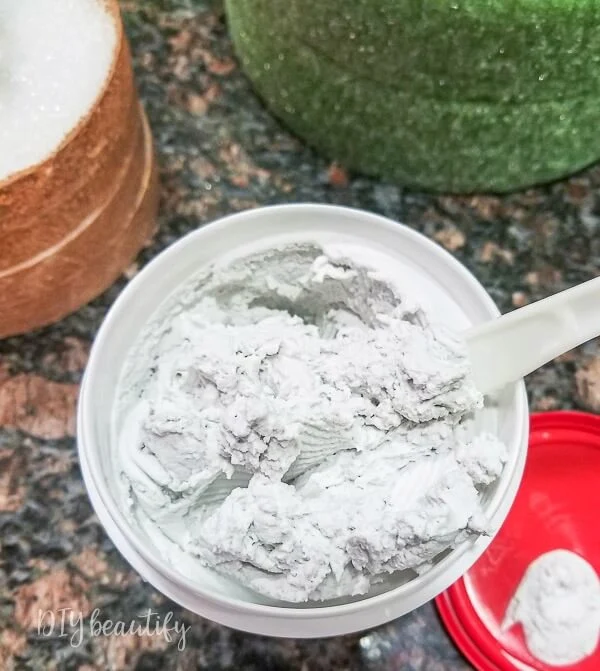
- lightweight spackling
- plastic knife and other disposable cake decorating tools
- cake topper (the peonies I used are not available right now, but here are some beautiful alternatives, as well as the lavender)
- cake stand

How to make a fake cake
Decide what type of finish you want your cake to have...a fluffy, buttercream
icing look? A naked or semi-naked cake? That will determine your first step.
I made one of each so I could tell you about both.
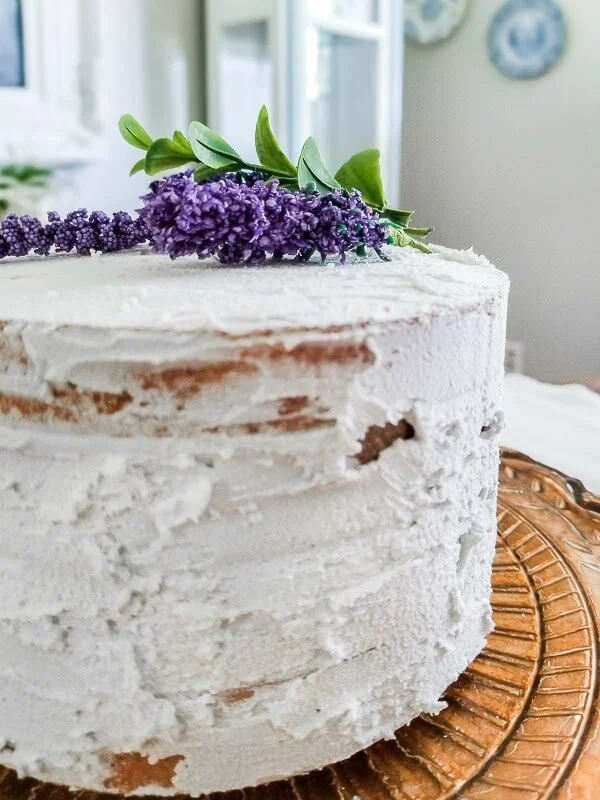
Naked Fake Cake
To make a naked fake cake, you first need to sponge brown paint onto the styrofoam, so that when the faux icing is scraped away, the brown cake is revealed beneath.Any sponge and any brown paint will do, but I think a light-medium shade is better than a really dark one. Think about the color of baked cakes when you remove them from the pan...the sponge turns a nice golden brown on the outside. That is your goal. I mixed the two colors above together.
I painted my small white rounds because I wasn't sure how green foam would look with brown paint. Green + brown = usually a yucky camo color!
Once the paint has dried, you can either hot glue the styrofoam round layers or use your spackling compound to ice the layers together.
Check out this great video tutorial for help! (Note: Britt used spackling compound she found at Dollar Tree...I went to mine but couldn't find any)
You will apply the spackling compound to the sides and top, smoothing the edges with a knife or offset spatula and removing some of the icing, which gives it that great naked look! Then simply let dry, and top with your choice of decorations.
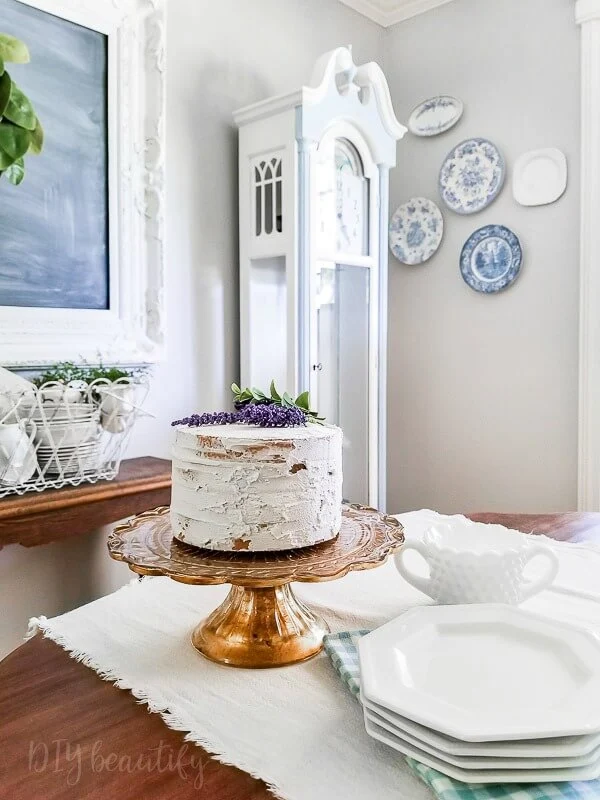
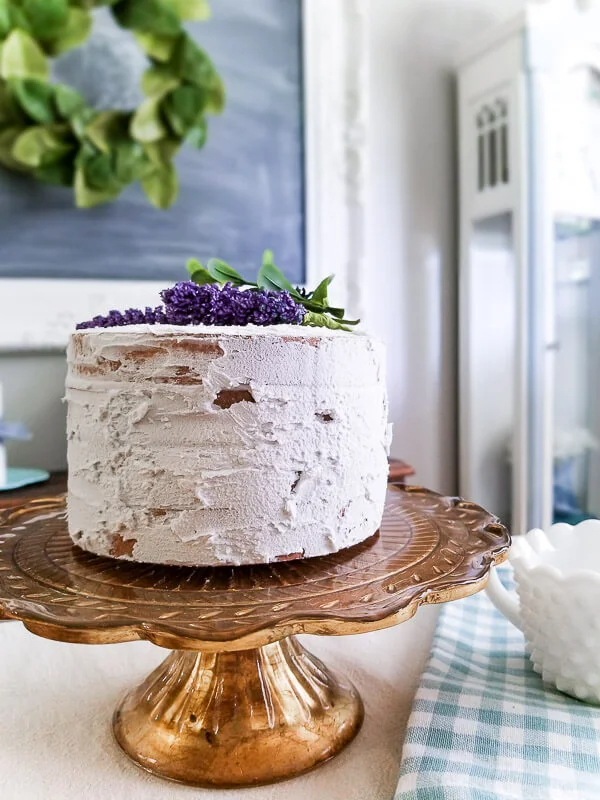
It looks like a real cake! I especially like how you can see the layers through the frosting.
Easy Fake Cake with Buttercream Frosting
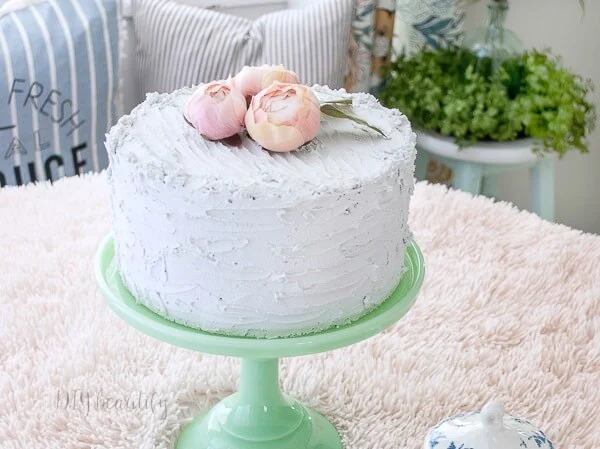
I made a larger, two-tier cake using two green styrofoam rounds that I hot glued together. The spackling compound is, obviously, your icing! Open it up and use a plastic knife to mix it and fluff it up a little bit as it can get a little compacted in the tub.You could opt to ice between the layers for a taller cake.
Liberally apply the spackling to your cake, starting with the top. You can use a small putty knife to help spread it onto the cake, just like frosting.
To get a fluffy look, use short strokes to help lift the frosting"
Insider tip: My girlfriend and I found that the spackling wanted to pull away from the foam, which was very frustrating! To counter this, Angie ran the putty knife under water. Once wet, it did a much better job of spreading the frosting and leaving it in place!
It's a little challenging to finish the sides, while still holding it. If you have a lazy susan that you can spin, that would probably help a lot! I don't own one, so we just took it slow.
Insider tip: Once the spackling dried, it was very matte...and looked a little bit gray. I spray painted it with white paint I had in my stash, but it was matte spray paint, so the frosting looks dry. I think a glossy white spray paint would give it a more authentic frosting look, and I'll probably go back and do this at some point!
Another option would be to add some white acrylic paint to the spackling and mix it well before frosting the cake! This is what I did when I make my citrus faux whip dessert toppers.
I didn't hot glue the flowers on top, they're simply placed there. That way I'm able to switch out the decorations for the seasons.
It was fun to style my cakes! I used a vintage gold cake stand for the naked cake. I found this cake stand at the thrift store several years ago and love the patina! It adds an elegant look!
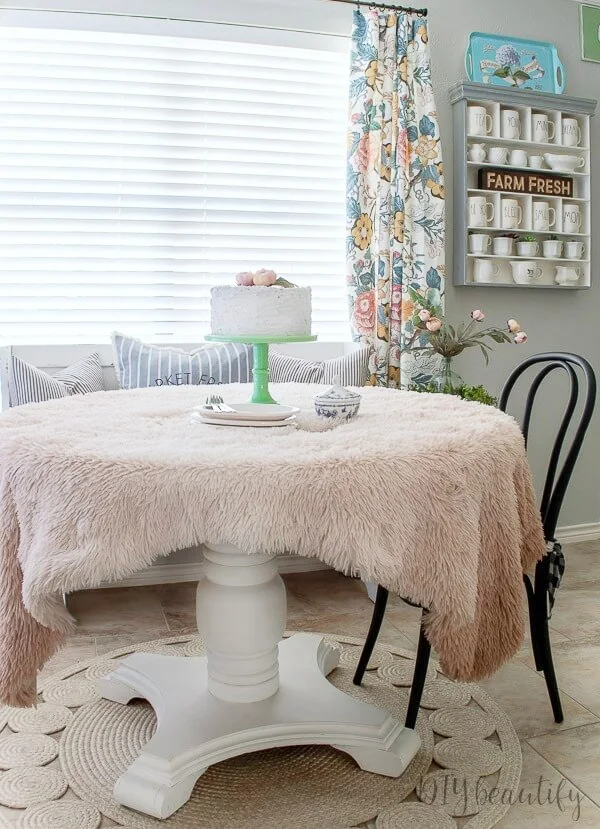
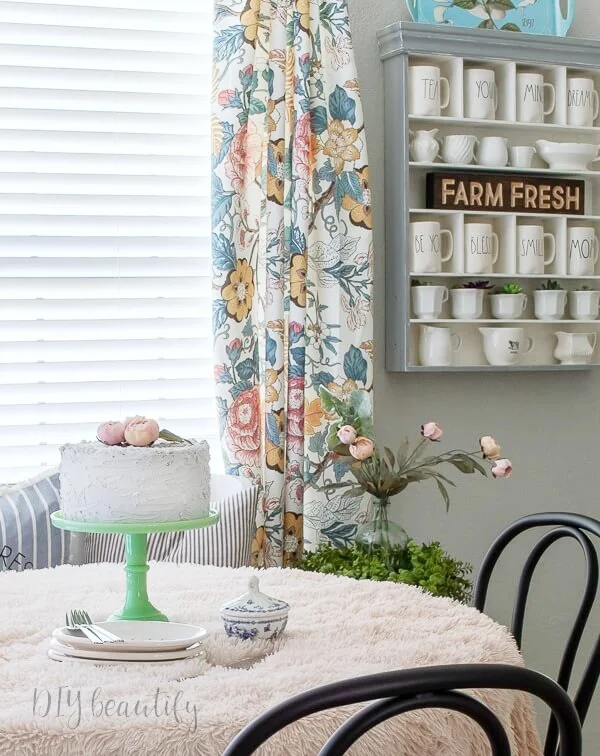
To style the larger cake, I kept it fun in the kitchen, laying a fluffy faux fur pink throw over the table. See how cute it is with the floral curtains? It looks like a little bakery in here!
The jadeite cake stand I used fits in beautifully with the pastel theme I currently have in my kitchen.
I'd love to know what you think. Fake cakes as decor...are you on board or would you rather bake a real cake...and eat it too??? 😋😋
Fake cakes are a fun project to do with a friend, a group of friends, or even your kids! Although you may need to bake some cookies so they are satisfied!
Pin to Save
Pinning and sharing my images is a great way to support my site, thank you ❤
bringing beauty to the ordinary,








I love this! I love your blog! Thanks for the tip.
ReplyDeleteThank you!
DeleteYour cake looks just like a real cake. You are so creative to come up with a way to DIY this.
ReplyDelete