DIY Round Side Table with Antique Legs and Vintage Quilt Stencil
I'm sharing how we created a small round side table from three antique legs, and added cottage style with a quilt-inspired stencil.
Affiliate links may be included for your convenience;
my full disclosure policy can be found here. If you click through and make a purchase I'll receive a small
commission at no extra cost to you!
Hello and welcome! Today's project is a cutie, a small round DIY side table
that I painted cottage white and gave a little character to with a vintage
inspired stencil!
Click here to see all my furniture DIYs
I could not get the barley twist legs I found at the curb one day out of my
head. Someone had thrown out an antique wash stand...and I happily picked up
the pieces, my brain exploding with all kinds of ideas! Actually, I wasn't
even sure what the pieces had been until I recently spotted this on FB
Marketplace and knew that's what I had, minus the bowl and a few of the skinny
bits.
Antique Wash Stand with Barley Twist Legs
All these fun pieces! I used a few of them already to make a
DIY plant stand, and I have future plans for the mirror, but today's project focused on the
three beautiful barley twist legs.
I had been displaying them in a crate until I figured out what I wanted to do
with them. They still had screws sticking out each end, which made them a
little dangerous to just have laying around.
I decided to repurpose the antique legs into a small DIY side table for our
sunroom. We love using our
vintage style daybed
to lounge, read and nap on, but really needed a little table for resting a
drink.
When I brought up this table idea to Mr DIY, and explained how it would be
built (10" wood round, twisted legs, another 10" round, feet), I mentioned
that I needed to purchase three short legs for feet so the table was elevated
off the ground. He immediately volunteered to make them, and said he'd always
wanted to turn wood! So who was I to say no to one of his dreams?
I was just delighted to pass off the hard work to someone else, hehe.
Here are the pieces we used to built this small side table. The only original
pieces were those three long barley twist legs. Mr DIY built the rest!! I'm so
proud of him and happy that he was so eager to
do all the hard work take on this project with me 😉
Full disclosure: this project didn't cost me $20 because I had some of the
pieces, and Mr DIY built the rest. BUT, if I had to purchase the feet and
the wood rounds, it would have been right around $20!
Mr DIY has a friend with an amazing workshop with all the tools a guy could
want! That's where Mr DIY built our
barn doors that are hanging in our master bedroom. That's where he headed to create the pieces we needed to turn these
legs into a table!
Okay, take a look at the ends of the legs above. See how the ends are
different. They aren't twisted like the rest of the length, but they're
turned. Mr DIY said he could replicate that so that the side table would have
matching feet. He also made the 10" wood rounds with beveled edges that I
needed as I was unable to find them in the store.
Turned Wood
Mr DIY purchased three blocks of wood for the feet.
He had a blast turning that block of wood into something beautiful! These
pictures are blurry, but you get the idea.
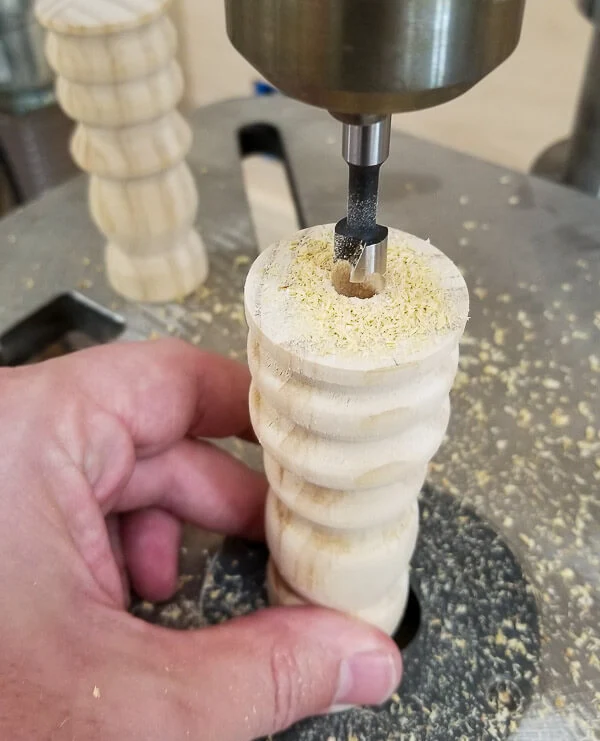
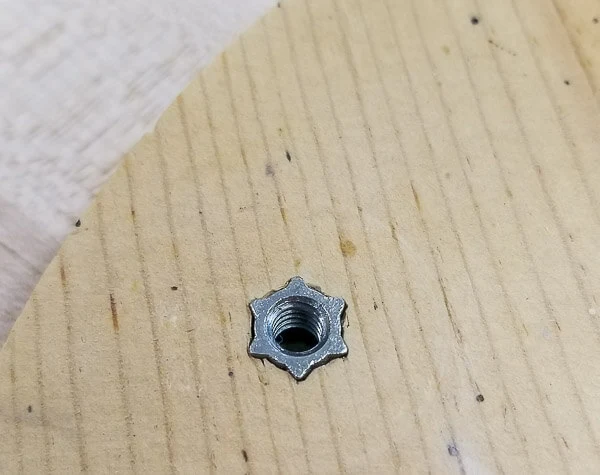
He needed to drill a hole into each end and fit it with an
insert nut
so it could be twisted onto the screw that was sticking out of the legs. Do
you love how technical that sounds? 😀👌
He made the feet a little longer than we needed, and then cut them down.
The wood rounds were made from scrap wood and, as per my request, given a
beveled edge. They ended up looking just like
these ones from Hobby Lobby, but they're 10" instead of only 5". You can also find larger round wood
table tops at Home Depot and
Lowes. I used a 14" round to make a
farmhouse beaded wood tray.
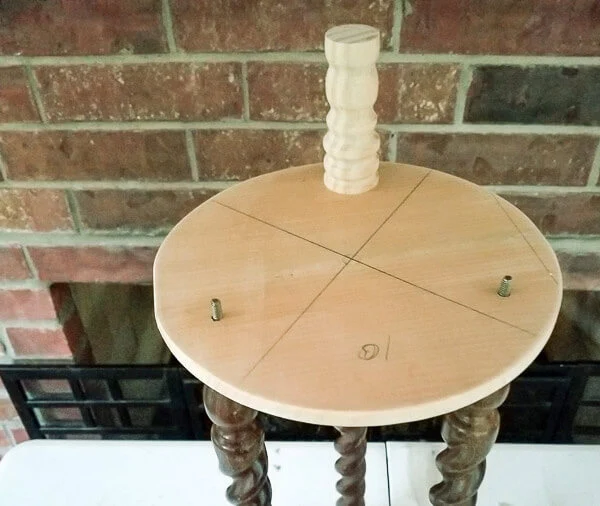
Once the wood rounds were cut, holes were marked, drilled and fitted with
insert nuts
for the legs to screw into.
Assemble Side Table
It was easy to put the table together because all the pieces simply screwed
into place! Here's a little upside down pic while I attached the feet.
And the almost-finished table just as I envisioned it! Isn't it cute?
Definitely needs some paint though to really give it that cottage charm.
Painting Table
I ended up using a
white blocking spray primer and then
white chalky spray paint
because those twisted legs are not easy to paint with a brush!
Quilt Stencil
I could have left the table as is, it's super cute! But I wanted to add a
little vintage style to the top. I was inspired by the
vintage feedsack quilts
I've seen online and particularly the
colorful pastel quilts. They have such soft, pleasing colors and remind me of spending the
night at grandma's house when I was little!
Colorful Paints
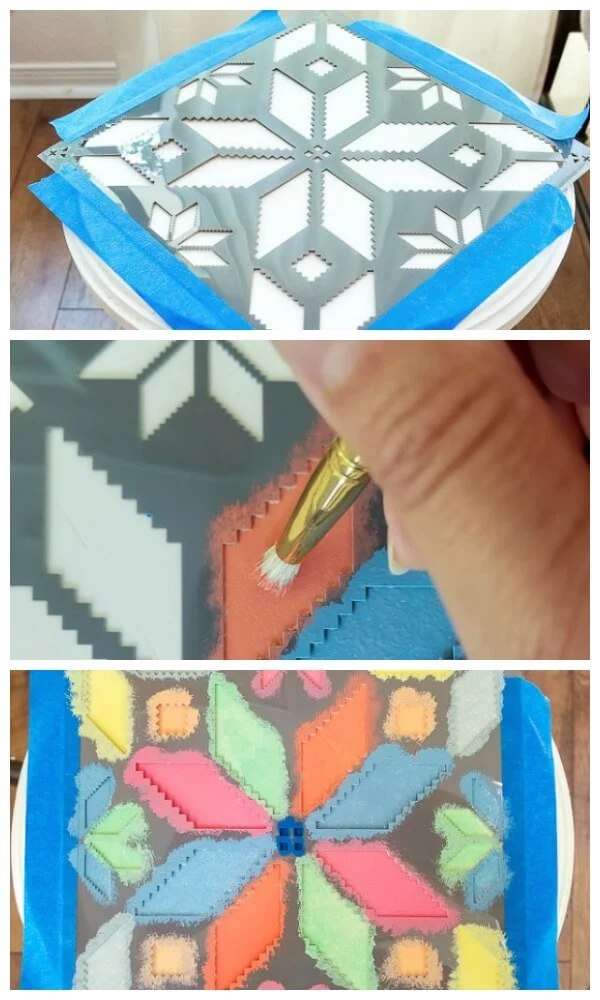
I used
this quilt stencil
and a bevy of
colorful chalk paints, all from DecoArt. If you're interested in the specific colors I used, I'll list them
below.
Painting the Stencil
After taping the stencil in place, I pounced the colors on with
stencil brushes in a variety of sizes.
Stenciling goes quickly and you use very little paint. In fact, it's best if
you lightly tap your brush on some paper towel first to remove the excess
paint. This reduces the chance of getting any paint bleeding under the
stencil.
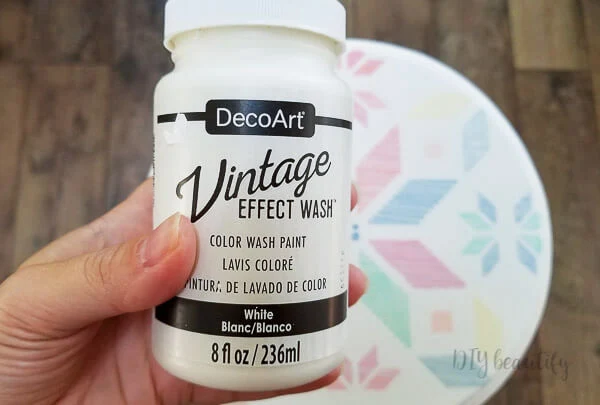
I loved the results, but wanted to tone it down the bright colors a little so
the table looked more vintage. I brushed on a coat of
DecoArt Vintage Effects Wash in white. This product made all the difference and gave me that soft cottage
pastel look I was going for.
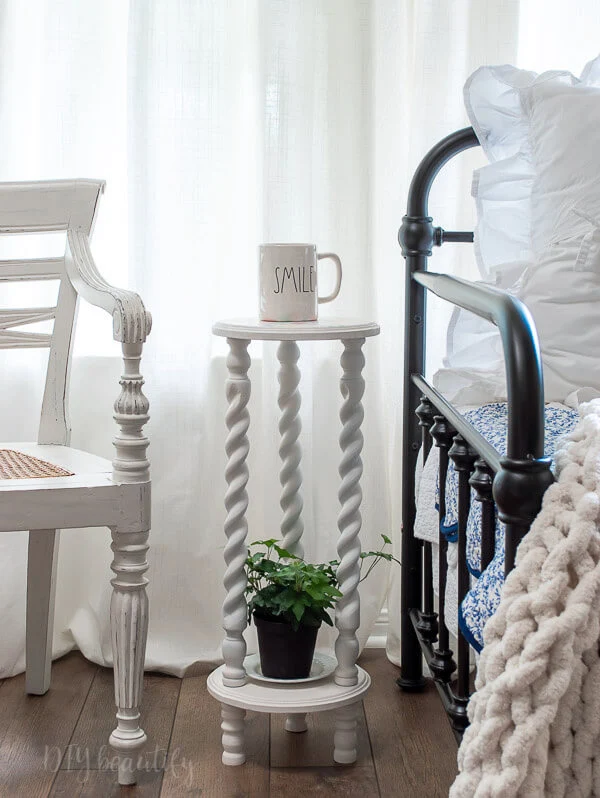
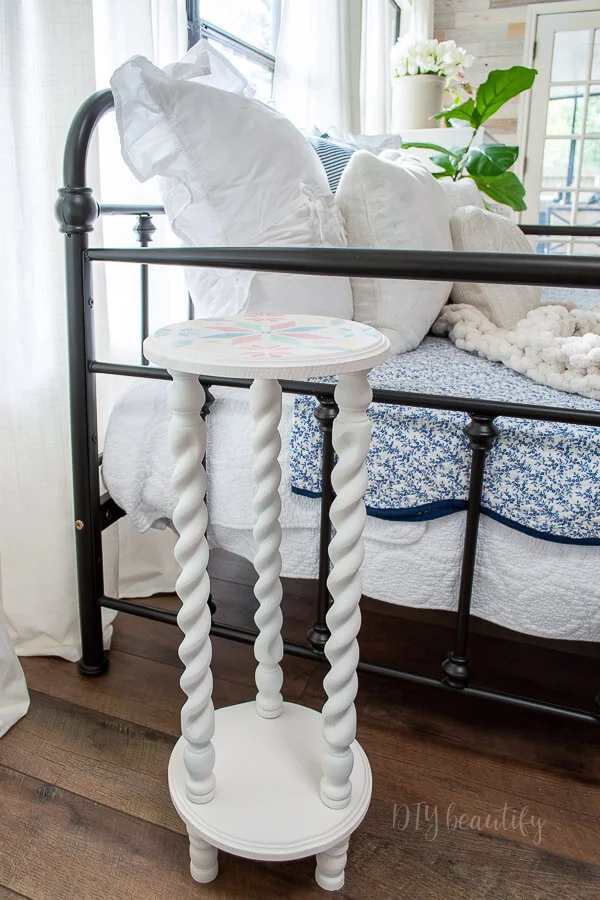
This little DIY side table is now finished! I think it was a great way to put
those gorgeous antique legs to good use! It makes me smile!
The top surface is perfect for a mug or even a plant, and I like that the
bottom shelf can fit a plant too!
The little round table fits in so well with all the other cottage style
happening in our sunny sunroom and looks great with the
farmhouse floors
that Mr DIY installed!
I think Millie definitely approves...or at least she's happy that I'm finally
finished working on this side table!! All that action wore her out ❤🐾
Actually, a nap sounds like a great idea! I'll just be here if you need me 😊
Pin for later
These are the Americana Decor Chalky Finish paint colors I used (you should be
able to purchase small 2 oz sizes at the craft store):
I would love to know what you think of my DIY cottage style side table. Do you
like how I repurposed those antique legs? If you want to make a similar table,
keep an eye out at flea markets for old chair legs (they're usually about $5
each)...or you might luck out and find an antique wash stand in your
neighbor's trash!
bringing beauty to the ordinary,

Disclosure: As a DecoArt Blogger I received the paints used for this
project at no cost. My opinions, as always, are entirely my own.









Absolutely beautiful! I love all your DIYs :) The colors and the pattern you picked are so pretty!
ReplyDeleteThanks so much Eileen!
DeleteWOW!!! I really love the table!! It's absolutely perfect!
ReplyDeleteThanks Christine!
Delete