How to Make Drop Cloth Pumpkins
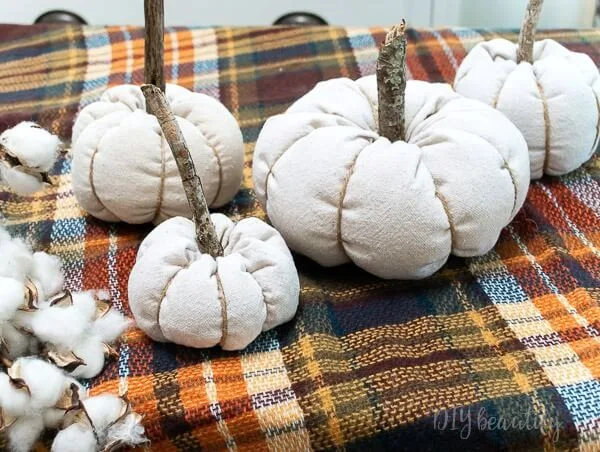
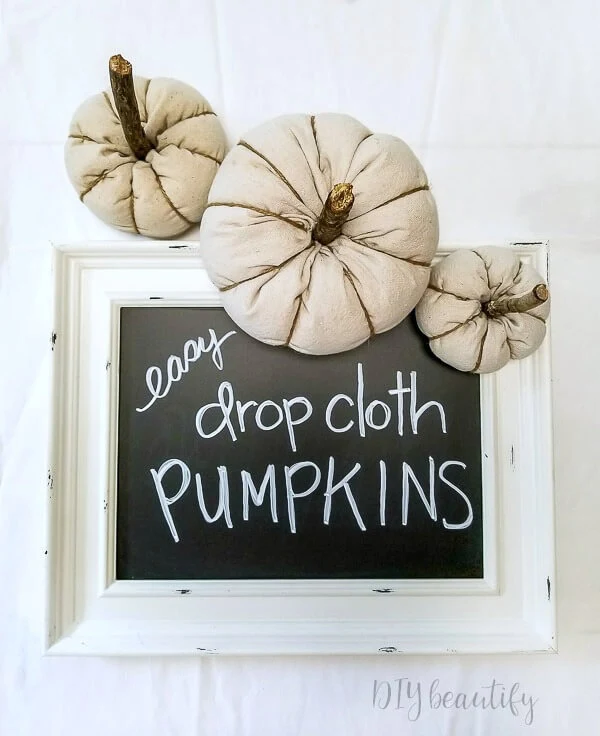
Drop cloth pumpkins are perfect for neutral decor and farmhouse style and you are going to love how easy and inexpensive they are to make!
Affiliate links may be included for your convenience;
my full disclosure policy can be found here. If you click through and make a purchase I'll receive a small
commission at no extra cost to you!
Hey there friend, today I'm excited to share my first ever full project video
tutorial with you! You're going to want to make some of these drop cloth
pumpkins asap, I know!
I hope you're enjoying your Labor Day however you're choosing to celebrate it! Mr DIY and I are working on a little project today that I'll be sharing here on the blog next week. Fingers and toes crossed that it comes together like I envision!
I hope you're enjoying your Labor Day however you're choosing to celebrate it! Mr DIY and I are working on a little project today that I'll be sharing here on the blog next week. Fingers and toes crossed that it comes together like I envision!
If you're thinking that I'm one of those crazies who already has their home
decorated for Fall, think again! Usually this is the time of year when I
force someone to climb up into our hot, steaming attic and
drag down all the fall bins of decor.
But not this year.
Oh, it's not just the Texas heat wave that has us sweating and dreaming of
cooler days. The reality is that this year I'm tired of all my stuff and
dragging it around.
I know, shocking! I'm just craving a little more simplicity and so,
now don't quote me on this, haha, but I'm not even sure I'm going to
fully decorate for Fall this year! I'm sure I'll add a little bit here and
there, but I'm not going to go into full-out decorating mode like I did last
year.
Do you remember last year? I will admit that I went full-on crazy, even though
none of the projects I did were difficult.
There were the thrifty antiqued pumpkins that made their way into my Fall dining room tablescape.
There was the thrifty Fall sign and the Rae Dunn inspired Fall coasters.
I shared how to distress shiny craft vinyl to create a vintage looking Fall sign.
I shared my simple and cozy Fall home tour, and also a story about balloons that sounds kind of random, but is our family's true-life story of love and loss and the impact it had on our young boys.
You might think that should be enough already! However, there is always room
for more one more pumpkin (or two or three) in my life 😍
Especially when they turn out like these ones! I created a full video tutorial
for how to make these
drop cloth pumpkins.
Drop Cloth Pumpkins Tutorial
I know some of you would probably rather have written instructions, so here
you go. I have included a supplies list below.
Step by step instructions for making drop cloth pumpkins
Step OneMeasure and cut a piece of drop cloth (pre-washed and dried). Start with a piece about 12" x 8". Once you've made your first pumpkin, you'll have a better idea of sizing for future pumpkins.
Step Two
Fold drop cloth in half with the fold on the side. Stitch the opposite side
closed, leaving the two ends open.
Step Three
Gather one of the ends together and wrap end tightly with a rubber band. Turn
pumpkin right side out.
Step Four
Add about an inch of small dried beans to the bottom. This helps pumpkin hold its shape and gives it a weighted base.
Step Five
Stuff opening with polyfill right up to the top.
Step Four
Add about an inch of small dried beans to the bottom. This helps pumpkin hold its shape and gives it a weighted base.
Step Five
Stuff opening with polyfill right up to the top.
Step Six
Stitch around the opening with stiff yarn and pull ends to close the hole.
Leave a little opening for a stem, and tie off. Tuck the raw edges into the
hole.
Step Seven
Make pumpkin segments by threading a sturdy needle with jute cord. Knot end
and push needle through the pumpkin from the top (that little hole we left)
and out through the bottom. Pliers are a big help. Pull cord tightly.
Continue this for as many segments as you'd like to create and then knot off
jute on the bottom of pumpkin and cut.
Step Eight
Add a stick stem.
Supplies needed for drop cloth pumpkins
- canvas drop cloth, washed and dried and torn into a rectangle roughly 12" wide x 10" tall
- rubber bands
- small dried beans like lentils
- poly-fil stuffing
- heavy duty needles with large eye
- length of yarn
- long length of jute twine
- pliers
Now I need you to do me a favor!
Can you leave me a comment if you loved watching this video tutorial! Do you
want to see more of them? Or do you prefer the step by step written
instructions with pictures? Or do you want both?
I really want to be able to bring you the method that's most helpful for you
so let me know!
Thank you so much!


super super easy peazy to make. thanks for the wonderful tutorial!
ReplyDeleteFun and easy! Thank you!
DeleteCindy..I am wanting to make this but I can’t find the video tutorial. I even checked YouTube but still unable to locate. Can you help? THANK YOU!!
ReplyDeleteCindy please disregard my last message asking for the video tutorial. It just didn’t load on the page so I reloaded the page and it finally came up! Thanks!!
ReplyDelete