How to Make Large Framed Snowflake Signs
Are you wondering how to make wood framed signs? This tutorial will show you how to make graphic black and white wood framed snowflake signs, perfect for a Christmas mantle! But this technique can be used to make any wood frame sign.
Affiliate links may be included for your convenience; my full disclosure policy can be found here. If you click through and make a purchase I'll receive a small commission at no extra cost to you!
This was one of those projects that I'd worked out in my head before time, and then had several frustrations along the way. But I'll share more about that as we get into this project. Overall, this is a very easy and inexpensive way to make wood framed signs.
How to Make Wood Framed Snowflake Signs
Cut and prep plywood for signs
I'm proud to say that I did this part all by myself! I'm getting braver with the power tools, although every time I use the chop saw, it takes me a few minutes to figure out how to use it again!
We have several pieces of wood in our stash, so I grabbed one, marked off two 16" squares and cut them out. My plywood was rough and needed to be well sanded to smooth it out. I also like to sand the edges really well, and even the back because so one wants splinters!
Paint wood
When my wood sign pieces were nice and smooth, I brought them into the house, set up a little work station on a plastic folding table and painted the signs. Originally I was going to do a red sign and a white one, but the more I thought about it, I decided that the black and white would pop nicely against our painted brick fireplace and really suit the style of my decor better. Plus, I knew I'd keep them out longer than just Christmas because they feel more wintry than Christmas-y...make sense?
Each piece got two coats of chalk paint. You don't have to use chalk paint! Use leftover paint that you have already.
Wax signs
I gave each sign a coat of clear wax so they weren't so matte. My vinyl that I cut the snowflakes from was glossy and I wanted the signs to have a little sheen too.
Waxing is super easy, don't be intimidated by it! You'll need to have a couple of soft, lint-free rags available. Use one rag to wipe on the wax, spreading it evenly over the board.
Give it a few minutes and then use a clean rag to buff the wax. All that means is that you work the wax into the wood with the rag, the results are a beautiful soft sheen like you see below. Buffing also removes any excess wax.
If you find your black sign has little white specks in it, no problem. Just apply a coat of dark wax and really work it into the paint like I did with these black spray painted ceramics. It's the same concept.
Cut out snowflakes from vinyl
I found some free snowflakes online at Craft Bundles. They're already SVG (cut) files, so I simply downloaded them to my computer, uploaded into my Silhouette file and selected them. I wanted them as big as possible, so I stretched them to fit my 12 x 12 cutting surface as much as I possibly could. Then I cut them onto glossy craft vinyl.
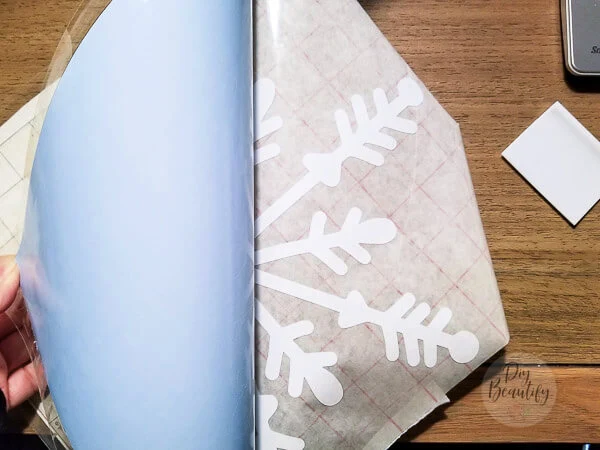
I used a large piece of transfer paper to transfer the cut out snowflake in preparation to securing it to my painted and waxed board.
And here is where I goofed! Don't make this mistake!
It would have been much, much better to give the painted and waxed wood framed signs a week to cure before moving on with this attaching the vinyl, but I was rushed for time and had to make it work.
Transfer vinyl snowflakes to wood
Because my paint and wax hadn't fully cured (I was doing everything in a single day), my snowflakes did not want to transfer to the wood. Basically, they wouldn't stick because the wax was still damp (even though I buffed it well and it felt dry to the touch)!
I gave up trying for a few hours and left the wood on a table near the fireplace to hopefully speed up the curing process for me!
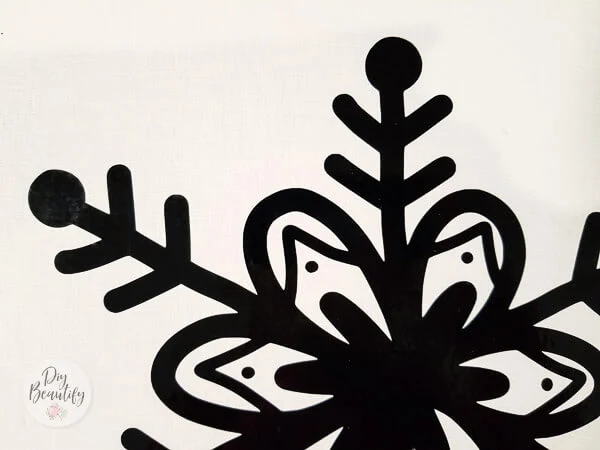
Later in the day I attempted to transfer the snowflakes to the wood again, and even though I had to 'wrangle' the vinyl bit by bit, I was able to get the snowflakes where they were supposed to be!
Measure and cut wood frame pieces
No doubt you've seen wood framed signs like this at craft shows. This is how to replicate that look. Furring strips are cheap (less than $1 for 8 feet!). I purchased two, and marked them where I needed to cut, then proceeded to cut them into sections and sand them.
Because I wasn't using perfectly planed plywood, in other words, my wood was slightly wonky, each of my 4 sides measured very slightly different. I marked each piece with a pencil after cutting it so I'd remember where it belonged.
Basically, two of the pieces will be the same size as the sign, the other two will be that size plus the width of the furring strip times 2. Here is an illustration to help you visualize what I'm talking about in case you're rolling your eyes in confusion!
Stain wood frame pieces
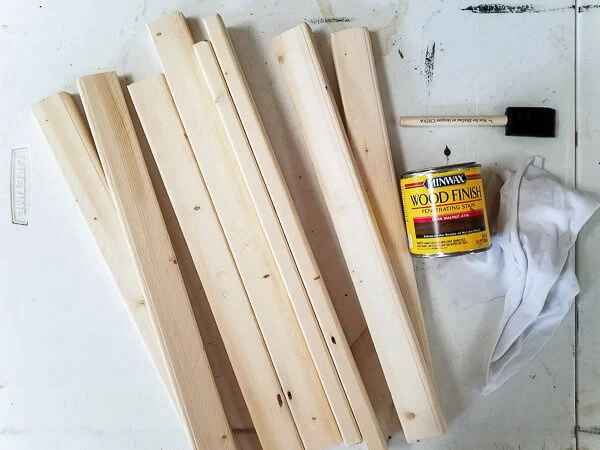
Staining goes very quickly. Lay out pieces on a work surface, and working one at a time, brush stain along all sides and edges then immediately wipe off with a rag. I stuck my hand inside a plastic bag to protect it from stain because I didn't have plastic gloves. Worked perfectly!
The stain I chose is quite dark, so enough was able to penetrate the wood and give me the look I was after with this method. If you're using a lighter stain, you may need to leave it on longer before wiping the excess off, or do multiple coats. It just depends on the look you want.
Attach wood frame pieces to sign
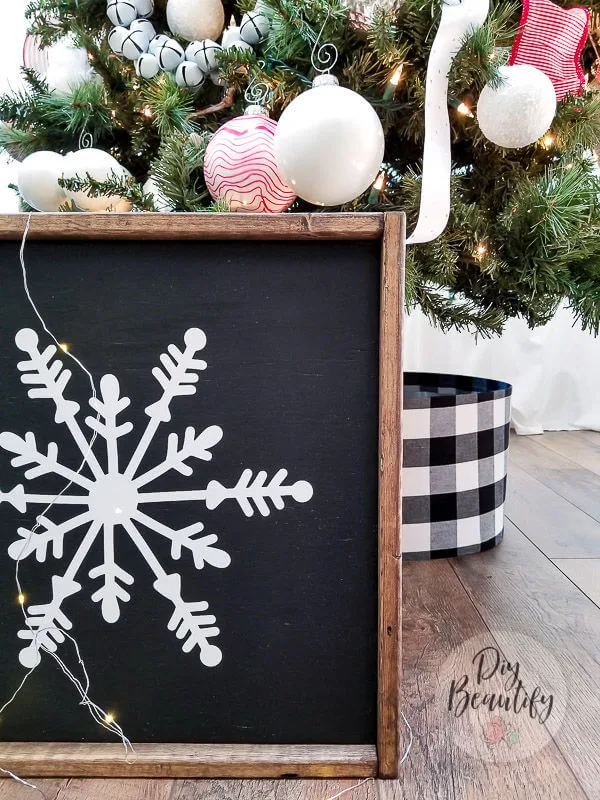
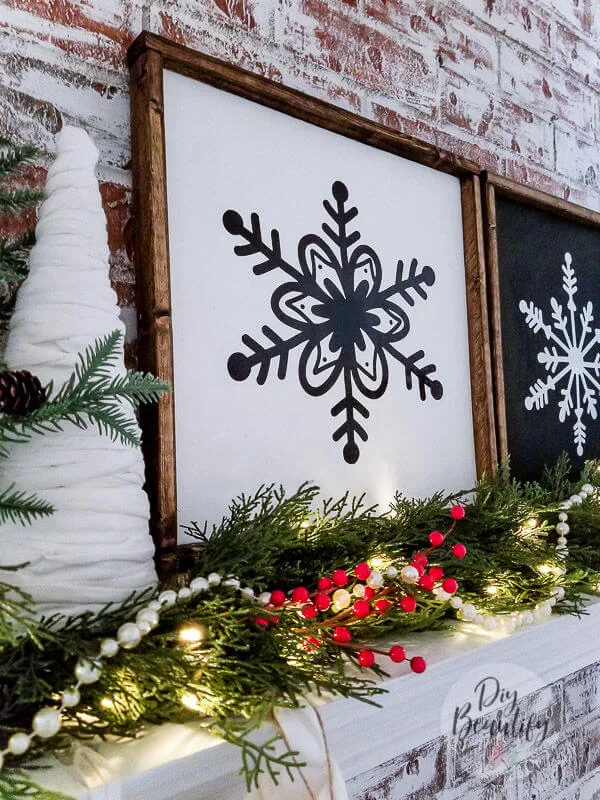
The final step is to nail the furring strips to the plywood sign, creating a wood frame. The skinnier edge of the strips is what will be on top. Sorry I don't have a picture of this step. Mr DIY helped me with this part. We nailed one piece at a time. Here are the beautiful results!
These handmade framed signs cost me less than a drink at Starbucks! This project was definitely more time-intensive than costly, but it was time well spent because I know we'll enjoy these beautiful wood framed snowflake signs for years to come!
I like that these large snowflake signs are bold and graphic. They're simple but make a statement! They have a bit of a modern Nordic farmhouse look to them, if that doesn't sound too weird! They are similar in style to the printable Nordic gift tags I made.
Here's what you'll need to make these wood framed snowflake signs.
Supplies
- plywood
- chop saw
- orbital sander
- paint (I used this black chalk paint and this white chalk paint)
- paint brush (this brush is my favorite because it has a short handle)
- clear wax (I used this wax)
- Silhouette or Cricut machine *
- glossy craft vinyl *
- transfer paper
- furring strips
- wood stain (I used this stain)
- foam brush
- rag
- nail gun
* Even if you don't own a Cricut or Silhouette machine, you can still do this project! Try cutting out your snowflakes from stiff paper and then you can use them as a stencil to paint the design onto the wood. Or think way outside the box...cut snowflakes out of stiff vinyl tablecloth material and use a spray adhesive to attach them to the signs.
But if you're serious about crafting, I suggest investing in one of these die cut machines! Black Friday is a great time to get an amazing deal on a bundle like this (that's how I purchased my machine).






Those snowflake signs are STUNNING!! Amazing!!
ReplyDeleteI had a project once where the vinyl wouldn't stick... I just thought my vinyl was old and threw it out! Oups!
Thank you Christine! It sure is frustrating when it won't stick!
ReplyDeleteThe signs look lovely, such a great idea!
ReplyDeleteThank you so much!
DeleteI love these! Awesome that you can use them all winter!
ReplyDeleteThank you Eileen, I'm certainly glad I thought that through!!
DeleteThat is a lot of work and it came out perfectly! I love decorating with snowflakes throughout Christmastime.
ReplyDeleteThanks Meegan, it was but now I can enjoy them for all the Christmases to come! ;)
Delete