DIY Mini Hand Painted Sign for Nursery
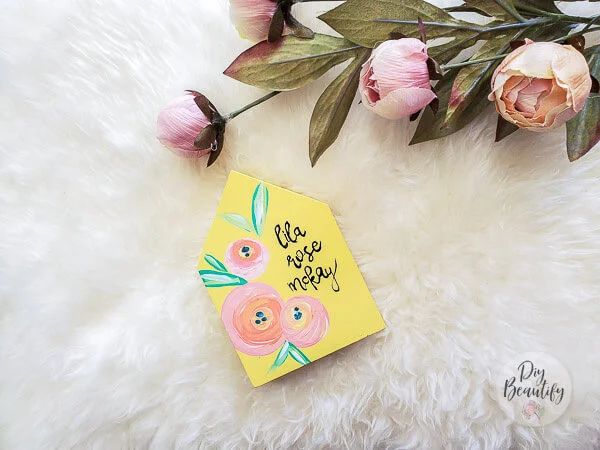
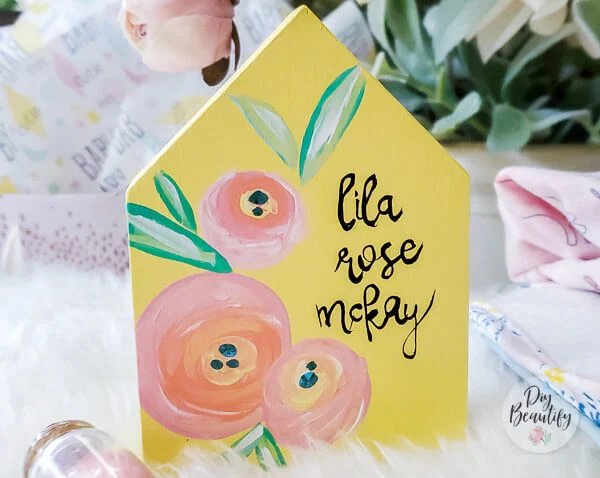
I'm sharing how to paint a sweet miniature nursery sign, hand painted with flowers and personalized with baby's name. Makes a great gift and can be personalized for anyone and any occasion!
Affiliate links may be included for your convenience. As an Amazon Associate, I earn from qualifying purchases at no extra cost to you. My full disclosure policy can be found here.
Good morning friend, I hope you are healthy, happy and staying busy! We have certainly been busy over here and I'll be sharing all those details soon! Today I'm excited to share this sweet DIY sign with hand painted flowers with you!
I love giving handmade gifts whenever possible, because everyone appreciates a personal touch!
With an upcoming 'drive-by' baby shower, I decided to make a little personalized sign using supplies I already had on hand. Because the shower is for a baby girl, I thought this mini sign would be the perfect finishing touch to add to the rest of her gift. Just a little something extra 💗
Inspiration image
I wish I could paint things from my brain. But the truth is that I'm better at replicating something I can see. I found this image of painted cottage flowers and loved the sweet, shabby style. I used the colors and style as my inspiration for my painted sign.
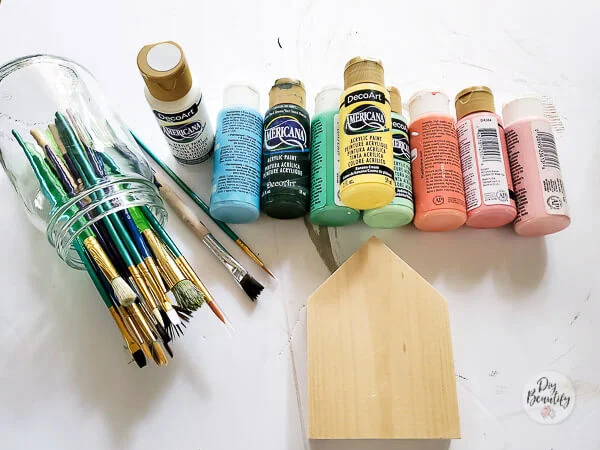
DIY sign supplies
All the supplies were things I already had on hand, but if you're looking for similar products, here's a list:
- acrylic paints
- small wood house shape
- craft brushes (this set has everything you would need for not only this project, but many more!)
- paper plate
- damp paper towel
- black acrylic paint
- clear paste wax
- lint free rag
*Note on acrylic paints - to soften and lighten any color, add white to it; to darken a color, a touch of black!
How to paint a miniature sign
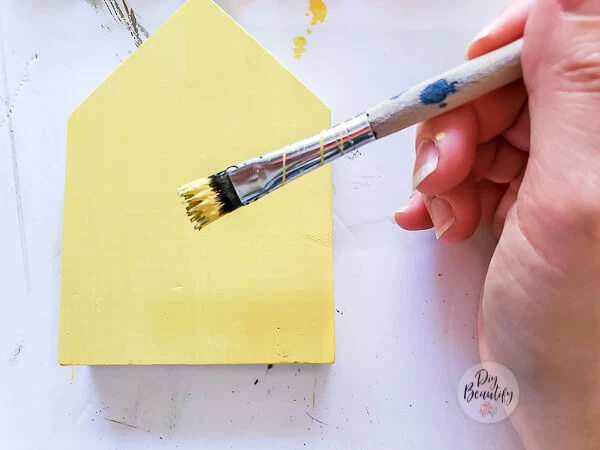
I started by giving the unfinished wood shape two coats of banana yellow acrylic paint (letting it dry completely between coats).
Decide on your design
I knew the baby's name already, and wanted to include that on the sign. I wanted to incorporate a few of the flowers from my inspiration image, as well as a few leaves.
I knew I wanted a less is more approach, with the focus on the name. The shape I'm working with is about the size of my hand, which is small, so I wouldn't have a lot of room to work.
I found it was helpful to sketch out a few ideas, as well as nail down a font for my design. I found a font I like online, and typed the name so I could see how all the letters looked. I then hand sketched the name onto my practice surface, matching the font as best as I could.
Start by painting the name after lots of practice!
Because the name is the most important design element, I wanted to get it done first, and then paint a few flowers around it.
I sketched it out in light pencil onto the painted shape.
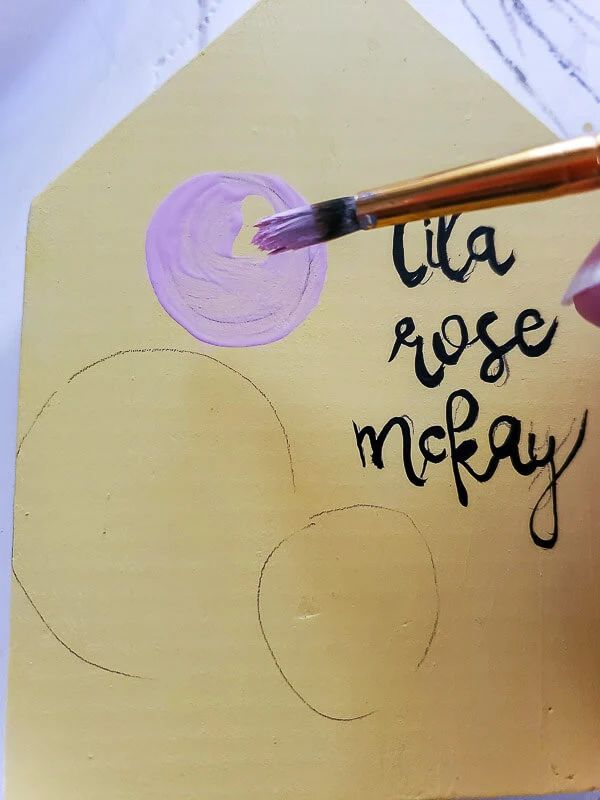
And then went over that with a very, very fine and pointed craft brush just barely loaded with black acrylic paint. This was by far the most difficult part of the hand painting, and of course I messed up on the first name 😦 I really should have practiced first with the paint! However, I was happy with the rest of the words and decided to just leave it at is. There is beauty in imperfection after all 😊
I found it helpful to keep a damp paper towel handy to wipe off the brush between loading the paint; that kept it from getting gummed up.
See how thick the 'l's' are? I seemed to get the hang of it by the second word, so practice is definitely the key to getting this right!
Optional - if you struggle excessively with your hand writing, and know using a paint brush is too much of a stretch, try a fresh black fine tipped Sharpie!
Sketch and paint the flowers
With the name painted on the sign, I could visualize the rest because I saw how much space I had left. I decided on three flowers, and penciled in an outline of each. Then I went back over that with paint.
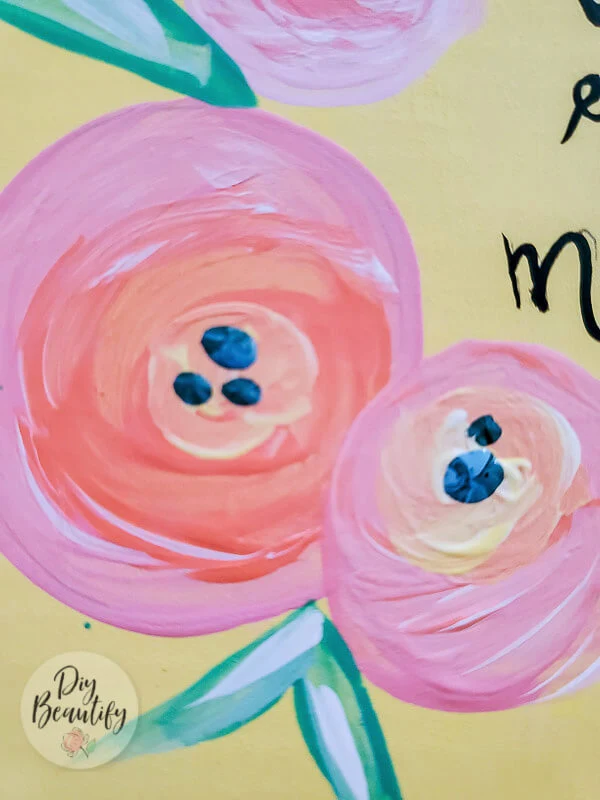
The flowers were quite simple. There was a contrasting color on the inside, but everything was rounded so that came together quickly.
Paint details
When the flowers were dried, I added a few blue stamens to the centers and used another craft brush to paint a few leaves around the flowers.
I'm far from an expert, but managed to paint a few highlights with white to accent the flowers and leaves.
I also cleaned the sign up a bit by using an artist eraser to erase my pencil lines (wait a couple days to allow the paint to fully dry!) I've had this eraser since 12th grade art class and it still comes in handy from time to time! I caution you about using a regular pencil eraser or a pink eraser as you're sure to wind up with red smudges!
Add a coat of wax to protect the sign
Once the sign was completely dry (a day or two later to avoid any smudges), I rubbed on a coat of clear wax and buffed it off. This left a nice, protective sheen to the sign.
Here's a little peek at my work station...
All in all, I'm really pleased with how this little hand painted sign turned out! I hope the new mama likes it 😍 and that it adds a sweet little dose of personality to the nursery.
Want to try this hand painted sign in the future?
Pin this image!
Additional ideas
You could paint any size and shape for a custom sign that fits your home...or your gift recipient! What around a round sign painted with the child's name and hung about the bed as a modern wreath? Or a trio of mini signs, each with a vital detail about the new baby? Hang them from a wide ribbon for a sweet look.







Comments
Post a Comment
Your comments are like sunshine and chocolate! Thanks for taking the time to leave a nice one ;) I read all comments and love to respond if you leave your name and email! Otherwise, please look for my response under the post where you left it!