French Inspired Seedling Pots
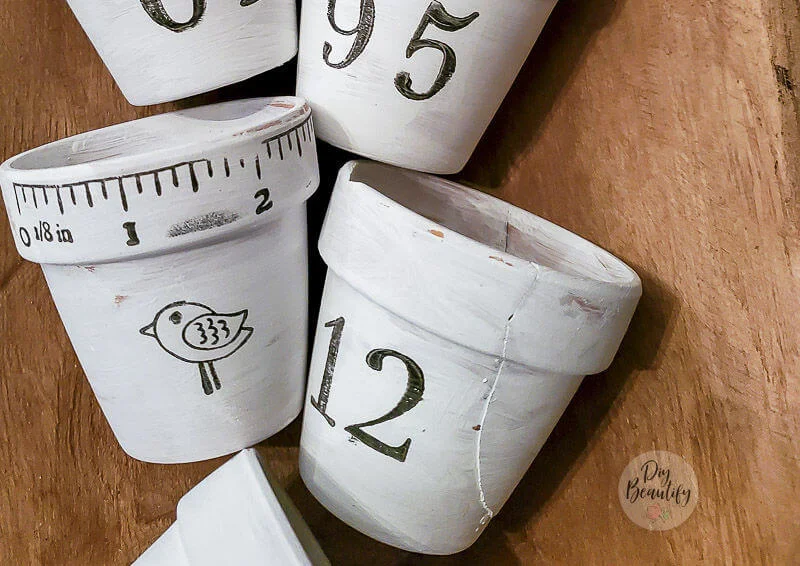
I'm sharing a quick and easy project, making French inspired seedling pots from dollar store flower pots, white paint and stamps. So many possibilities!
Affiliate links may be included for your convenience. As an Amazon Associate, I earn from qualifying purchases at no extra cost to you. My full disclosure policy can be found here.
I love a project that comes together in minutes, don't you? These painted and stamped pots took about 30 minutes start to finish!
I'm not sure why these remind me of French antiques...they just do! Maybe it's the sprigs of French lavender I tucked into the wood bowl. Whatever you want to call them, these little dollar store pots went from blah to wow and I'm sure you'll find a ton of uses for them too!
Initially I planned to use rub ons to decorate my pots. In my scrapbooking heyday I amassed a huge collection of embellishments and I thought I still had them. However, after rummaging around my home I realized I had given them away. I briefly looked online to see if I could purchase some but they were all pricier than I wanted. I found a great tutorial online to make your own DIY rub ons using a transparency sheet and your printer, and I still hope to try this out someday soon.
But I decided to try using my clear stamps, and you'll see that I used a variety of stamps to embellish these little seedling pots, making each one unique. But I'm getting ahead of myself...
Here's what you'll need to make these French inspired seedling pots.
Supplies
- terracotta seedling pots (3 for $1 at Dollar Tree)
- white chalk paint
- foam brush
- vintage inspired rub ons or clear stamps
- black pigment stamping ink (I used this one)
- small clear stamping block
- wipes to clean stamps
Funny story...when I got home and unwrapped my pots, one of them broke into three pieces. I was going to toss it, but decided to try gluing it. I used DAP RapidFuse glue and it held the pot together in under a minute! I was able to paint it and it looks so authentically old with the cracks! 😍
Step One - paint pots
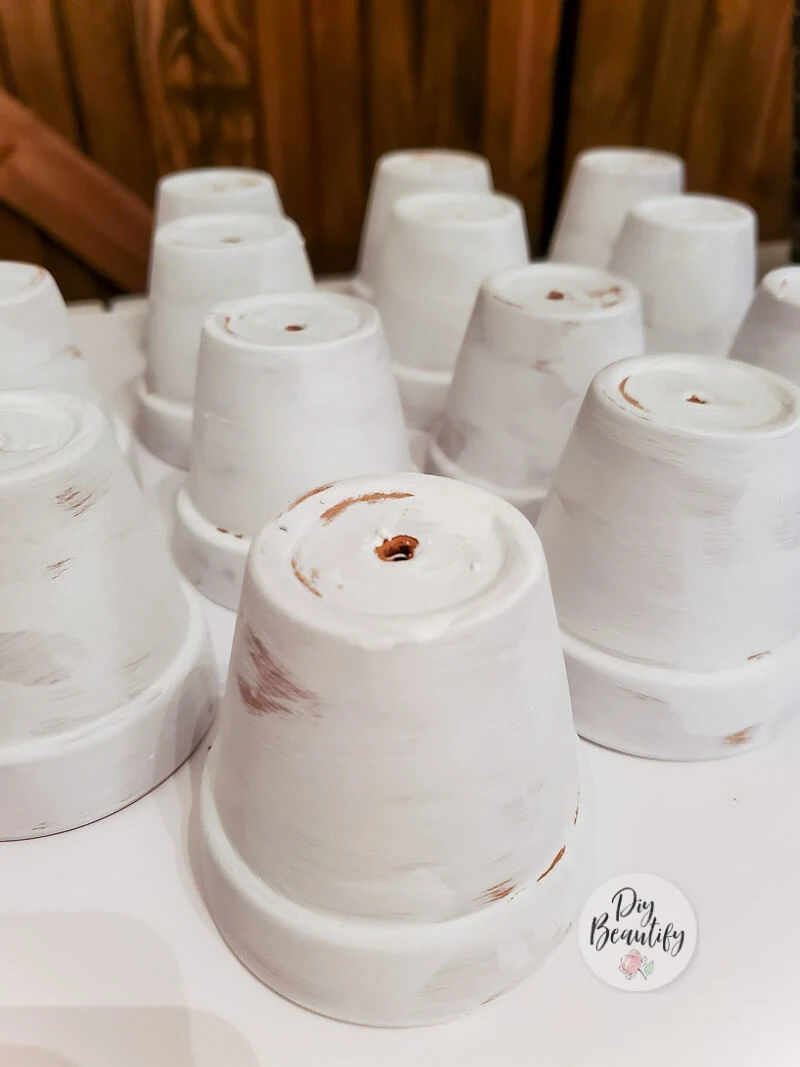
You don't need a lot of paint for these pots, and although I painted both the outside, inside and bottom of 15 pots, the entire process took about 10 minutes, including dry time.
The idea is to not be perfect! Yes, you heard me! You have my permission to be messy today 😀 You want terracotta to show through in spots, you don't want to cover it all up! Start by painting a light coat on the outside of each pot in a random, haphazard way and set aside to dry.
Once you've finished the last pot, the first one is likely dry. So go ahead and paint the inside and bottom. *If you're planning to actually use these pots to grow seeds, don't paint the insides of the pots!! Plants don't like paint!
Again, fairly light coat and don't try to cover too much or too evenly. These imperfections make the seedling pots look like they've been baking in a Parisian sun for decades 😉 and that's exactly the look we want!
Step Two - apply rub ons or stamps
Initially I tried using some of my rub ons. But they were too big, and ended up looking too dark and shiny. I much preferred the faded, distressed look of the stamps. They add to the illusion of age. I was able to quickly sand off the rub ons and just touched up that area with a little more white paint.
Here's a little primer on using clear stamps
If you've never crafted with clear stamps before, you're in for a treat! They're SO much easier to use than rubber stamps. Because they're clear, and you use a clear block to mount them, you can see exactly where you are placing them! I used this same technique when I made my deconstructed stamped book stack.
Clear stamps are flexible which makes them ideal for getting a stamped image even on a curved surface, like these seedling pots.
How to use clear stamps
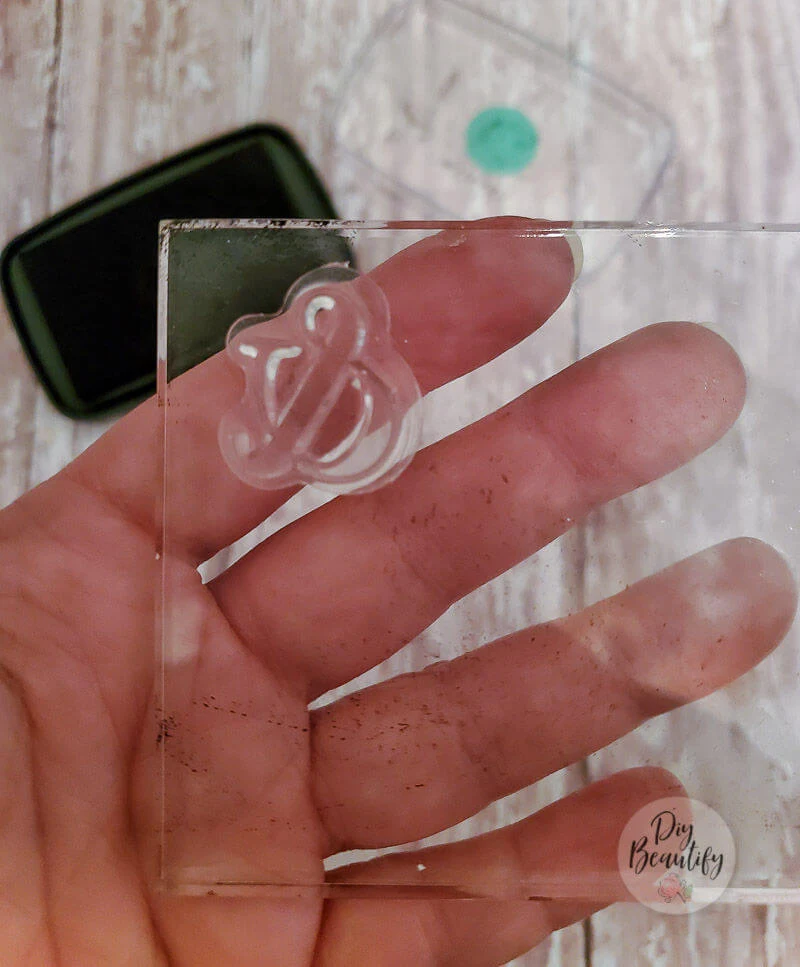
Start by choosing your stamp and peeling it off the backing paper. Place it in a corner of the stamping block, flat side down. If you're using numbers or letters, they will look backwards.
Lay the block on a flat surface and tap the stamp pad directly to the top of the stamp. You sort of pounce it up and down a couple times until the stamp is covered in ink.
Check to make sure the stamp is inked well.
Press the block to the seedling pot firmly, rolling slightly from left to right, bottom to top to get the entire image transferred.
Clean stamp immediately using baby wipes, press dry with a paper towel and return to sheet.
You can see that I didn't worry about perfection here; the little bit of over-inking that I got on my pots didn't worry me. BUT, if you're after a clean stamped look, you can use a baby wipe to clean off any excess ink from your stamping block before you use the stamp!
Tip for stamping multiple images: if you're using more than one stamp on a pot, for instance "01", stamp each number separately. That way you'll be able to get them closer together than if you placed both stamps on the block at one time.
French seedling pots with lavender
I displayed my seedling pots in a long wood bowl similar to this one and tucked in some sprigs of various lavender just to add to that French feel. Tres bonne oui? ❤💜
These French seedling pots will look great however you choose to use them! You could stamp each person's initial and use them as place settings. I tucked a little Spanish moss into each pot to hold the sprig of lavender...so charming right?
I am really loving how this project came together!
These pots are a perfect match for the naked faux cake I made last year! Now I want to make a bunch of bigger pots! I have the perfect rusty white wire basket to display them in!
Ideas to display French seedling pots
- pile them in a wooden bowl and tuck in a few sprigs of lavender
- use them as place settings, either leave empty or fill with a small plant or succulent
- use to hold cupcakes for a shabby birthday party
- stack them in a wire basket and display
- make some pots of various sizes and stack with some old books
The best part is that this project cost me only $5! Expect to pay more if you need to purchase paint and stamps, but definitely check out the DIY rub on technique I linked to above if you want to make this as inexpensive as possible!
Additional stamp sources
- I love this set of vintage style typewriter stamps
- Here's a fun set of vintage looking clock stamps
- I love this set of alphabet stamps with upper and lower case letters
- This set of flowers and plants stamps would look amazing!
- Here's a huge, 82-pc stamp set with a variety of image and phrases
- This alphabet variety pack is awesome
Make sure to PIN THIS IMAGE
We leave tomorrow for Yellowstone National Park! It was a trip that kind of fell into our laps. I'm excited to meet our oldest son in Denver and then drive to Montana...should be beautiful! If you've ever been and have a 'must see', please let me know in the comments!


A very good idea! I will try to decorate large pots for plants with your method.
ReplyDeleteThank you! I plan to do some larger pots as well, I think a stack of them would be fantastic!
Delete