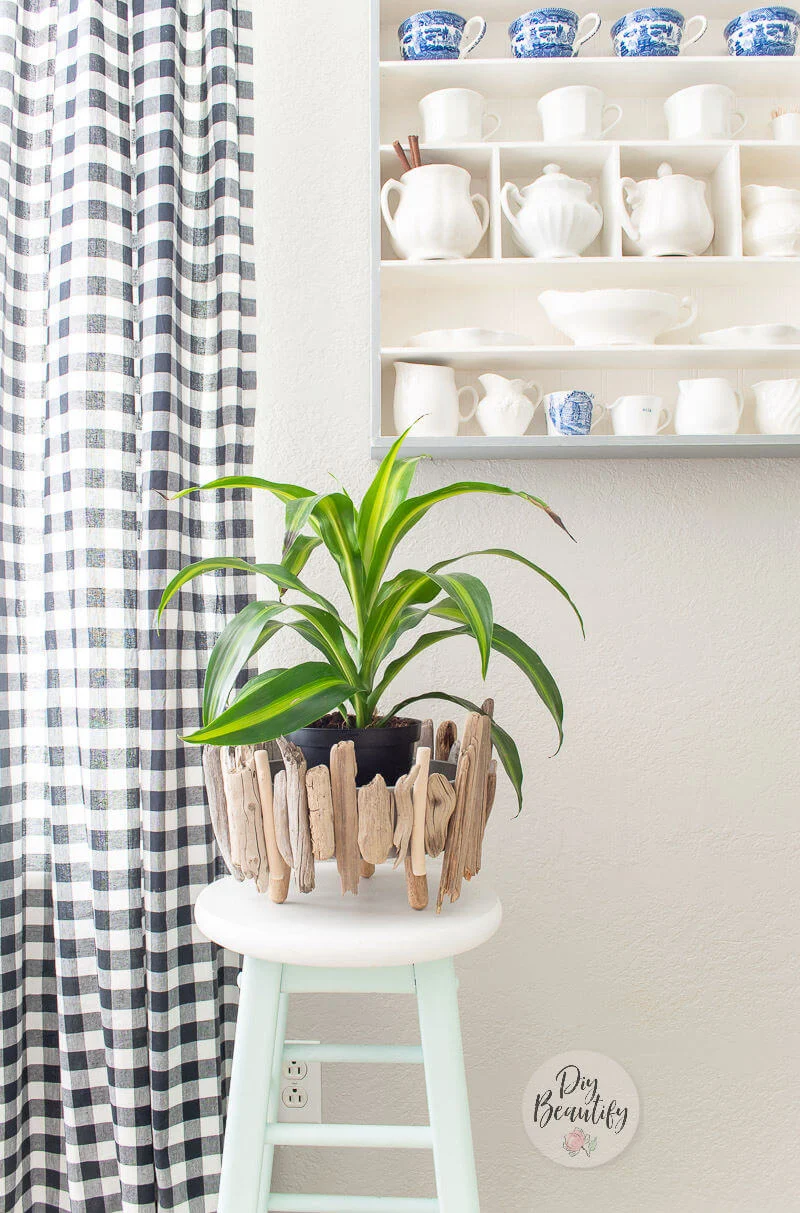
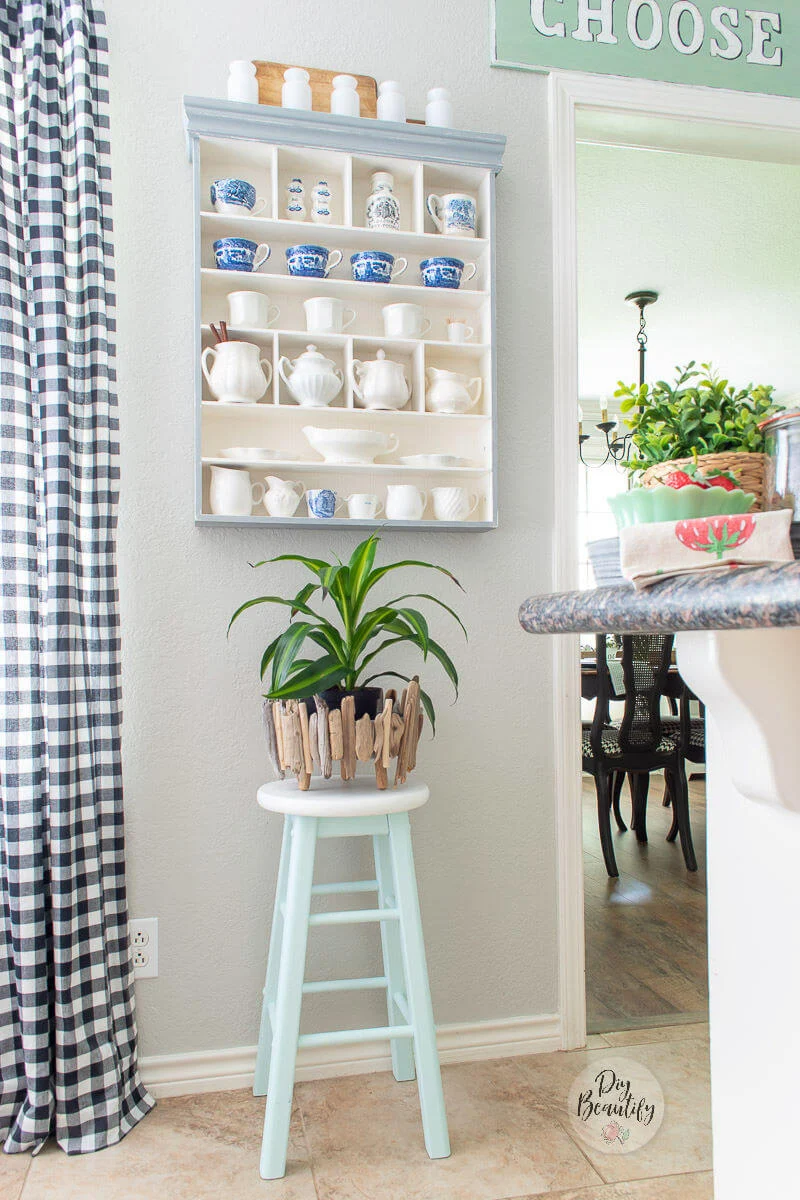
How to Make a Simple Driftwood Planter
This quick project uses a combination of collected and store-bought driftwood for a charming planter that is full of texture and will look great year round!
Affiliate links may be included for your convenience. As an Amazon Associate, I earn from qualifying purchases at no extra cost to you. My full disclosure policy can be found here.
Good morning beautiful friends! Hope you are doing well today! Are you ready for a new DIY project? One that takes about 10 minutes and costs under $20 (that includes the plant!!)? I'm excited to share this DIY driftwood planter with you today.
I love the beach, but I have a reallllly hard time just sitting still! I like to scavenge. Shells, beach glass, driftwood...it's all there for the taking! When we lived in Florida, there was one beach we frequented that had sharks teeth...just lying there in the sand, waiting for my greedy little hands to pick them up! Here in Texas, I've collected a huge mason jar of white and aqua beach glass! I love to display these finds in jars. But today I'm showing you how to use driftwood to make something else!
A driftwood planter is always in style! Found driftwood has texture and that wonderful patina that comes from months? years? of rolling around in the sand and water.
It adds character to a project that something shiny and store bought just can't.
I made a video to share this project with you. It's easy! If you have access to a beach, whether river, lake or ocean (it doesn't really matter), keep an eye out for driftwood so you can make a planter too! Or, you can purchase driftwood online and I'll share a few sources below.
I'll share the supplies list at the end of the tutorial.
I didn't mention in the video, but the plant I purchased is live! It's called a Dracaena They required moderate light and are apparently very difficult to kill 😃 Sounds like the perfect houseplant right? Originally I was going to buy a fake plant, but I wanted something larger and they were too much for my budget. I have been successfully growing plants in our sun room, and so I hope I can keep this guy alive too!
Right now I've got him in the kitchen, and he's on my scheduled Monday watering list (yep, I schedule it into my phone so I don't forget!!). If he starts to look a little droopy, I'll move him to the sun room.
And even if he ends up dying (said in a whisper), it was $5 well spent for these photos!
Look at the patina on that driftwood...isn't it awesome? The pieces I purchased stand out a bit but I'm going to hunt for more driftwood next time I'm at the beach, and see if I can't make it all blend a little better. I know on the video I mentioned dry brushing them with some paint, but I really don't want to do that. I like this project natural!
Supplies needed to make a driftwood planter
- found driftwood is best but you can also purchase it fairly affordably here and here (or get the cheap pieces of driftwood I used) *note: you do get what you pay for!
- hot glue gun and glue sticks
- wide, shallow planter with flat edges (here is the one I bought at Walmart) If you can't find it, here is a similar footed planter, and here is a less expensive one. You could use any planter that has a flat edge and is shorter than your driftwood pieces
- plastic plant saucer
If you liked this project, please PIN IT for future reference!
Tomorrow is August 1 and I'm officially bringing down my pumpkins and Fall decor! I don't care, I can't wait anymore! #excited 🍂


Comments
Post a Comment
Your comments are like sunshine and chocolate! Thanks for taking the time to leave a nice one ;) I read all comments and love to respond. If you don't have Gmail, please leave your name!