How to Upcycle a Sign using Drop Cloth (and a Free Printable)
A $3 sign gets a black and white modern upcycle with drop cloth and heat transfer vinyl. This is an inexpensive and fabulous DIY idea for home decor and you can grab the free printable below!

Affiliate links may be included for your
convenience. As an Amazon Associate, I earn from qualifying purchases at no
extra cost to you. My full disclosure policy can be found here.
In my world, it's all about saving money! Especially when it comes to seasonal
decor.
So when I find something that I love in the store, unless it's totally unique
and amazing and one of a kind and I know if I walk away I'll be sorry...
...I DIY it!
Like this fall sign that I spotted at Kirklands. I knew that I could make it.
And now that original sign is sold out in stores, I'm very glad that I did
make it! And I'm sharing the instructions so you can make one too!
How to DIY a sign using drop cloth
It all started with this little $3 fall sign that I picked up in the Target
Dollar Spot last year.
Cute, but for a small sign, it was a little too colorful for me. However, it
has a nice wood frame and already has a jute hanging cord.

The original sign look like it was printed onto canvas, and that got my
creative wheels flowing.
And I asked myself, "Why not use drop cloth to upcycle this sign". Here's how
I did it.
Step One: Cut drop cloth to size
I started by measuring the opening of the sign, which was 8" square. Then I
ripped my drop cloth 1/2" larger on all sides so that I could fray the edges.
I prefer ripping over cutting as you get a more precise measurement and the
fabric rips along the weave so it's easy to fray.
Step Two: Create graphic OR grab my free printable
I hopped onto
PicMonkey
and created a graphic in the dimensions that I needed. I found a font that
closely resembled my inspiration piece.
I just added this graphic as a printable, which is available to all my
subscribers for free. In fact, subscribers have access to my complete
Printables Library! Look for the link in the Sunday newsletter.
If you'd like to get access to my printables, you can sign up for my
newsletter here.
Step Three: Upload graphic into Silhouette
Whether you have a
Silhouette
or a
Cricut, it's easy to upload the design, once saved to your computer, to your design
library. Then you simply resize it to the correct size.
Step Four: Cut design onto HTV
HTV (heat transfer vinyl) is the product you want when you're creating
something on fabric, whether it's a
t-shirt
or
tea towel
or a
pillow cover
or a sign like this one! You reverse the image before you cut it out.
If you're new to using HTV, here's a great tutorial for the beginner.
Step Five: Iron design onto drop cloth
I love using my
Cricut Easy Press
for these types of projects. It heats quickly and applies the perfect amount
of pressure to transfer your design to fabric for a long lasting result. Don't
attempt this with a regular iron, I've tried and it just doesn't work.
Step Six: Glue design to sign
Finally, using matte Mod Podge
and a
foam craft brush, brush an even layer of glue onto the surface of the sign (right over top of
those orange pumpkins). Center the drop cloth on top and gently press to seal.
Let dry and hang up!
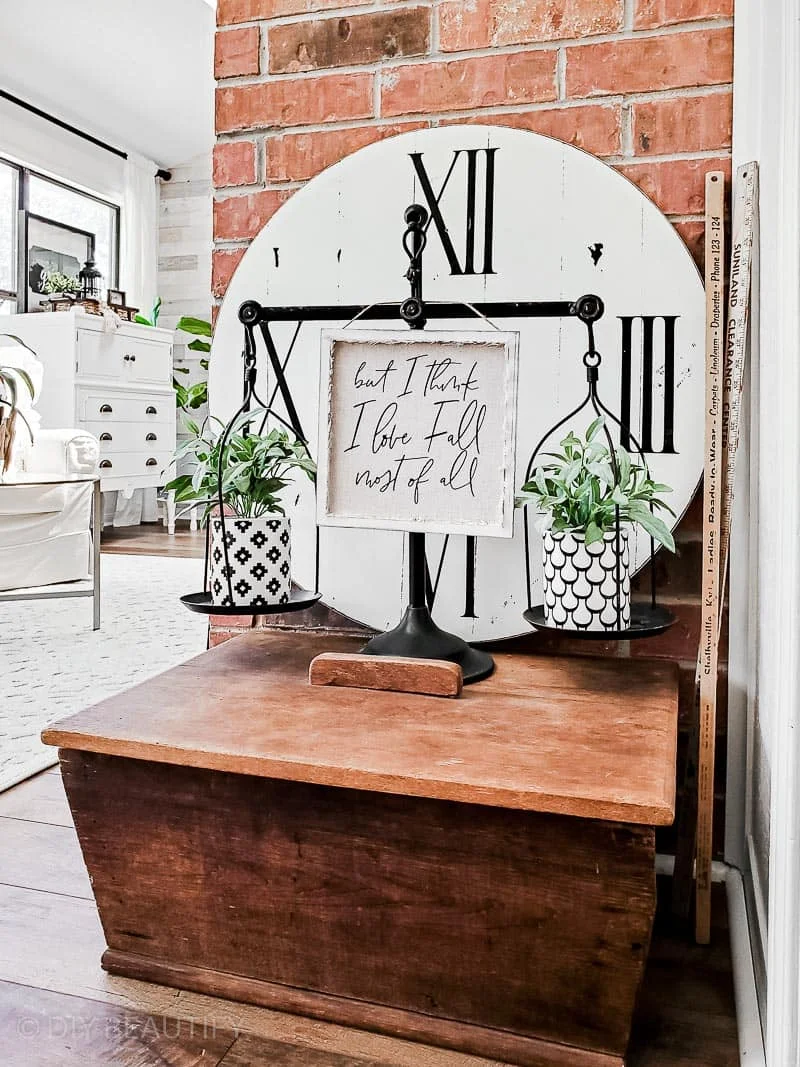
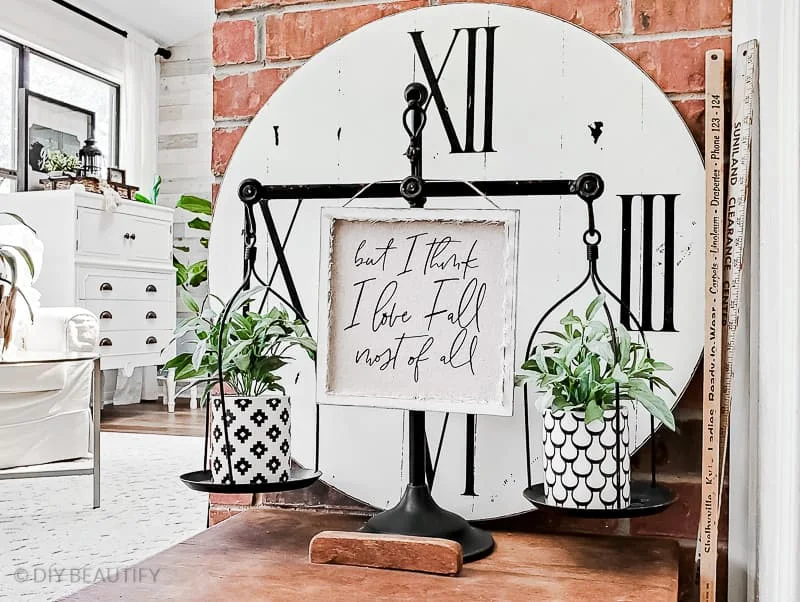
Display your brand new upcycled drop cloth sign!

I love this DIY drop cloth sign, it fits in perfectly with my home
decor.
While I've decorated with a lot of color for Fall this year, in my
dining room
and on my
mantel and this
easy fall centerpiece
that took just minutes, I feel like I have enough color. This neutral sign
will be great for years to come! ❤


I created a little black and white fall vignette in my
sunroom and this drop cloth sign fits right in!

Isn't that cute? Isn't that great DIY? I think it was a great upcycle for that
little gaudy $3 sign, don't you think?
Go ahead and PIN this image for future reference!

SHOP THE POST
We are still having sticky 90° temps here, sure hope your weather has cooled down and you're feeling some Fall chill in the air!


I just love the sign! and so glad to see you used HTV. I'm a flop at stenciling so I use my Cricut when I can. Your black and white vignette is so clean and fun! Thanks for the post!
ReplyDeleteThanks Cecilia, I love the HTV for crisp and clean designs! Appreciate your comment and your visit to my blog ;)
Delete