The Easiest Buffalo Check Christmas Sign
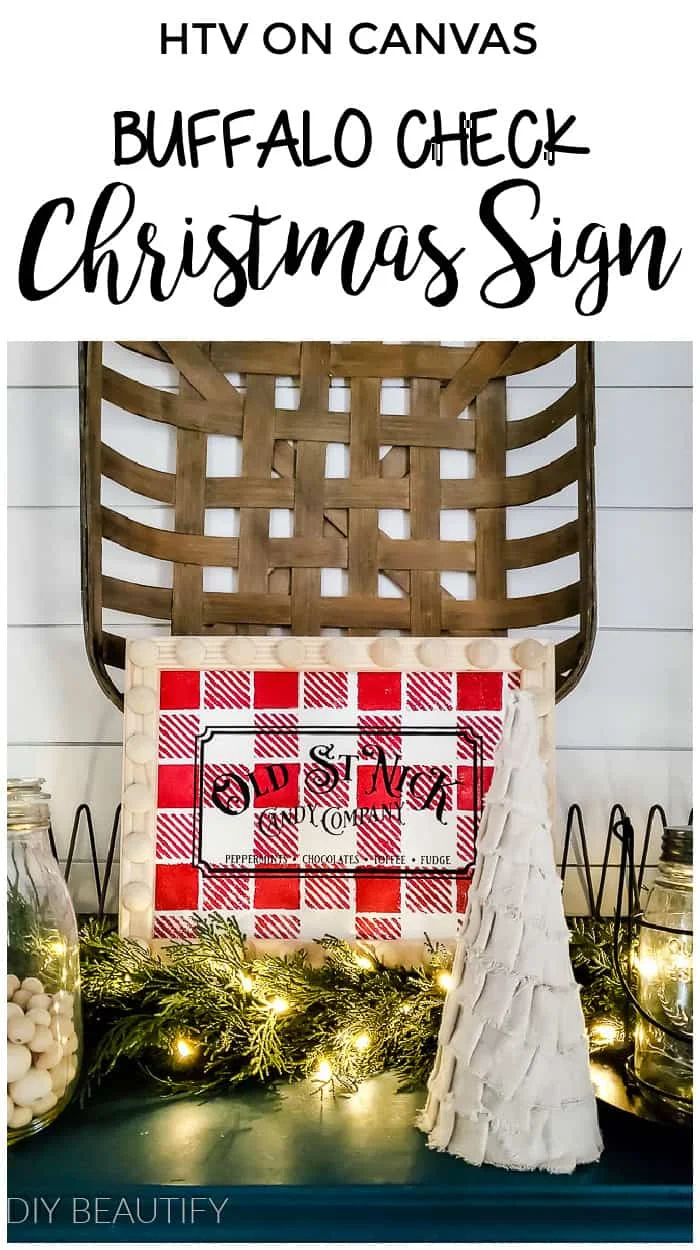
A super easy way to make a buffalo check sign with heat transfer vinyl onto a canvas. You are going to love this sweet farmhouse Christmas sign!
It is beginning to look a lot like Santa's workshop had an accident with his loaded sleigh over here! 😄
Total Christmas chaos!
We're decking the halls and putting up trees and swapping out rugs...and I've
sent Mr DIY out on errands to get more lights and groceries and some supplies
for our Christmas front porch which I'll be sharing in a couple weeks!
You can click here to see last year's Christmas home tour. There were lots of fun projects but I'm switching things around this year and can't wait to show you everything!!
I'm pushing it to try to get all the Christmas decor up lickety split
because we're leaving town for Thanksgiving. We haven't seen Mr DIY's family
in North Carolina in well over a year.
While we were making our travel plans, I had a request to fulfill -
something that's been on my bucket list for years...visiting Biltmore Estates
in Asheville, NC while it's decorated for the holidays.
Have you been?
If you have, I need all your tips! I've already purchased our tickets
and cannot wait! So we'll get to do Biltmore and then drive a few hours to be
with family. I'm so happy I could literally cry! This whole year has been so
crazy and it's separated families like nothing else!
Canvas Sign Ideas for Christmas
I know you like to craft and make pretty things for your home...but you don't like to spend a lot of money. We're a lot alike my friend!
That's why I've come up with several ideas for transforming a plain old canvas into Christmas decor and signs! They're each unique and they're oh so inexpensive!
Today I'm sharing the first canvas sign I made.
How to Make a Buffalo Plaid Christmas Sign with Heat Transfer Vinyl
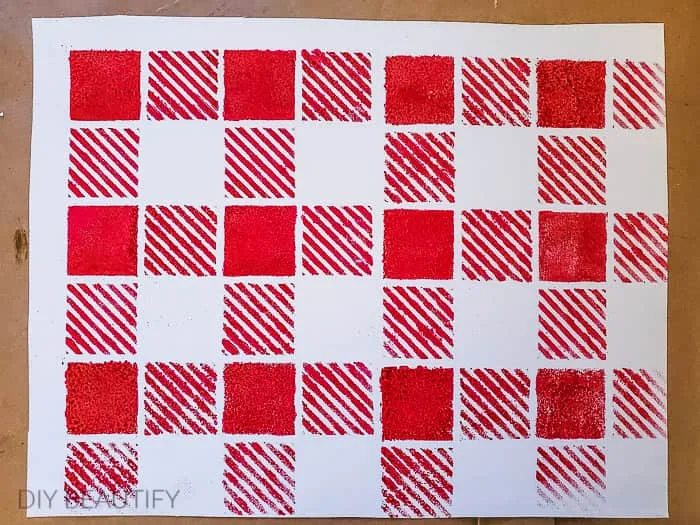
There are lots of ways to paint buffalo plaid. You can just freehand it like I did with my buffalo check painted mason jars. Or you can use tape to create your pattern.
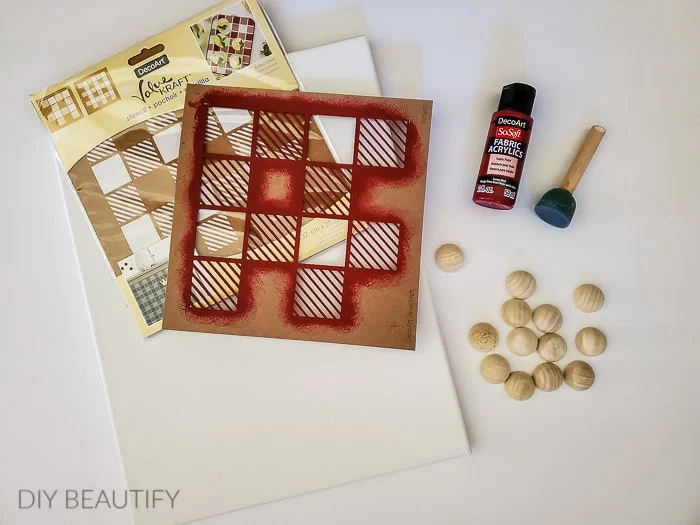
Or, you can go the easy route like I did and use a pre-made stencil! This Kraft stencil was great because everything is marked off for you, and it comes with two different sizes. I'll include the supplies list at the end of my project.
To start off, I cut the canvas from the wood frame at the back with a craft knife. I separated the canvas from the frame, flipped the frame over and removed the staples from each corner. Note: you don't need to remove the staples from the back of the frame!
Supplies:
- 11 x 14" canvas (I bought this value pack of 7 canvases)
- craft knife
- buffalo check stencil (this is the kraft stencil I used; here is a reusable buffalo check stencil - this one also comes with a couple bonus designs!)
- red acrylic paint
- foam pouncer
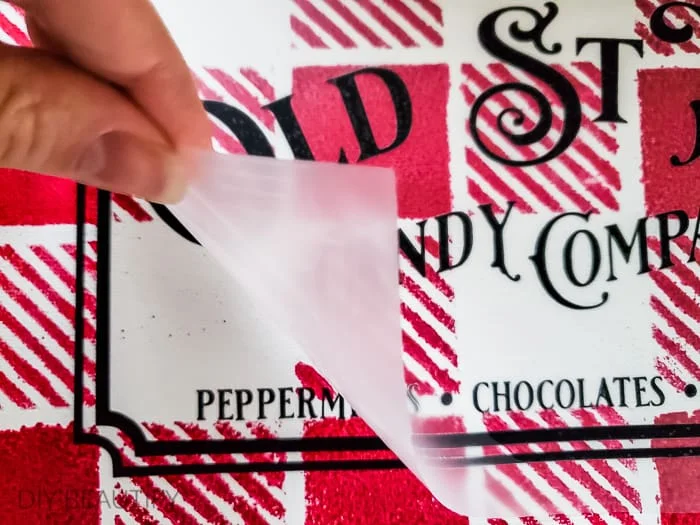
- black HTV (heat transfer vinyl)
- Silhouette machine
- weeding tool
- Cricut Easy Press
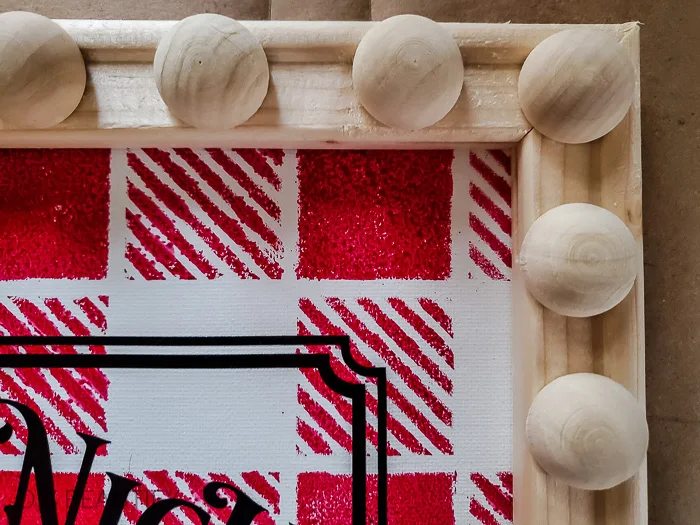
- split wood beads
Pin it to remember!

My opinions are my own.







Comments
Post a Comment
Your comments are like sunshine and chocolate! Thanks for taking the time to leave a nice one ;) I read all comments and love to respond if you leave your name and email! Otherwise, please look for my response under the post where you left it!