Dollar Store Pumpkins with White Wax and Rub N Buff
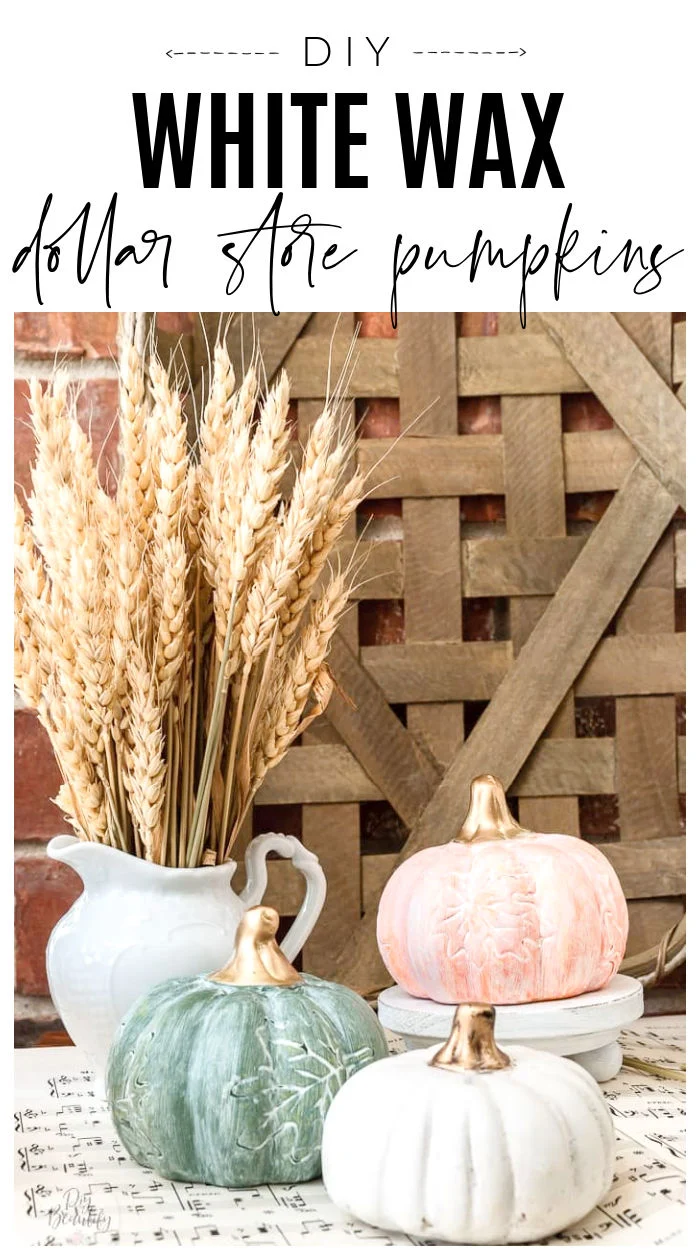
Soften the bright colors of cheap dollar store pumpkins using white wax and give stems a quick coat of rub n buff to transform pumpkins from garish to gorgeous in minutes!
I'm ready! I'm so over this heat and humidity and ready for cooler days. This
is my first Fall craft of the year, and it was so fast it hardly felt like I
did anything. I'm not ready to jump into full-on fall decor mode, but will be
easing into it over the next month. However, if you're ready, you can find all
my
Fall crafts and DIYs and decor ideas here.
This post may contain Amazon or other affiliate links. As an Amazon
affiliate I earn from qualifying purchases.
My full disclosure policy can be found here.
When I spotted these cute cement pumpkins at my local Dollar Tree, I grabbed
them because I knew if I didn't, they'd be gone soon. In fact, I got the last
ones! The garish colors of these pumpkins had me thinking of ways to transform
them and I remembered the
dollar store fall wreath
I made last year. I used white wax to soften the color of the bright and shiny
orange mini pumpkins I used in the wreath and I knew it would work for these
brightly colored pumpkins too. Keep reading for the supplies list.
How to soften bright colors with white wax
White wax to lighten is a technique that has been around for a long time. You
might have heard of
cerusing wax, or liming wax.
I used liming wax to tone down the wood tones of this thrifted frame. This is the
liming wax
I used.
I love working with wax because it's easy and quick, and it's very forgiving.
I used dark wax to give a Restoration Hardware look to this thrifted
vase and in just minutes I had a completely new look!
While I use wax as a topcoat for many of my chalk paint furniture pieces (you
can read all about
top coat options for chalk painted furniture here), it's also a great way to quickly darken or lighten items as well. Dark wax
gives more of an antiqued look, while white wax softens and gives more of a
cottage look (think white-washed). Both are classic looks that will stand the
test of time!
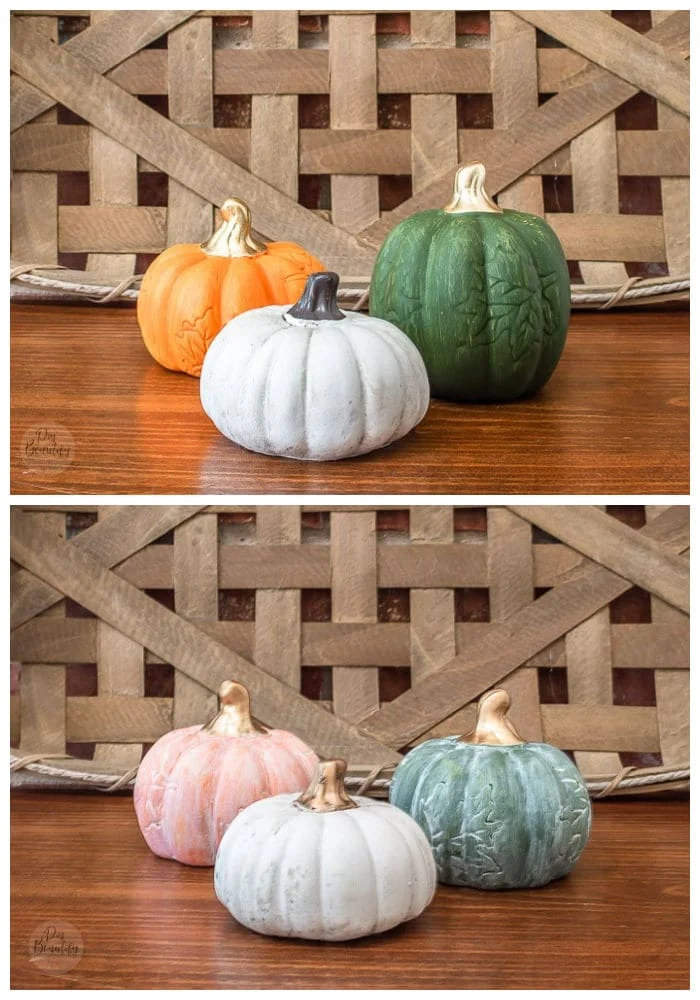
Let's take a look at those bright colored pumpkins that I found.
Now they're not bad, in fact I only needed to touch up the stem on the white
pumpkin. However, aside from
last Fall, I really don't decorate with the typical fall colors of orange and green.
Especially this shade. I just don't care for it. Now, if you really don't like
using wax or just don't want to buy it, you can get a similar look and feel by
white washing those brightly colored pumpkins
with paint, like I did in
this post.
Supplies Used
- dollar store pumpkins
- white wax (I used Miss Mustard Seed white wax, which is no longer available on Amazon but this one has great reviews)
- lint free cloths
- Rub n Buff (I used this shade)
- foam brush
Tone down pumpkins with white wax
I use old white t-shirts when I'm applying wax because they are lint free. To
tone down the bright colors of the pumpkins, you simply rub on the white wax
with a cloth, let it sit for a few minutes, and then buff it with a clean
cloth. Buffing removes any excess wax and also adds a very light sheen. The
first time I buffed the pumpkins, it removed too much wax and I ended up
adding another coat of wax and then only buffing very lightly to get this
soft, white-washed look.
These pumpkins I found at the dollar store have a leaf design carved into the
side. The wax gets down into any grooves and crevices, which helps to soften
the overall look and help the designs to stand out more.
Here's a before and after so you can really see the difference the white wax
made to these pumpkins.
Isn't that amazing? I like the softer, toned-down colors so much better! You
can add as many coats of the white wax to get the look you want. When Mr DIY
built me this little
cottage side table, I used
this white wash paint
to tone down the colors in the quilted stencil I painted on the top. You can
see how it softened the look.
Spiff up the stems
The wax only takes a few minutes to dry and then you can handle the pumpkins. I added a little bit of Rub n Buff to the stems with a foam brush. The orange and green pumpkins already had gold stems, but they were very shiny. The little bit of Rub n Buff toned them down and added a little bit of dimension.
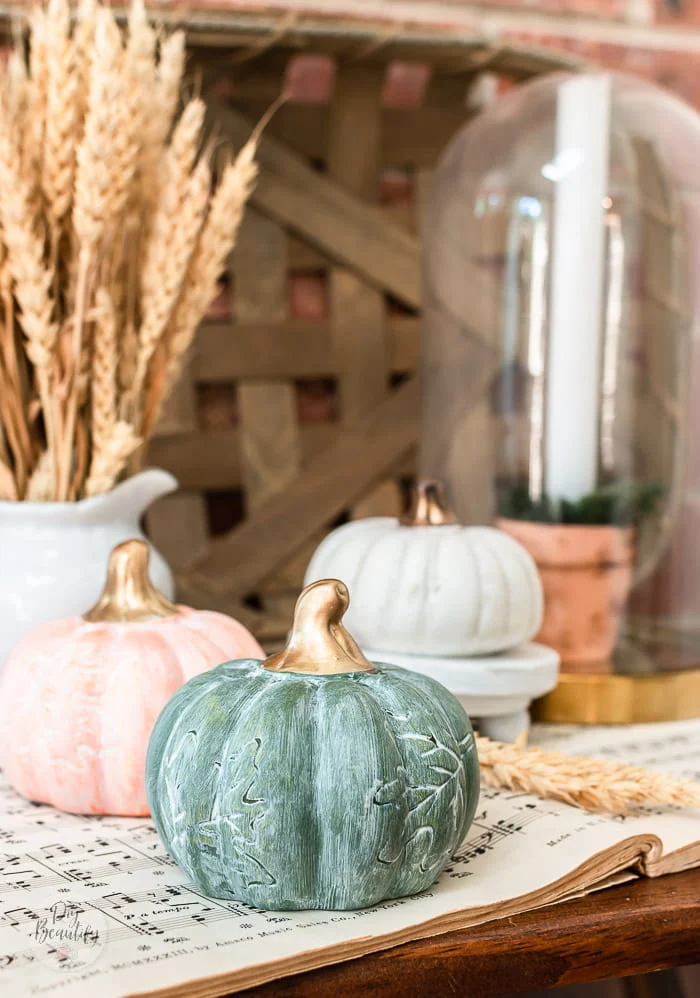
I threw together this little fall vignette to show you some decorating ideas
for these white waxed pumpkins because it's way too hot to venture into the
attic!


You are a breadth of fresh air. So cool and so down to earth and married to a pastor!!! Your ideas are great. I would have never thought to do what you did and it makes such a difference to the pumpkins without spending hardly anything when you have the wax and rub and buff on hand. Maryland has been very hot and steamy. The last couple of weeks have been heaven and excited for fall as well!!!
ReplyDeleteThank you so much! We usually don't cool down until late October! Fingers crossed it's earlier this year!
DeleteThose look great! Thanks for giving me more ideas for pumpkins. :)
ReplyDeleteThank you and you're welcome!
Delete