How to Make a Faux French Grain Sack Bolster Pillow
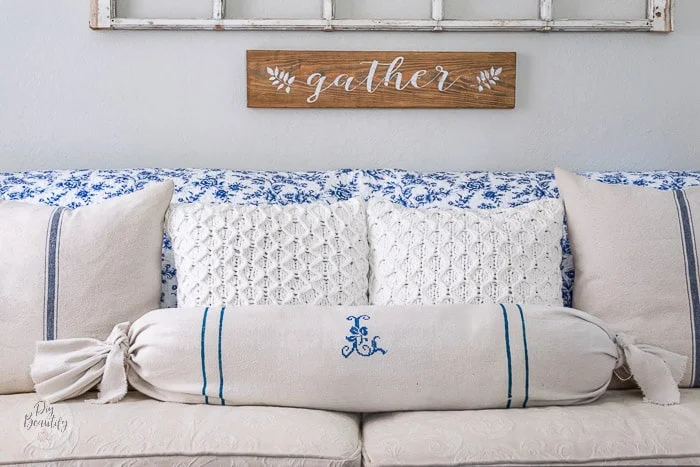
Canvas drop cloth is made over into a faux French grain sack bolster pillow, complete with a hand sewn embroidery monogram and painted grain sack stripes for a beautiful European farmhouse look on a budget.This post may contain Amazon or other affiliate links. As an Amazon affiliate I earn from qualifying purchases. M y full disclosure policy can be found here.
Don't you wish you knew what you know now when you were younger?
When I was 18 I had the opportunity to spend 3 weeks back-packing around Europe
with some friends! We traveled by train to 8 countries in that time! Paris?
Yep! What do I remember about Paris? Rain...climbing the seemingly thousands
of steps to the top of the Eiffel Tower...buying bread and chocolate, and sleeping in youth hostels!
If I went back to France now I would do things so much differently! I wish I
knew how much I was going to love vintage and antique items when I was older!
Of course, I have more money to do it better now than when I was a starving
student, LOL. One of the things I would definitely look for is, of course,
ironstone! But I'd also look for antique grain sacks.
Grain sacks have become so popular to use in home decor, but the true antique
ones are pricey! They typically had stripes and a monogram that set them apart
from other families. Their sack of grain was recognizable because of the
pattern and color they chose!
I haven't been able to get my hands on any real European grain sacks (I'm not
willing to pay the high cost), but I did come up with a faux grain sack
bolster pillow cover that has a lovely French feel. I made it from painter's
canvas drop cloth and I'm excited to show you the tutorial.
Before I share the steps to make this faux grain sack bolster, please make sure you're following me on Instagram, YouTube, Pinterest and Facebook. And if you're not already subscribed to my newsletter, you can sign up here so you are the first to be notified when I post a new project!
Make a Faux French Grain Sack Bolster Pillow
A couple years ago when Mr DIY and I redid our master bedroom, one of the
things I made for our bed was a
thrifty no-sew DIY bolster pillow. I wrapped it in a length of blue velvet.
I've had fun changing out the bolster cover for the seasons, and giving it a
different look on our bed. You can see how I decorated it for
Fall
a couple years ago by just wrapping it with a plaid scarf. Last Christmas I
created a new look by wrapping it with a chenille throw (
see that here) and the year before I used a red Christmas throw (
see that here).
See more of our bedroom makeover here
There are so many ways to dress up a bolster pillow and today I'm sharing a
drop cloth cover with a faux French grain sack stripe and personalized
embroidery.
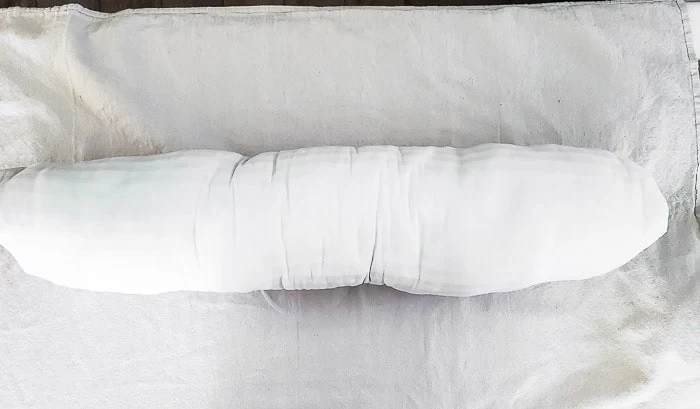
You might be shocked to find out what this bolster pillow is made from! Here is how it looks without a cover on. Doesn't look that pretty, does it?
Just wait!!
Supplies:
- bolster pillow insert (click here to find out how to make your own for $0!)
- canvas drop cloth, washed and dried
- small embroidery hoop
- blue DMC embroidery floss and cross stitch needle
- cross stitch monogram
- blue acrylic paint
- fabric medium
- painter's tape
- craft brush
- iron (I like to use this)
- sewing machine (optional)
Why use drop cloth?
I love to craft and create with canvas drop cloth because it's so affordable.
It has a wonderful nubby texture and once it's washed and dried, it's so soft!
It also has a beautiful neutral color, which can be lightened if you bleach
it. Either way, the color works so well with neutral furnishings and it's a
great way to stay on budget! Plus it just feels very European farmhouse!
Custom embroider a monogram
I knew I wanted my DIY bolster pillow to have a pretty French-style monogram.
I went onto
Pinterest
and found a few different cross-stitch alphabets that I liked, and finally
settled on
this one. I took a screenshot so I could blow it up on my phone.
Now, drop cloth is very different from
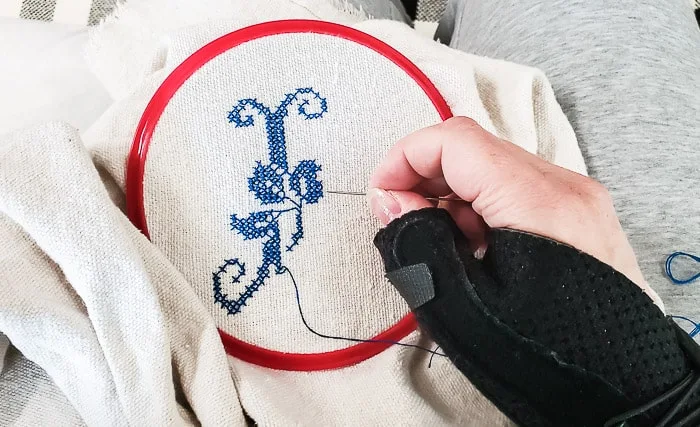
cross-stitch fabric. The holes aren't as pronounced and the weave is much finer. I had to tweak
it a bit to make it work with drop cloth fabric, and this is what I came up
with. Rather than stitching my x's in just one square (like typical cross
stitch), I ended up creating one X over 9 squares (see below).
I wanted to be sure that my monogram was in the middle of my bolster pillow
cover, so after measuring the drop cloth, I found the center and that's where
I started. I threaded my needle with 2 strands of blue DMC thread and starting
creating my monogram. If you're not familiar with cross stitch, it's not
difficult (you're just embroidering x's to make a pattern).
I still managed to complete my large monogram, and once I was finished, I
needed to iron my drop cloth well to remove the ring indentation from the
embroidery hoop. Isn't this pretty?
Designer tip: if you don't cross stitch, you could get the same look with
a stencil and paint, or even by drawing the x's with a blue Sharpie!
Next, I painted on some narrow stripes that are common on European grain
sacks. I chose a blue that looked close in color to the thread I used,
although it's not a perfect match.
I measured from the center of the monogram and taped a piece of painter's
tape down, then I eyeballed it from there, adding two more strips, and did
the same on the other side. To ensure the paint doesn't bleed under the
tape, you need to make sure it's sealed well. Just run your fingernails
along the edge to make sure there's a good seal.
I mixed my paint with a little fabric medium (not shown here) to protect the
color from bleeding during washings. Then I simply dabbed on the paint with
a small craft brush. I wasn't aiming for complete coverage. Once my lines
were painted, I immediately pulled up the tape and then let the paint dry.
See those nice, crisp lines!
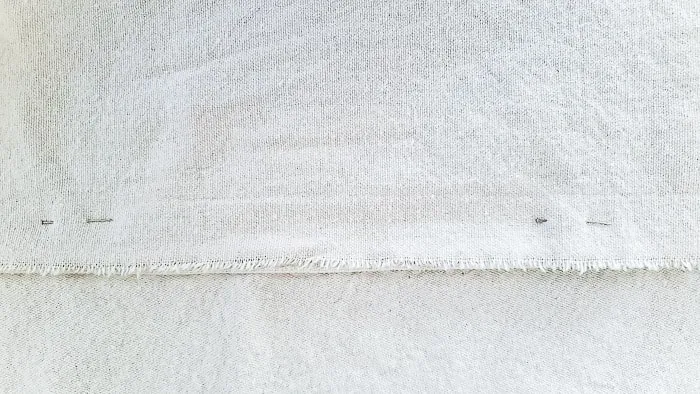
At this point it was time to sew my bolster cover closed. I measured the
diameter of my pillow, and pinned my drop cloth pillow cover with the right
sides together and then sewed that seam closed, essentially creating a long
tube with open ends.
If you don't own a sewing machine, you can close up your pillow one of three
other ways:
- use fabric glue
- use stitch witchery (bonds to the fabric with a hot iron)
- sew it closed using buttons
Once I flipped the cover the right way out, it was time to add my pillow and
then tie off the ends.
I had some elaborate plans for making pleated or ruffled ends to the bolster
pillow but in the end I kept it simple.
I just cut two equal lengths of 3" wide drop cloth and used them as ribbon
to tie the ends of my pillow closed. The edges are frayed which helps add to
that old world feel. This way if I need to wash the cover, I just untie the
ends and pull the pillow out.
The pillow came out so well and I'm so pleased with how it looks on my bed!
See those two blue pillows? I made those covers using the blue velvet that
was originally on the bolster pillow!
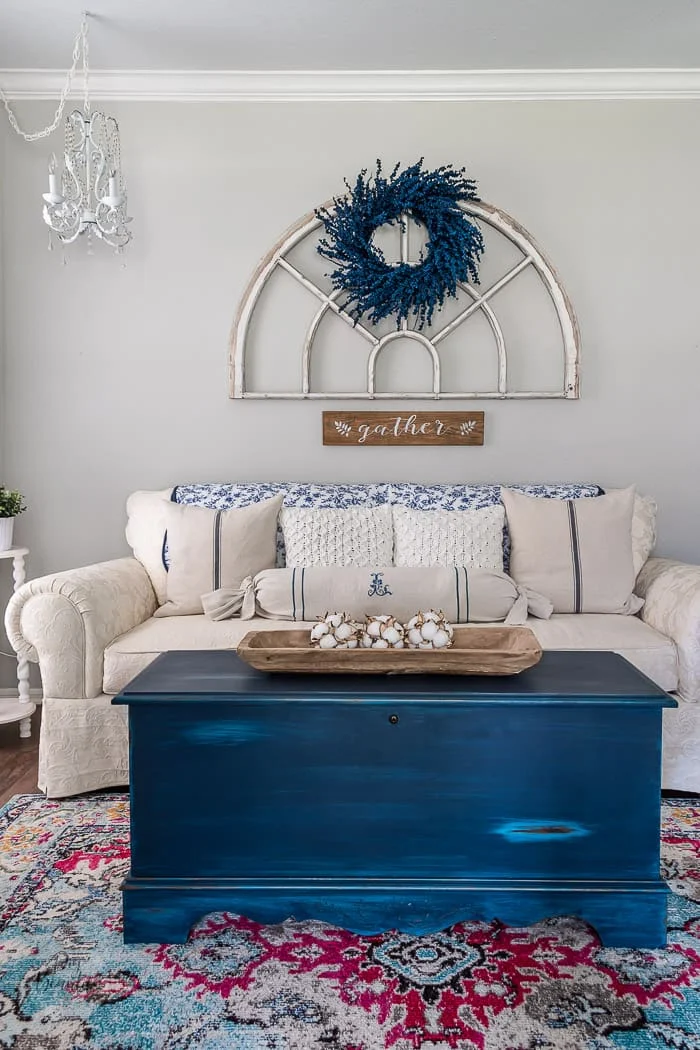
It feels like a true French grain sack bolster pillow, even though it's just
drop cloth and paint! It's all about the vibe though right?
I also tried the bolster pillow on the daybed in our sunroom and love it there too!
Thanks for letting me share this budget friendly way to add some European
farmhouse style to your home for very little money! I have so much fun
sharing budget-friendly ideas and tutorials with you and creating a
beautiful home in the process!
I hope you're inspired to make a faux grain sack bolster pillow cover! Here
are a few similar pillows available to purchase.
SHOP THE LOOK









Comments
Post a Comment
Your comments are like sunshine and chocolate! Thanks for taking the time to leave a nice one ;) I read all comments and love to respond if you leave your name and email! Otherwise, please look for my response under the post where you left it!