Come see my Christmas kitchen and the easiest DIY drop cloth napkins!
Pre-ruffled plaid fabric trim and inexpensive canvas drop cloth keep these DIY Christmas napkins super affordable and easy to make! Get the tutorial right here and check out my Christmas kitchen!
This post may contain Amazon or other affiliate links. As an Amazon
affiliate I earn from qualifying purchases.
My full disclosure policy can be found here.
Do you craft with drop cloth?
I love this inexpensive canvas for so many reasons and have made a ton of
things with drop cloth...wingback chair covers a la
Miss Mustard Seed
(mine didn't turn out nearly as well as hers but I'm not a very experienced
seamstress!), curtains, pillows, table runners.
I can't believe I've never made DIY drop cloth napkins before! They so fast
and easy and the pleated or ruffled plaid fabric trim makes them perfect for
Christmas! I'll share the tutorial with you and then a few pictures of my
Christmas kitchen.
Let's make some DIY drop cloth napkins with a plaid ruffle
I have recently found that the best drop cloths are the ones from Harbor Freight Tools. Some of the ones I've bought from Home Depot and Lowes wash up really poorly, and the fabric pills. The ones from HF are a nice weight and you cannot beat the price!Supplies:
- drop cloth (I used this 4x12 10 oz drop cloth)
- scissors
- iron
- fabric glue or Stitch Witchery or sewing machine
- ruffled plaid fabric (I used this red plaid trim from Hobby Lobby) This buffalo check ruffled trim would also work.
Wash fabric first
Begin by washing the drop cloth and running through the dryer on hot until
it's completely dry. If you've never worked with drop cloth before, you will
be amazed at how soft it washes up once the sizing is washed out!
If you prefer more of a bleached look, you can soak the drop cloth in
bleach for several hours before washing.
I personally prefer the natural color, it goes so well with everything!
Rip fabric to size
My favorite way to work with drop cloth is to tear the edges, rather than
cutting. You'll be left with beautiful fringes that are totally even! Just
snip about an inch and then tear the rest of the way. You'll have to pull off
some strings, but that's what is creating the fringe.
Some day I will come up with a craft that uses all the strings I've pulled
off drop cloth, lol!
My drop cloth napkins ended up being 18 inches square. See those pretty frayed
edges? This is a trick I use to avoid having to hem napkins! Plus, I love the
frayed ends.
Gotta love the warm 80's weather we've been having...still in flip flops
down here!
Cut trim to size
I love this red tartan trim and when I saw it I had to buy some even though I
wasn't sure at the time how I would use it. I just shared my
Christmas porch decorated with red plaid
and was thinking I'd use it somehow on my porch, but that never happened.
The thing I love about this trim is that it's a nice soft flannel fabric and
it is pre-pleated already! So you can just use it as is. I can already see
myself trimming a table runner with this plaid ruffled trim!
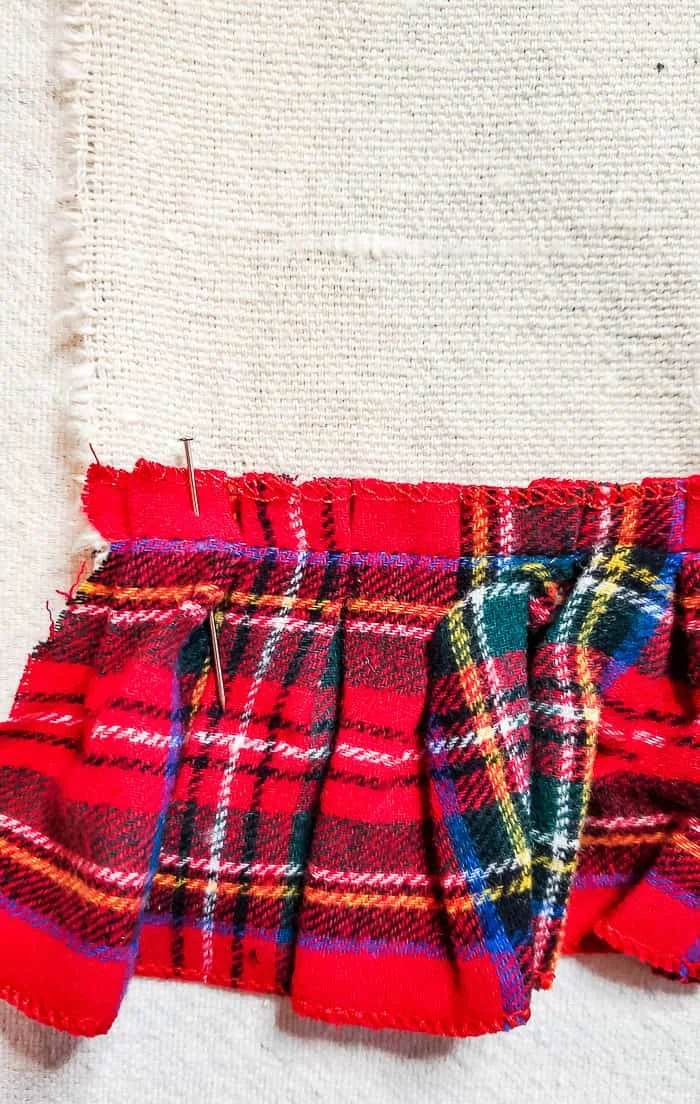
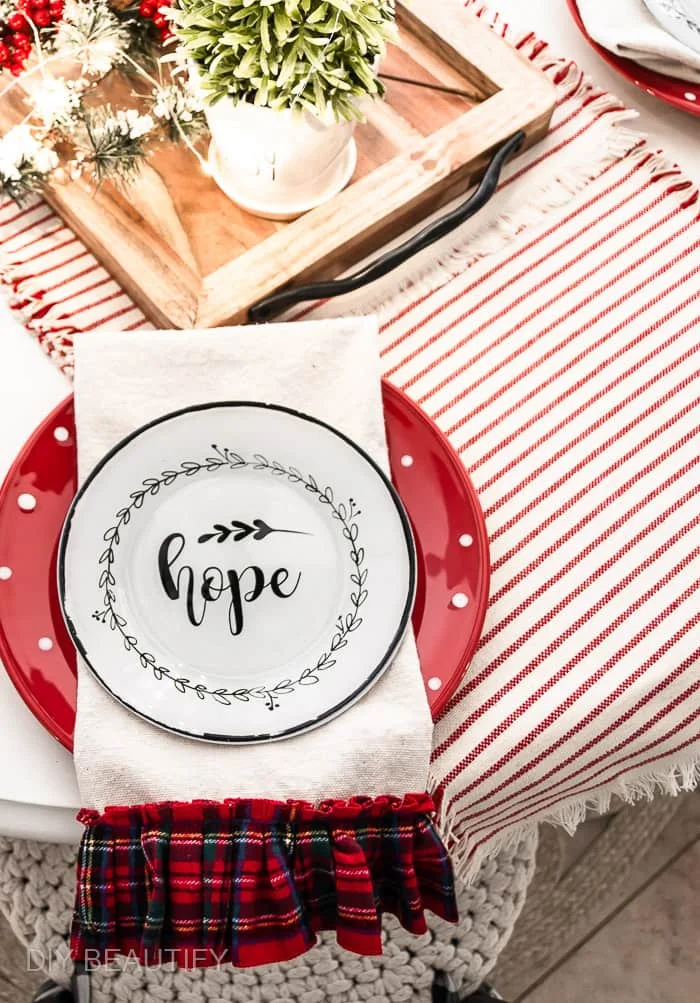
I measured out and cut 18-1/4" of trim for each of my four drop cloth napkins.
That extra allowed me to turn the cut edges under just a little bit on each
side.
Adhere trim to drop cloth
I was initally planning to use Stitch Witchery to adhere the trim to the
napkins, but I could hear my mom's voice in my head,
"Cindy, you have my sewing machine! Why not do it the right way?"
My mom's been in heaven for the past 15 years, so I had to laugh that her
methods are still so ingrained in me! But you know, she was right. Sewing is
really the best way to attach the trim to the drop cloth. I inherited my mom's
vintage Pfaff sewing machine right outta the 70's and it's still going strong
today!
However, I know that not everyone owns a sewing machine or knows how to use
one. So for those of you, I would experiment with fabric glue and the product
I mentioned in the supplies list.
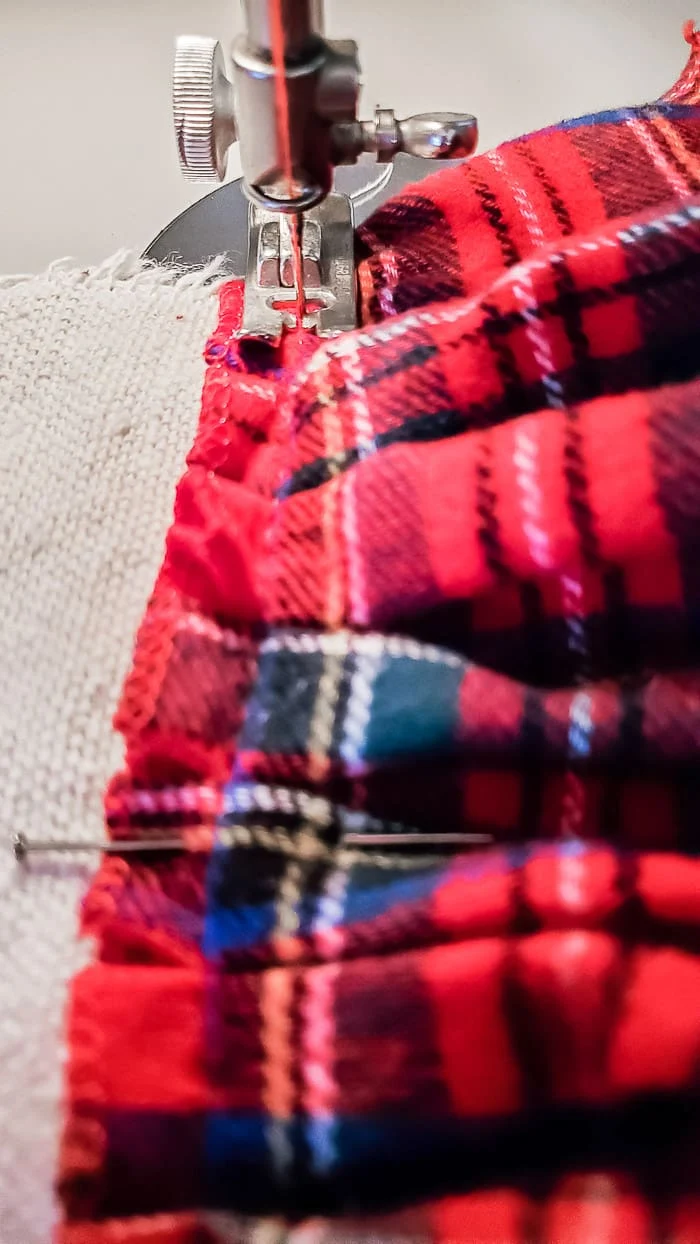
Whichever method you choose, you'll want to pin the trim to the fabric about
an inch above the bottom edge.
I sewed right along the existing seam, and you can't even see my stitches!
I think I had all four napkins knocked out in about 20 minutes! And I haven't
used my sewing machine since I recovered my
ottoman with faux leather
several months ago!
shop this post
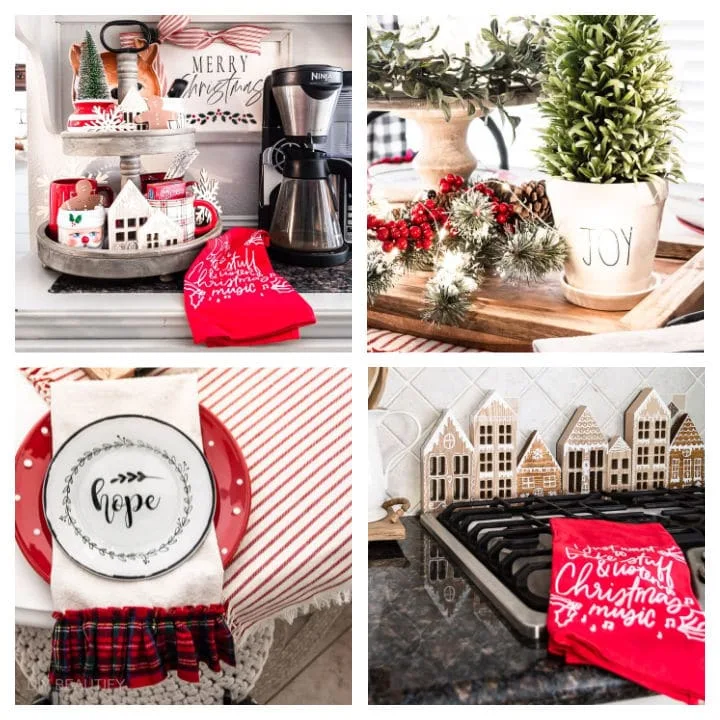
Ready to see how cute these drop cloth napkins look on my table? Here are a
few pictures of my Christmas kitchen.
If you have a corner sink, you'll know how challenging it is to decorate it.
My trick is to prop up something large and square (like a picture or sign or
ceiling medallion) in the corner to cut it off, and then add some minimal decor.
I draped a pretty red and white hand towel over my bread box to hide the
words.
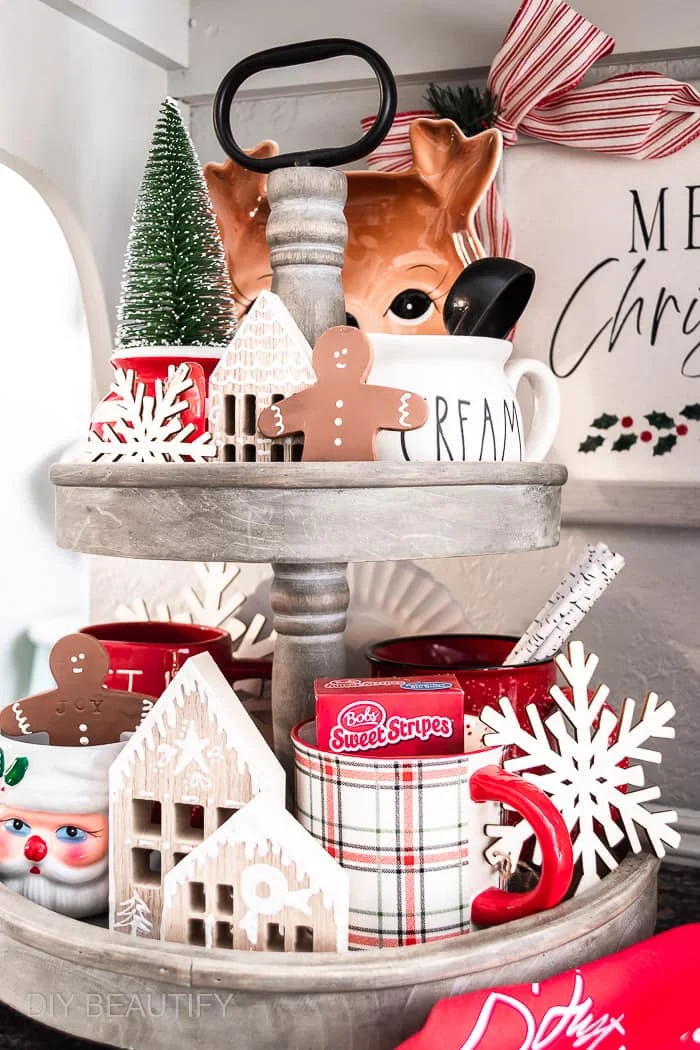
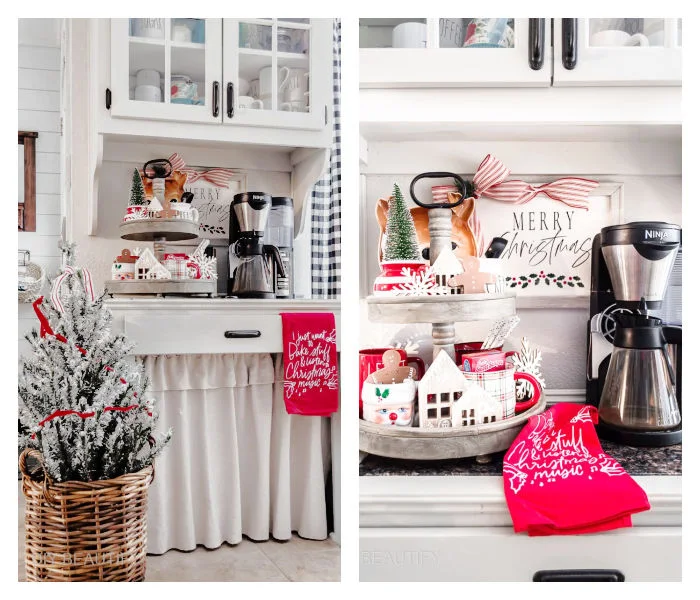
My coffee bar is a favorite place to decorate. I keep a tiered tray here and it's so easy to change out the seasonal decor. For Christmas, there are a few essentials like peppermint sticks and hot cocoa! I included some Santa mugs, a reindeer plate and the gingerbread men that I made last year. I hung my Merry Christmas canvas sign on the wall and added a few of the mini gingerbread houses that I trimmed with white puffy paint last year (you'll see more of those houses behind my cooktop).
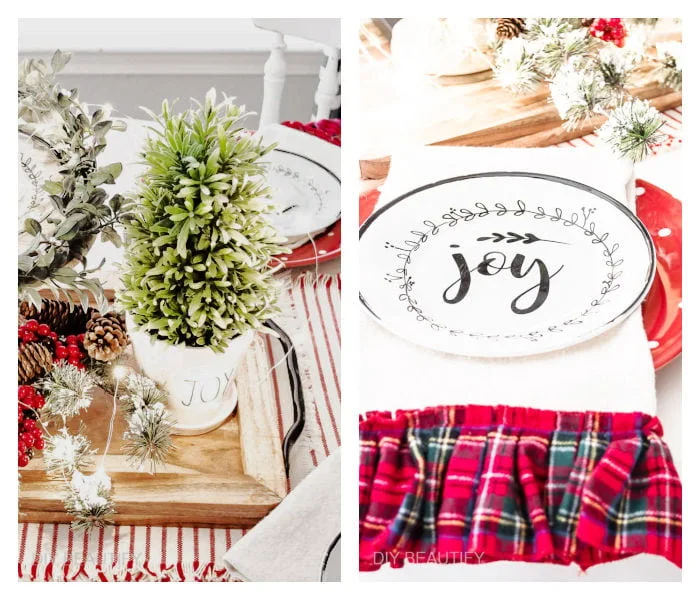
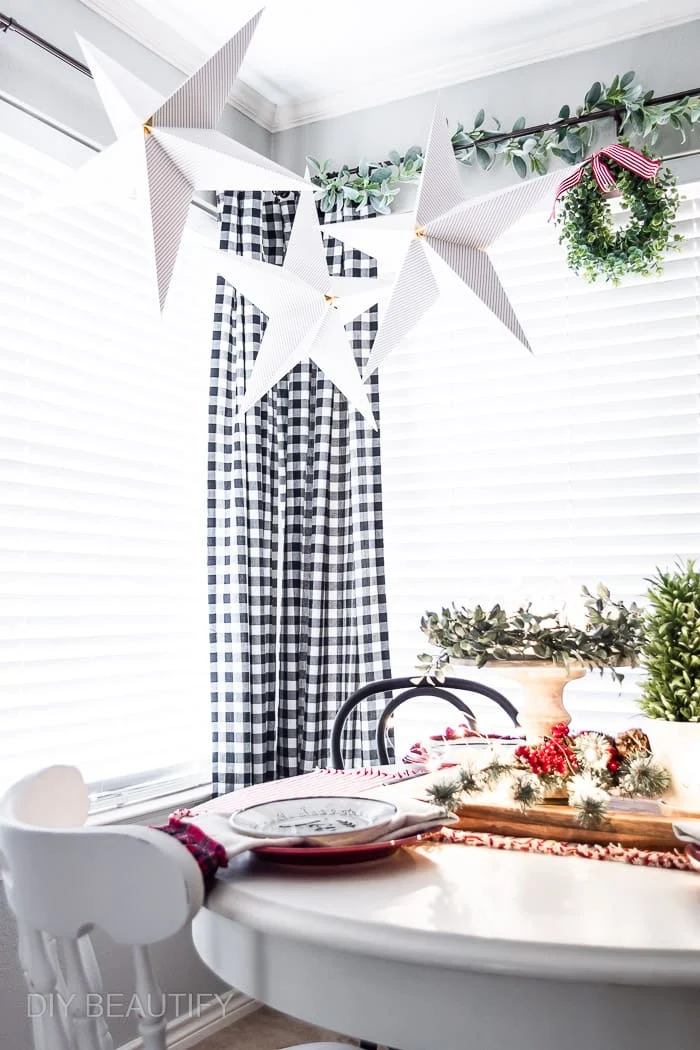
The kitchen table has a small glass nativity that I elevated on a wood riser and added a greenery wreath to create a centerpiece, red plates and my drop cloth napkins.
In the corner above the table I hung a trio of jumbo paper stars from IKEA, and added some greenery above the window.
My little
craft cabinet turned display cubby
has some of my blue and white transferware collection. I simply added some
wood snowflakes, small bottle brush trees and a Christmas sign.
And I can't forget my
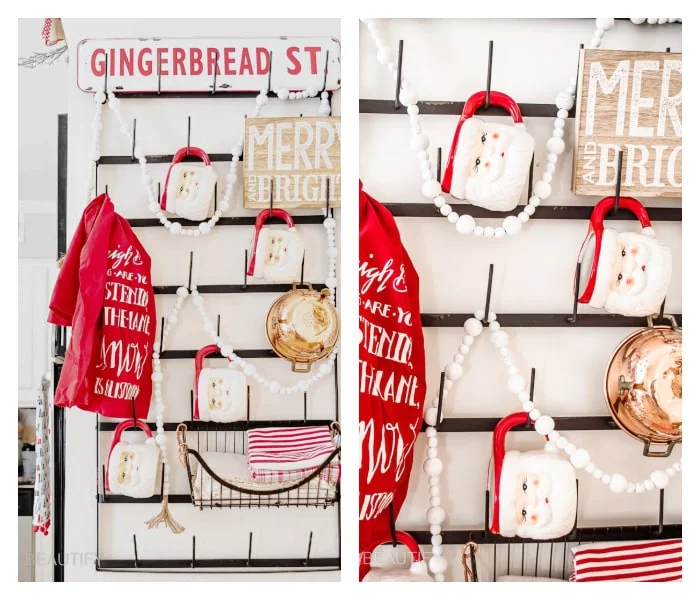
hanging mug rack. This is a favorite spot to hang some of my vintage looking Santa mugs, a
couple signs and a Christmas tea towel. I included a white beaded garland from
Walmart. Don't forget to see my
Santa tree and hutch filled with Santa mugs that I'm sharing tomorrow!
I hope you've enjoyed both this easy drop cloth tutorial as well as my
Christmas kitchen tour!
Please PIN it to remember it!
bringing beauty to the ordinary,









I love the red and white striped placemats but could not find any instructions on making these. Where is this on your site?
ReplyDeleteThe placemats are not a DIY, they were purchased from Home Goods
DeleteHey, Cindy! I love this Christmas segment on Christmas in the Kitchen! First, the kitchen is my favorite room to decorate---any season. And all of your ideas are beautiful and doable! Thanks for sharing...Sandra
ReplyDeleteThanks so much Sandra!
Delete