Make This Charming Vintage Inspired Advent Calendar
Make an advent calendar from faux grain sacks and numbered clay tags for an easy Christmas countdown that you'll use for years to come!
This post may contain Amazon or other affiliate links. As an Amazon
affiliate I earn from qualifying purchases.
My full disclosure policy can be found here.
Hi friends. Does your family have an advent calendar that your kids love to
open? We had a box with small drawers that opened up and our kids couldn't
wait to be the first one awake to open the advent each morning.
Now they're grown, but they haven't totally outgrown an advent calendar!
DIY bought our daughter Abby a
Lego Marvel Heroes advent calendar this year and she is enjoying it (even though she's 17, lol!)
How to Make a Faux Grain Sack Advent Calendar
I get these ideas in my head and can't let them go. I have wanted to make a
vintage inspired advent calendar with tiny grain sack stockings and numbered
tags for a couple years now. 2021 was going to be the year. But I ran out of
steam. You know how that goes, right? I just had too many things to do and the
thought of slaving over my sewing machine trying to create 25 tiny stockings
was just not gonna happen! I did find
this exquisite set of 12 tiny grain sack stockings
online, but couldn't justify the price!
I was ready to give up, but the thing is that
I'd already made the clay tags...back in early September when Christmas
was just a whisper on the horizon!
So I really wanted to complete this half-started project and I decided to make
it easy on myself and forget the stockings. I purchased a set of small muslin
bags from Amazon and they worked perfectly.
There are 3 main parts to this project and I'll detail them below.
Step 1: Make the round clay tags
I was sure I'd taken pictures back in September when I made the clay tags, but
I've searched my phone and cannot find them.
I love to use
DAS Air Dry Clay. It's inexpensive, a little goes a long way, it's easy to work with and
dries in about 24 hours. Now, don't freak out...it is a light gray when it's
wet, but it dries to a bright white.
You can find more details about working with the clay and cutting out shapes
here. I put this as the first step because the clay tags will need time to dry
before you can proceed with the advent calendar.
Do be sure to punch holes in the tags while they're pliable so
that you're able to hang them onto the faux grain sack goodie bags!
Step 2: Stamp the clay tags
You'll need the following:
You simply apply the desired number stamp to the stamp block (you don't need
anything to stick it), tap lightly onto the ink pad and press the inked
stamp onto the tags. I made 25 clay tags numbered from 1-25.
Step 3: Prep the advent bags
I bought
this set of 3x4 inch muslin bags
off Amazon. They are just the right size so they're small enough to hang as a
set, but they're big enough to hold some goodies.
I was originally planning to paint red grain sack stripes like I did when I
added the
faux grain sack stripes to my bolster pillow. However, I was dealing with multiples here - 25 to be exact - and that was
just too much work!
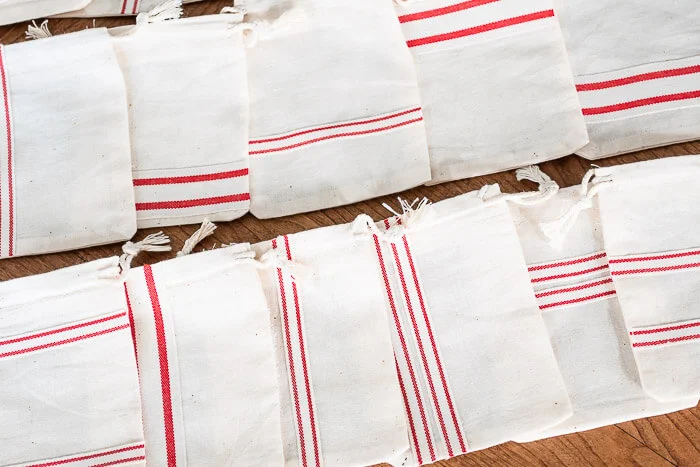
Instead, I grabbed my
favorite grain sack striped ribbon
(a wider width and a narrower one) and some leftover
Stitch Witchery
from when I made Millie a bunch of
no-sew dog bandanas. I love this stuff! It's inexpensive, easy to use with just an iron and you
can even hem clothing with it like I did when I
altered my son's grad gown.
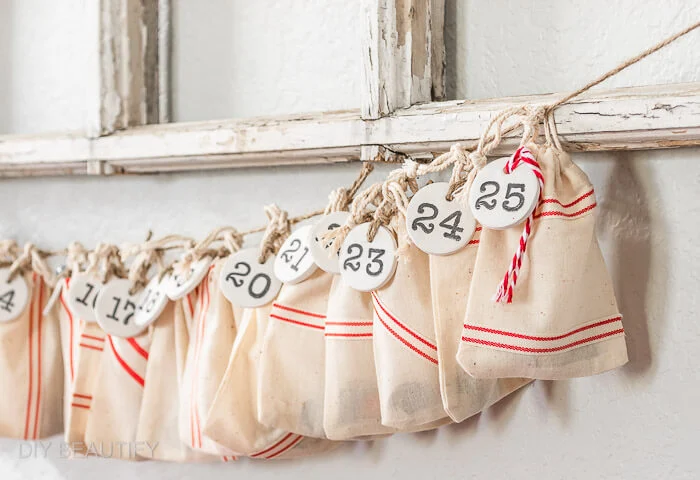
I simply ironed my ribbon onto the fabric bags (the Stitch Witchery bonds the
two together), varying the design and I think it does a great job of mimicking
vintage grain sack - at a fraction of the price and time that it would take to
sew them! What do you think?
Now that all the parts to this faux grain sack advent calendar are complete,
all I had to do was bring them all together.
I tied a clay tag onto each grain sack bag and cinched them up. I think they
turned out so cute! They have that nostalgic look to them that I was going for
this year!
Check out my
porch decorated with red tartan plaid, my
Christmas kitchen
and my
Santa tree and decorated hutch. I've got more to come, with two more decorated trees, my living and
dining rooms!
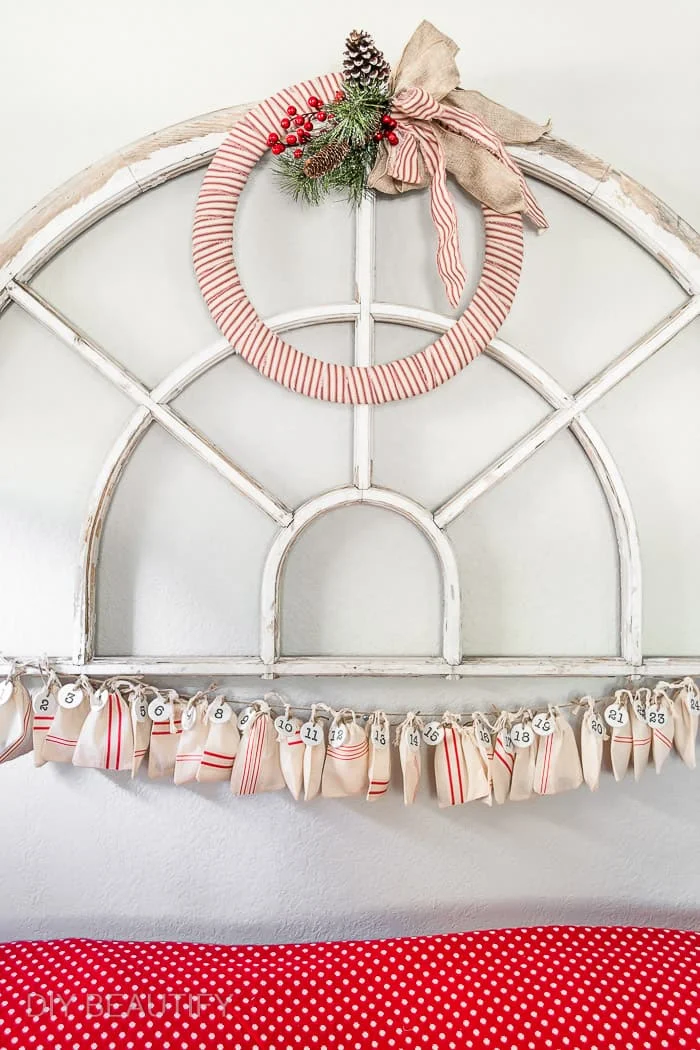
I cut a long length of
natural jute twine
and tied it onto the ends of my vintage arch window. I simply hung the bags
onto the twine! You could do the same thing and hang the advent bags on a
mantle, or even the front of a hutch or console table!
Putting my faux vintage grain sack advent calendar together went quickly, and
my only regret is that I didn't get this post out before December! You can
still make one for your family, or pin the image below and plan to get a head
start next year!
I may even hang these faux grain sack advent bags onto one of our Christmas
trees next year, making it a little more difficult to find the right bag for
each day 😉 Just 'cause I'm a fun mom like that!
I love how the red ribbon ties in beautifully with my
$10 farmhouse red ticking Christmas wreath
hanging on the window!
shop the look
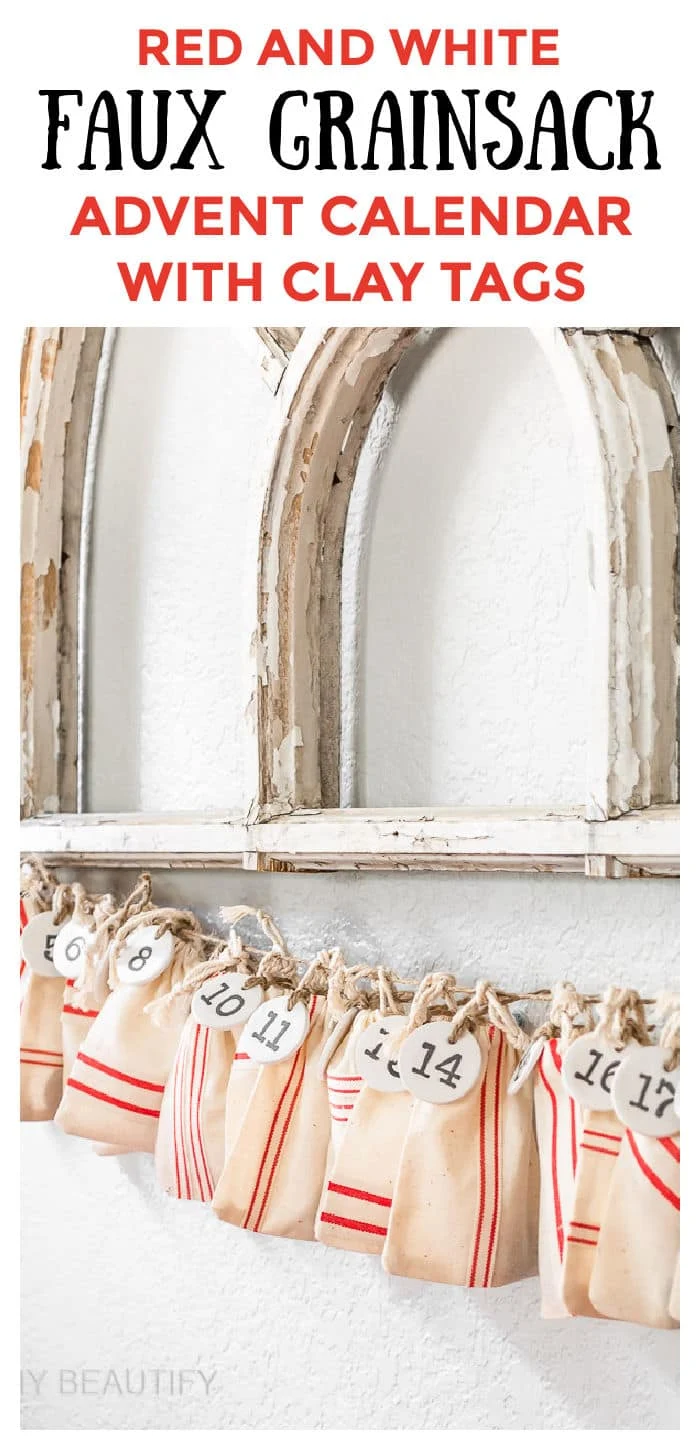
Pin it to remember!
Check out the advent calendar I made on an old shutter years ago when money was super tight.


Does this air dry clay work well in silicone moulds? I enjoyed hearing your
ReplyDeletethought process. The advent bags are charming.
I have never tried that but it's a great idea!
DeleteSorry....this is Cindy not Glenn. I don't seem to know when my husband's
ReplyDeletename shows up. Odd because he does use my email.