10-minute Simple Valentines Day Heart Garland
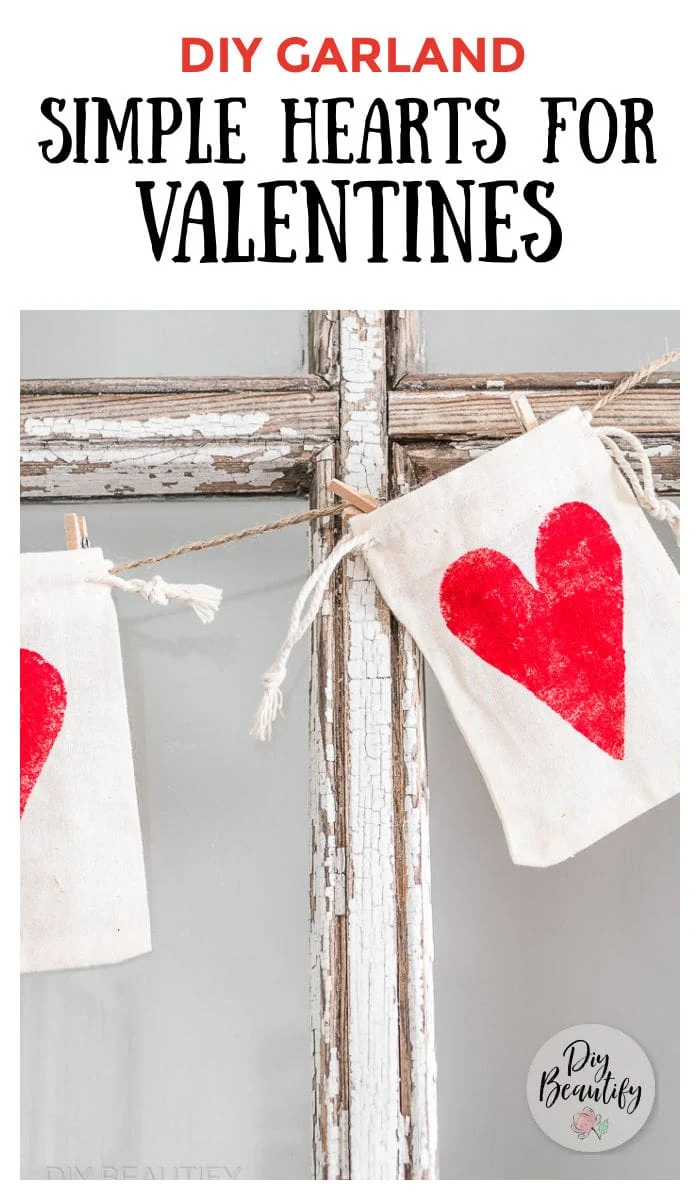
A super easy heart garland that you can make with just a couple supplies in about 10 minutes! So cute hung on your mantel, hutch or wherever you want a pop of color 💗
This post may contain Amazon or other affiliate
links. As an Amazon affiliate I earn from qualifying purchases.
My full disclosure policy can be found here.
There's just something about the winter months that makes me feel like
crafting! I think once the rush and busyness of Christmas is over, and the
days settle down, it's nice to make something new
(and a nice distraction if your weather is bad).
Are you the same way?
Over the next several weeks, I'll be sharing some easy crafts I've been
working on to brighten my home during the often dreary days of winter. If you
missed it, I shared a
DIY wreath made with vintage Valentines
a few days ago, and it turned out soooo cute 💗 My friends and I recently
shared
creative ways to style a Valentines cloche.
Click here to see all my Valentines projects
Today is a super easy Valentines Day garland. You can make this as long or as
short as you want, depending on where you choose to hang it. Mine is just
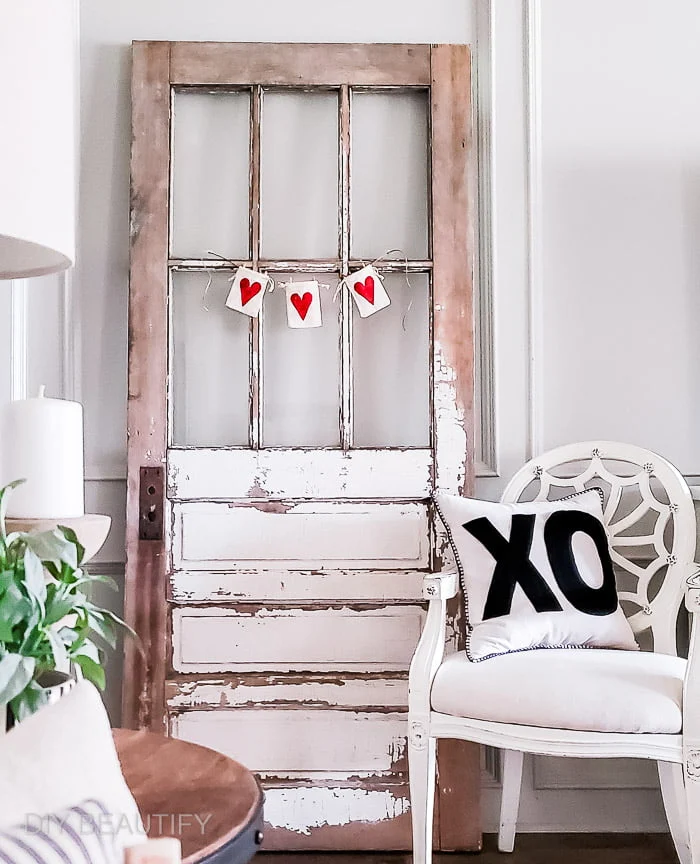
three pieces long but it adds charm and a pop of color to my chippy door.
You'll need just a few simple supplies to make this garland. If you're a
crafter like me, no doubt you have most if not all of these items already.
Supplies
- small cotton drawstring bags
- red acrylic craft paint
- stencil brush
- piece of cardstock and scissors to make stencil or a heart stencil
- small piece of cardboard
- jute twine
- mini craft clothespins
I bought a set of these small drawstring bags when I was heavily into
Christmas crafting. I used them to make a
vintage inspired advent calendar but I only used 25 of the 50 bags. This Valentines garland is a great
way to use up more of the bags, and I'm hoping to use more to make lavender
sachets. There are so many ways to use them, I'm sure you can think of a few!
How to make a simple heart garland
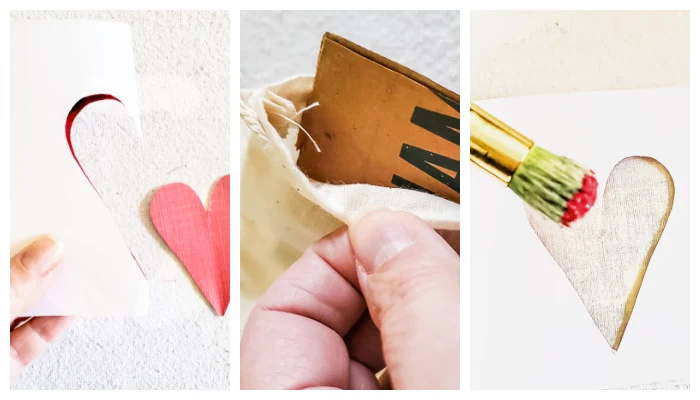
Start by making your own heart stencil. Simply fold a piece of cardstock in
half and cut out half a heart freehand. I made mine long and skinny. Just make
sure it will fit on the fronts of your cotton bags
(and save that heart you cut out for something else!).
Next you'll cut a small piece of cardboard that will fit inside the bag. This
is to keep the paint from bleeding through to the other side.
Center the heart stencil on one of the bags. You can tape it to better hold it
in place, but I just used my fingers.
Dip your stencil brush in the paint and dab a little off. Start from the paper
stencil and pounce the paint towards the middle of the heart. This will give
you clean lines and prevent paint from bleeding under the edge.
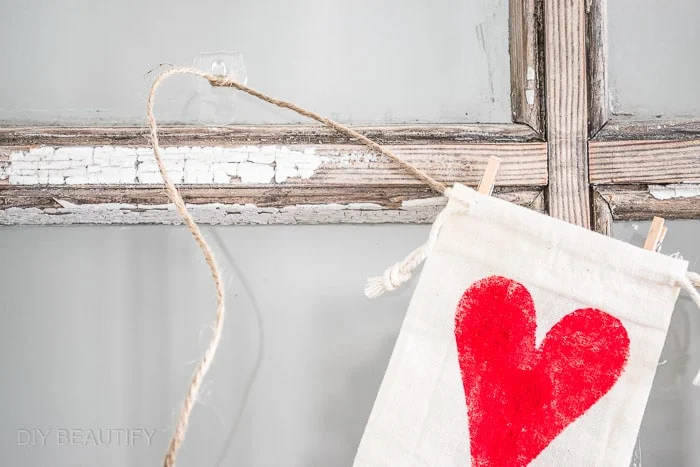
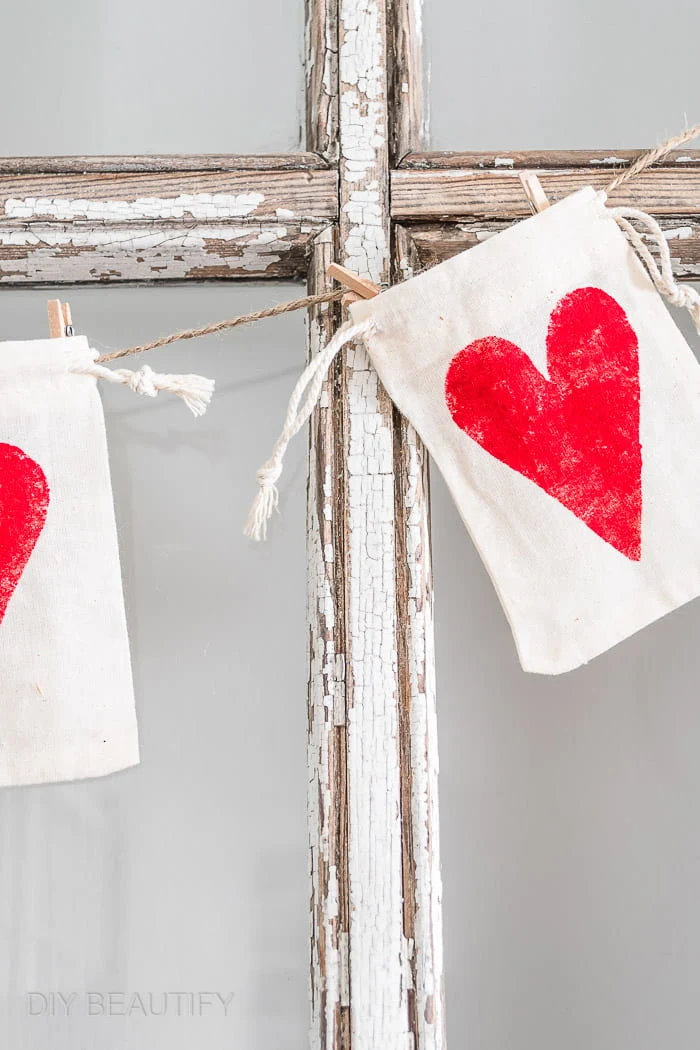
To hang the garland, I simply strung a length of jute twine across my door and
tied each end to a tiny
Command decorating clip. Two clothespins clipped the bags onto the twine, just like laundry, lol!
I really love the pop of red against the chippy white door! It's dramatic but
simple at the same time. I set my
easy no sew XO pillow
on a nearby chair. I've since hung my vintage Valentines wreath above the
garland and it is the perfect finishing touch!
I love a simple craft that you can do it about 10 minutes!
Other ideas to decorate with the heart bags
- use them as silverware pouches as I did on my casual Valentines breakfast table
- fill with candies or other small gifts
- insert a narrow candle or mason jar
- add a Valentine and lollipop for gifting
Pin it to remember
bringing beauty to the ordinary,






Comments
Post a Comment
Your comments are like sunshine and chocolate! Thanks for taking the time to leave a nice one ;) I read all comments and love to respond if you leave your name and email! Otherwise, please look for my response under the post where you left it!