The Easiest Wood Bead Heart DIY
A step by step tutorial showing you how to make hearts from wood beads. This is an easy DIY that takes just a few minutes!
This post may contain Amazon or other affiliate links. As an Amazon
affiliate I earn from qualifying purchases.
My full disclosure policy can be found here.
Happy Valentines Day! Oops, I am actually a day late! I don't know how
I didn't realize that when I scheduled this post! Oh well, this is a good
tutorial to have no matter what day of the year it is 💗
I wanted to make a few wood bead hearts this year, and couldn't find a
tutorial that really broke down the steps,
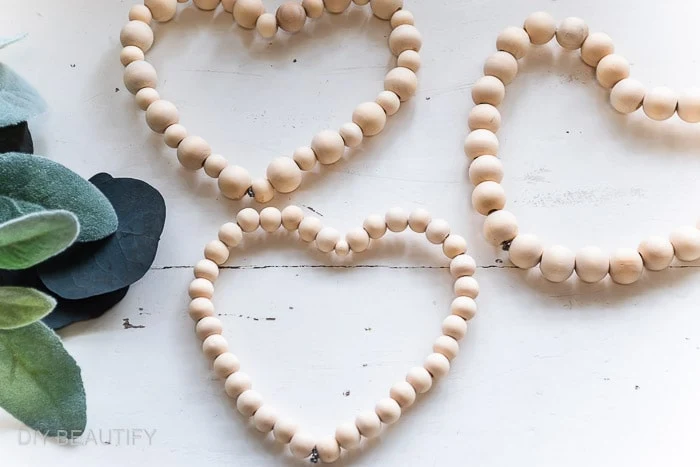
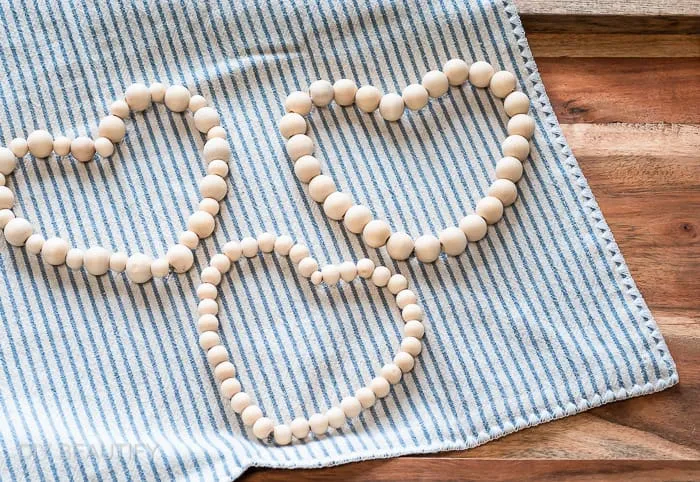
so I decided to make my own! I made three wood bead hearts in about 30
minutes and they were so much easier and faster than I expected! And turned
out so cute!
The easiest way to make a wood bead heart
I know that many of you don't consider yourselves to be crafters. You love seeing others make things, but you don't think you can do it yourself. That's why I love showing you step-by-step how to make something pretty for your home!
This tutorial is easy! You can do it, I promise! And I'm here to show you how.
Let's get started.
Supplies
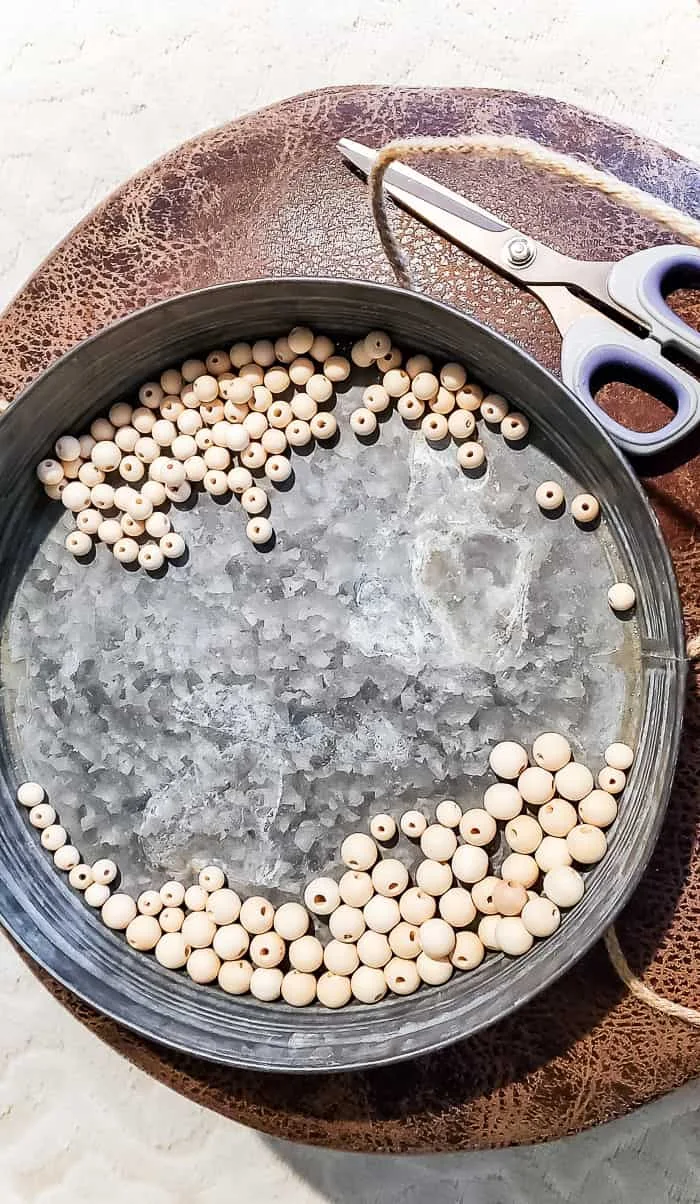
- wood beads (I used beads from this set, but it's currently unavailable on Amazon; here's a similar set of wood beads)
- stiff, bendable wire (I used this wired jute)* **
- needle nose pliers
- scissors
*Note: If you can't find the wired jute at Dollar Tree,
this one from Amazon
would also work
** A word on the wire: I'm not sure of the gauge of the wired jute (it
wasn't listed on the packaging) but it is the best gauge for this craft
because the wire is bendable while still being sturdy enough the keep the
heart shape after the wood beads are added
Step One - sort wood beads
I keep my wood beads in a large mason jar, so I took some time to pull out
beads that were the same size, and a few in a smaller size. I wanted to make
sure I had enough. My 5"-ish wood bead hearts took approximately 28 wood beads
to make. Obviously the larger your wood beads, you won't need as many;
however, unless you're planning to make a really large heart, I would suggest
using beads that are about 1/2" or smaller for the best results.
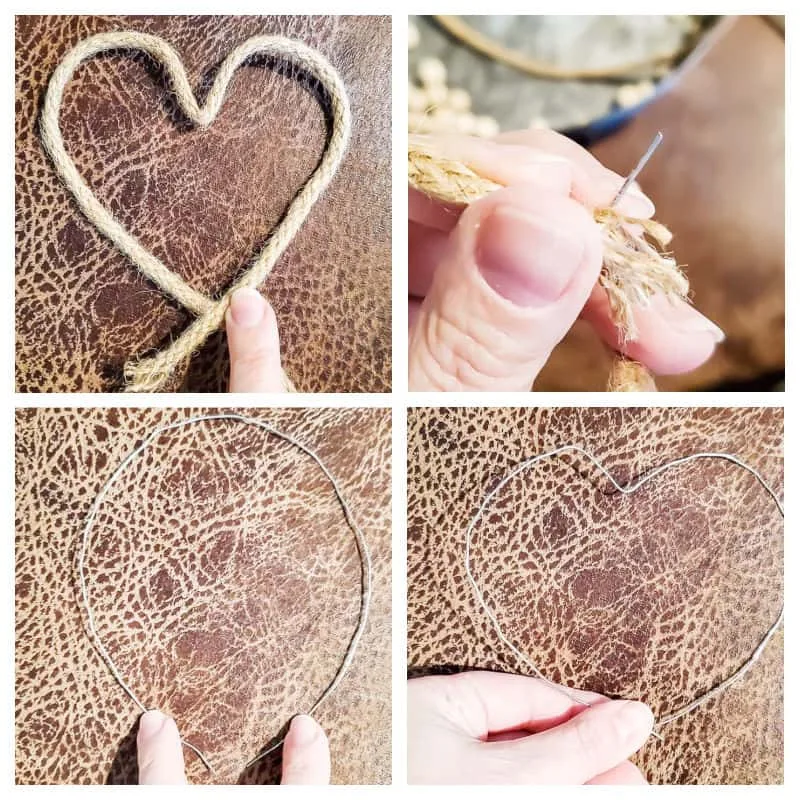
Step Two - Cut wire and shape heart
Next, I used the wired jute to form a heart shape to determine how much I
would need, and then I cut the wire.
The jute part won't fit through the small holes of my smaller wood beads (it
might if you're making a large heart with large wood beads), but it's easy to
slide the jute off, leaving the bare wire.
You can see below how I created a loose heart shape, with the open ends of the
wire at the bottom of the heart.
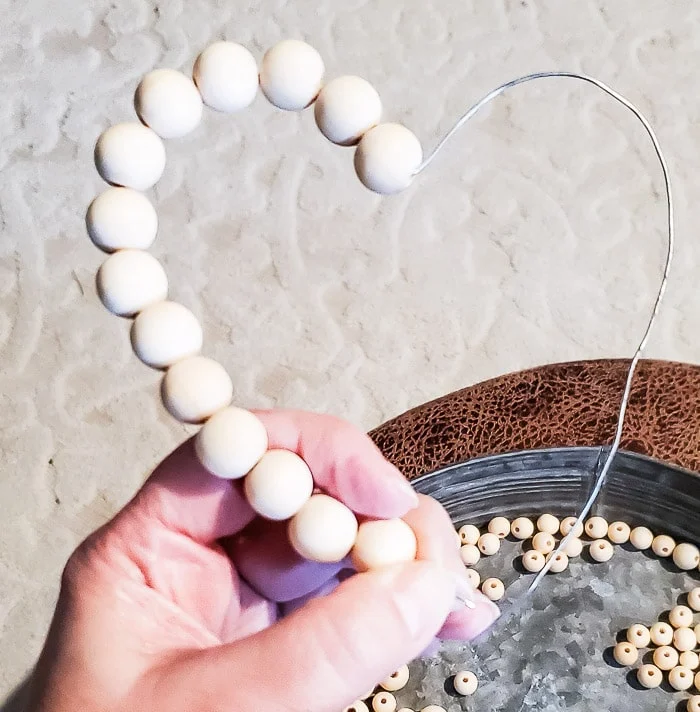
Step Three - Slide wood beads onto wired heart
Now you simply add wood beads from the bottom until the heart is full. I did
it one side at a time.
Tip: try to get one heart in the very middle where the wire bends, for less
visible wire once the heart is closed up.
Step Four - Close heart
Once the heart is full of beads, to close it you simply bend the wire at the
bottom so its straight down and then twist the two wires together with needle
nose pliers. You can use regular pliers but they're much thicker and you may
not get a tight fit.
I found that the excess wire popped right off after I twisted long enough. You
will find that the longer you twist, the tighter your bead heart gets. It
really secures the wood beads nicely.
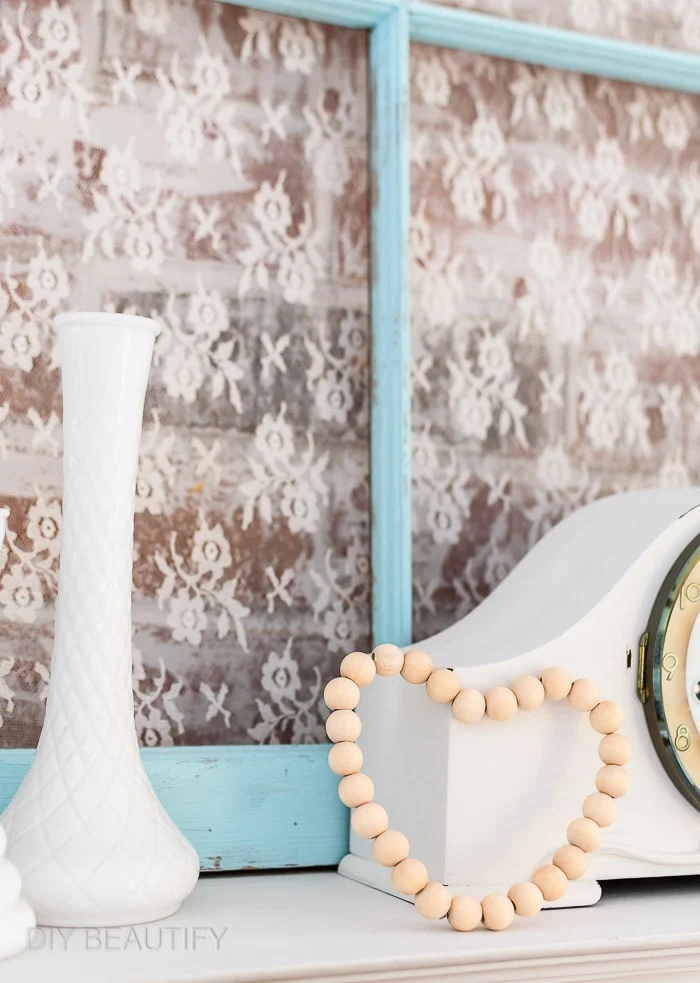
And that's all it takes to simple wood bead hearts in a matter of minutes! The
shape of the hearts can still be slightly manipulated but they are sturdy and
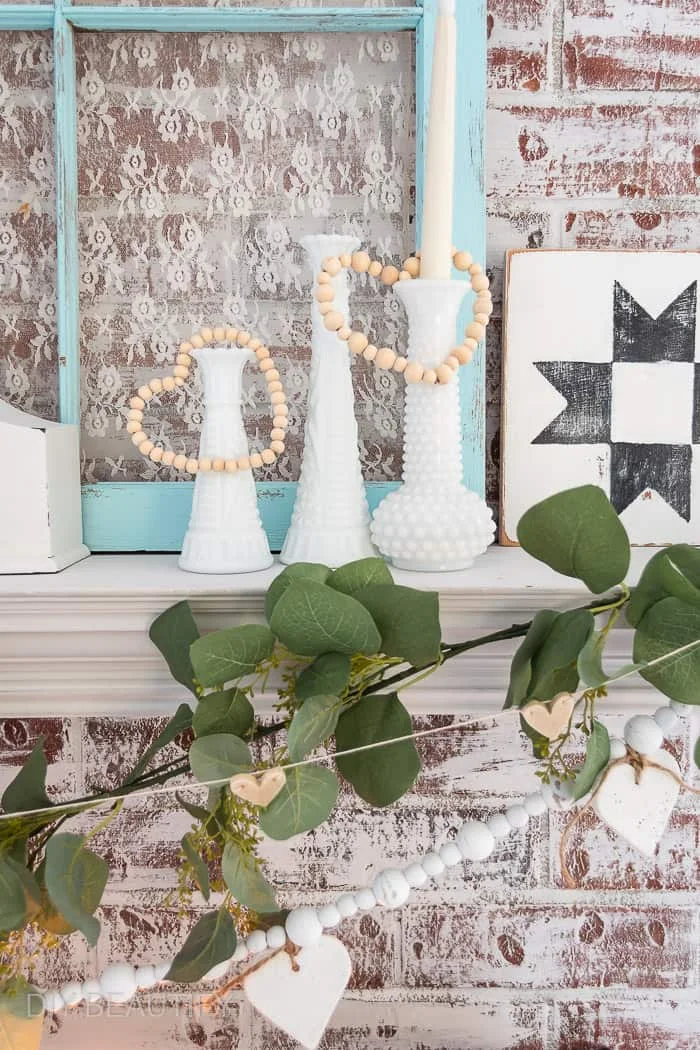
easily keep their shape. I added the beaded hearts to my
neutral winter Valentines mantel.
You can alternate the size of wood beads on the heart if you want, or keep
them all the same size.
I hope you enjoy making your own wood bead hearts! They're a cute way to dress
up your home anytime of the year, not just around Valentines Day!
Pin it to remember!
bringing beauty to the ordinary,






I recently got into wooden beads. I am starting with 10 mm size. I like the idea. I guess you can even paint them red or pink to add color, but then it would be more time needed to complete it, but it is an idea.
ReplyDeleteYes it's fun to customize them to whatever color you like!
Delete