Vintage Style Drop Cloth Carrots for Spring!
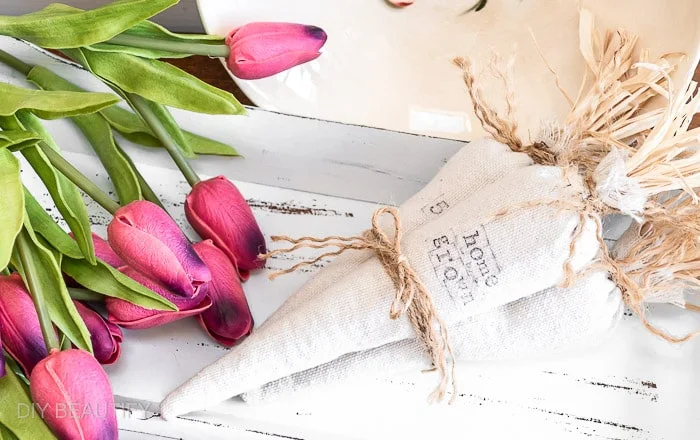
These farmhouse drop cloth carrots have a vintage vibe and are an inexpensive project for Spring! Follow along with the video tutorial or read the written instructions below.
This post may contain Amazon or other affiliate links. As an Amazon
affiliate I earn from qualifying purchases.
My full disclosure policy can be found here.
Who's ready for Spring?
If I'm being totally honest, I could go for another month or so of cold
weather! That's only because spring here in Texas feels more like summer
everywhere else! That darn humidity is already creeping up!
With that being said, it's always fun to start adding some bunnies and flowers
to the decor. And this year I decided to make my own farmhouse carrots, after
not finding anything I liked at the store.
Crafting with drop cloth is a fantastic way to create something with a
farmhouse look and feel, but for very little money! A single drop cloth can
make a lot of projects.
Here are a few other home decor pieces I've made from canvas drop cloth
(click the links below for more details):
- drop cloth will be stiff out of the packaging; wash in warm water and fully dry and you'll be amazed at the softness
- rather than cutting drop cloth, it's easier to rip it! Just snip an inch or so with scissors to get started, then grab both sides and pull to rip the fabric; you'll be left with perfectly fringed edges!
- drop cloth is messy - expect a lot of strings, but they're easy to grab and throw away
- you can easily bleach drop cloth if you prefer a whiter look
How to make farmhouse carrots from drop cloth
If you'd prefer to watch me make these carrots,
click here for the video tutorial
Update: I've improved my DIY carrot tutorial with a few tweaks. Tap to see details!
You'll need just a few basic supplies to make these farmhouse carrots, many of
which you probably already have at home. I'm including Amazon links below for
your convenience.
Supplies:
- canvas drop cloth
- scissors
- fabric glue or sewing machine
- rice or poly fiberfill
- needle and thread
- jute twine
- raffia
- alphabet stamps and dye based ink pad (optional)
Step One - Create the carrot shape
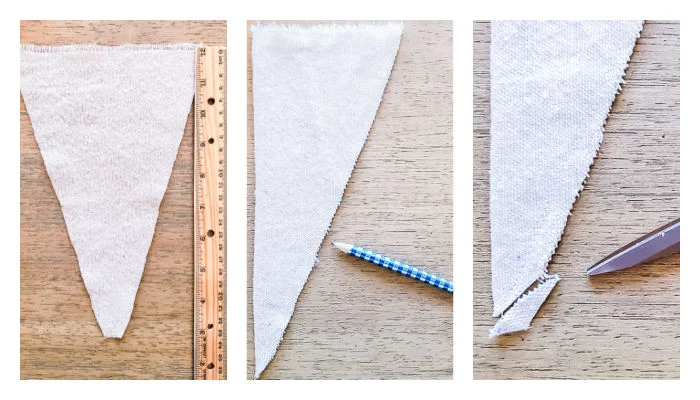
You can make your carrots any size! Cut a triangle (it doesn't have to be
perfect) by folding the drop cloth in half, drawing a line with a ruler and
cutting it out. Just for reference, mine measured about 9"x5".
Fold the triangle in half and hand stitch or sew the open edge. You can try
fabric glue but I haven't personally tested the strength of the bond with
glue. Snip off the tip of the carrot to reduce some of the bulk.
Step Two - Turn carrot
Turn the drop cloth carrot right side out. This is a little tricky (and more
difficult the smaller your carrot is). Use a needle to help draw the fabric
out at the tip but don't expect to get a perfect point (the fabric will be
more blunt). Once the carrot is turned, snip off the tip at the seam so the
top of the carrot is straight across.
Step Three - Fill the carrot
In the video, I explained a little bit about my thoughts for using rice to
fill my carrots. Rice gives the carrot more weight and a nicer feel, but if
you'd prefer to you can use polyfill.
Before you fill the carrot completely to the top, hand stitch a loose
gathering stitch around the top of the carrot about an inch down from the
edge; Make sure to leave a tail (this will be pulled to gather the top shut).
Step Four - Create carrot tops
Wrap a couple strands of raffia loosely around your hand. Cut through the
loops at the top only. Hold the bundle securely and stick the bundle into the
rice so the snipped tops are sticking out from the top of the carrot. You may
need to add a little more rice but don't fill carrot above the gathering
stitch. This might be easier to watch me do than read about -
watch the VIDEO TUTORIAL HERE.
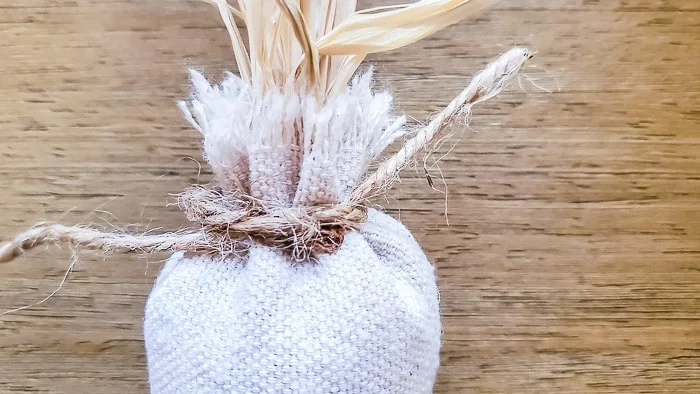
Pull the gathering stitch tight to secure and tie a knot. Wrap around carrot
and repeat if you have enough thread. Wrap a piece of jute twine around the
stitch and pull tight. Tie it off with two knots. This should keep the carrot
tops from falling out...if you're losing rice or raffia, you haven't tied it
tight enough.
Step Five - Embellish carrots
This next step is totally optional but I think it adds a ton of farmhouse
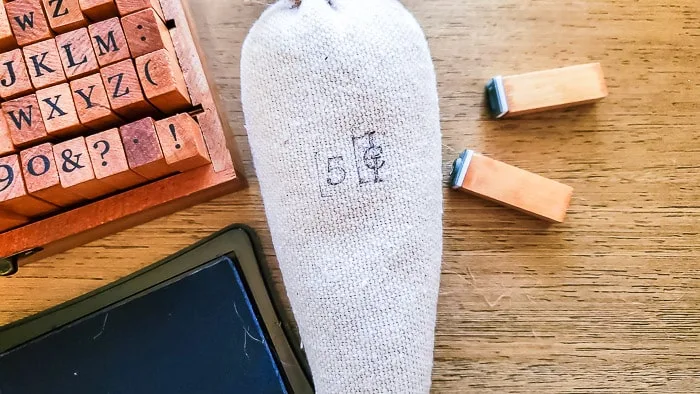
charm to these vintage style carrots! Pick your saying and stamp it on using
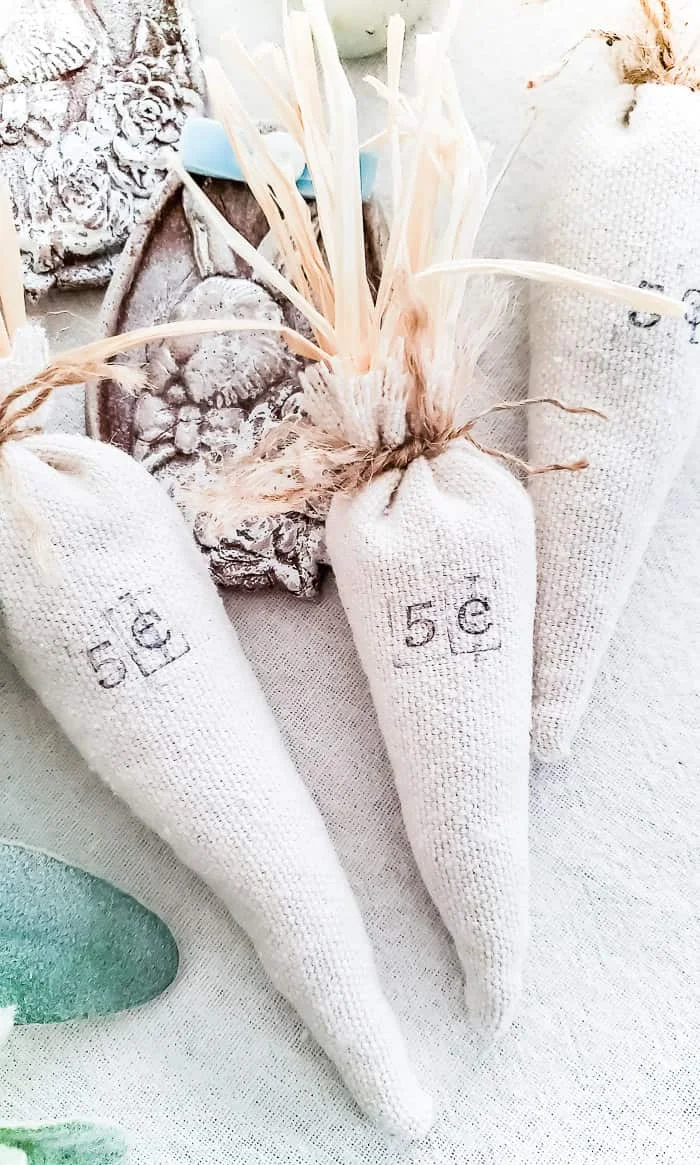
the black dye-based ink. I stamped "5 cents" and "home grown" to my carrots.
Some additional ideas are:
- farm fresh
- 15 cents a bunch (if you plan to bundle the carrots)
- happy Spring
- happy Easter
- carrots
- bunnies stop here
If you love primitive decor, you can dirty the carrots with a little
watered-down
brown craft paint
or even smudge them with a little
brown chalk/pastels
to give them that rustic, grungy primitive look.
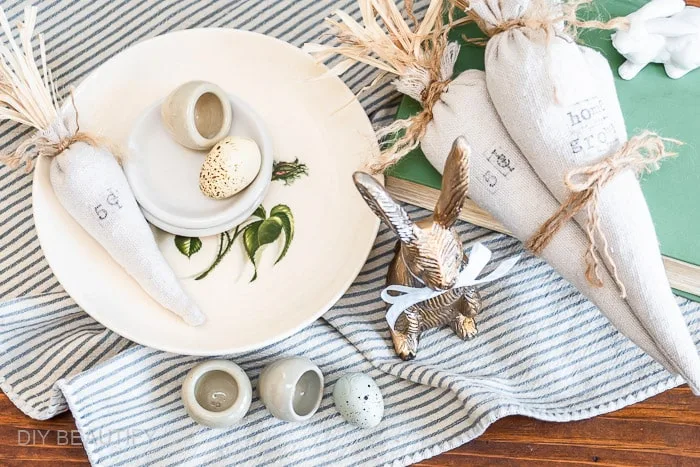
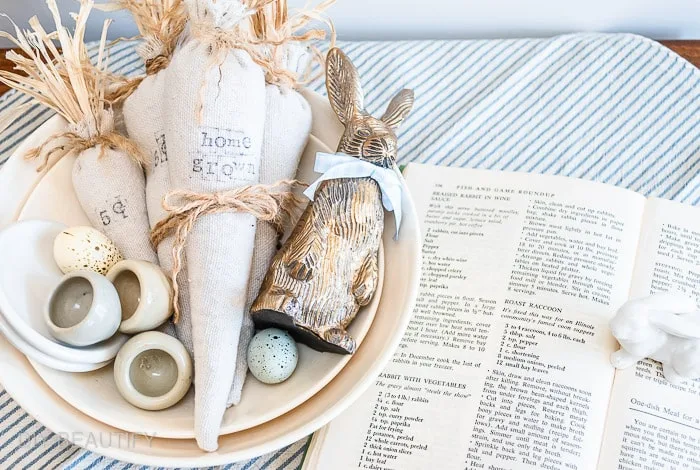
Try adding the drop cloth carrots to a bowl or basket, along with a few
bunnies and eggs.







Very cute! What a great idea. You made this look easy.
ReplyDeleteThank you so much! They're not hard, but a little finicky if you're using rice, ha!
DeleteI totally need to make some of these! Love them! pinned
ReplyDeleteThank you Cindy!
DeleteCindy...these are so stinkin' cute!!!
ReplyDeleteThanks Jen, they were such fun to make!
Delete