How to Make a DIY Floral Basket
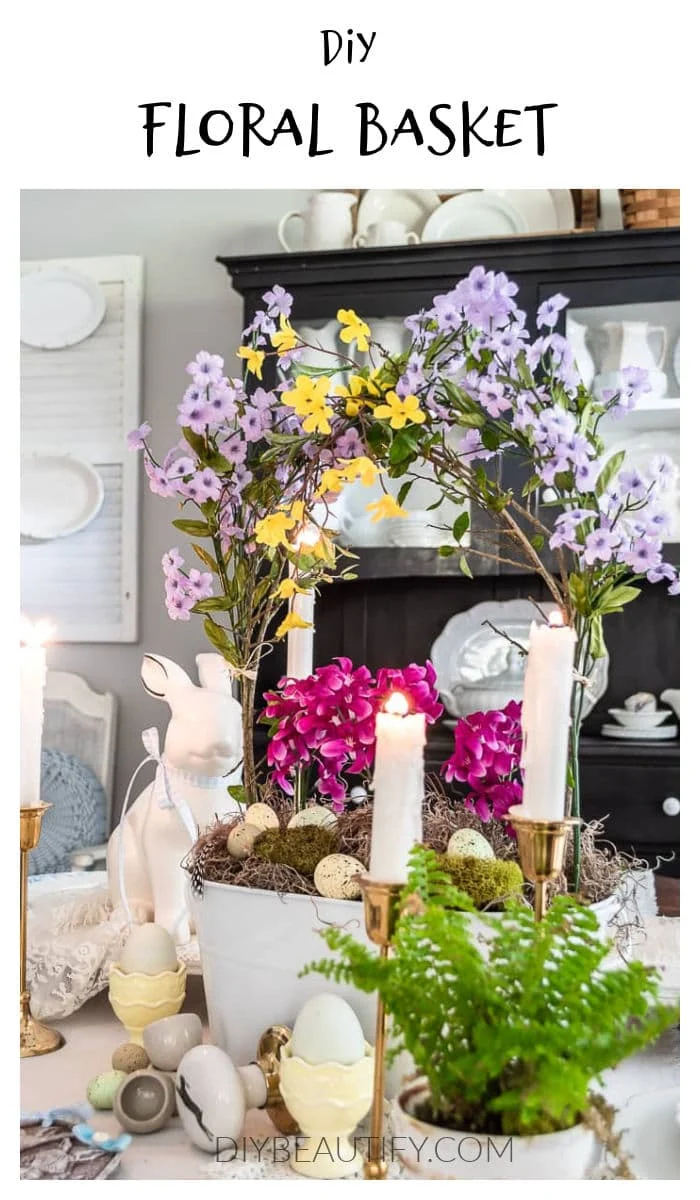
A pretty floral basket with DIY handles planted with real or faux flowers, makes a charming centerpiece for Spring and Easter, or a thoughtful Mother's Day gift.
This post may contain Amazon or other affiliate links. As an Amazon
affiliate I earn from qualifying purchases.
My full disclosure policy can be found here.
Can you even believe it's the last week of April? It feels like my time is
currently being measured in the number of boxes I've packed! Did you know
we're moving? You can read all about it
here.
If you're new, welcome! I'm Cindy and I have a passion for home decor and
sharing easy decor tips and tutorials with my readers. My goal is always a
warm and welcoming home that feels cozy and inviting and I love to show you
how to achieve the same look and feel in your home! If you're visiting from
A Stroll Thru Life, welcome! I just love Marty's summer basket ideas!
Today is Pinterest Challenge when I gather with some of my favorite blogging
friends and we show you how we decorate our way using a Pinterest image for
inspiration. I had to miss last month so I'm happy to be back! Thanks so much
to
Cindy of County Road 407
who leads our group.
Inspiration image
This month's inspiration image is courtesy of Emily of La Cultivateur. I love Emily's blog and style and am always inspired by what she does. This lady has a true gift for floral displays! And even though Easter is over, I think this type of centerpiece can stay out for several more weeks. If you remove the bunny and eggs, it's easy to transition to a Mother's Day centerpiece floral basket!
In fact, if we're being brutally honest here, I will admit that I went out and
bought the bunny and tote just for this challenge
(they'll be going back to Hobby Lobby!) because I needed something to
decorate my Easter table! If you read Emily's blog post, you'll see the
full table centerpiece where she used a large stone rabbit.
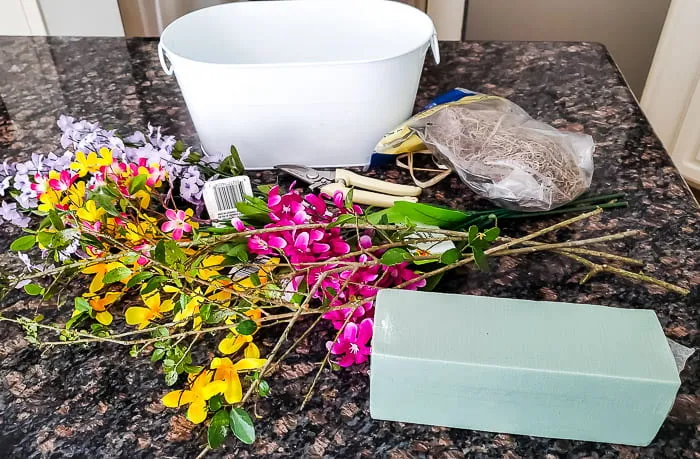
I picked up the florals and moss very inexpensively from the Dollar Tree.
How to make a DIY floral basket
My very favorite thing about Emily's image is the beautiful basket with the
handles created from branches. You can use any basket or tote that doesn't
have a tall handle to make a Spring inspired DIY floral basket. I think the
long and narrow basket Emily used is perfect because there is lots of room to
add flowers.
I knew I wanted to recreate that look for my own basket
(which is actually a metal bucket). If we weren't currently packing our
home, and if my mom-in-law lived closer, I would have planted my basket with
real flowers and given it as a Mother's Day gift. So keep that in mind if
you're thinking of trying this DIY!
As it is, I kept everything faux so I could easily disassemble the floral
basket.
Supplies I used
- basket or oblong metal bucket (see similar here and here)
- floral foam
- garden clippers
- branches from my backyard (cut from tree)
- faux flowers
- spanish moss
- hot glue
- small pebbles
- additional styrofoam pieces
Adding branch handles to a basket
To create the basket with branch handles, I went into my backyard and clipped
some slim branches from a tree, removing most of the leaves. You need
something that is pliable, and a dead branch will just break if you try to
bend it.
I thought one piece of floral foam would be enough, but it didn't fill the
tote so I had to come up with something else because I wasn't driving back to
the store! I had some pieces of styrofoam in my craft supply that helped to
fill the bucket. It doesn't look pretty, lol, but no one will see the inner
workings anyway! I hot glued the styrofoam onto the base of the bucket to keep
it in place, and then glued the separate pieces to one another. This is a
great example of working with what you've got!
For this type of basket, with the branch handle, you want to poke the branches
into the foam as close to the sides of the basket as possible, and push the
branches as far into the foam as they'll go for stability.
You'll want to overlap the branches slightly on the top. I secured them
together at the top with a piece of raffia
. I repeated these steps with two branches of lovely small purple
flowers, again tying the overlapping branches together at the top.
Weight the basket
Because the base of my floral basket is all lightweight foam, I needed to
weight the bottom to keep it from toppling over. I used some small river
stones and just poured them into the basket. If you're planting real flowers
into soil, you can skip this step.
Add flowers to basket
Finally I poked the stems of some purple flowers
(they reminded me of hyacinths) into the foam and tied some additional
yellow flowers at the top to give it that airy and light feel of the
inspiration image.
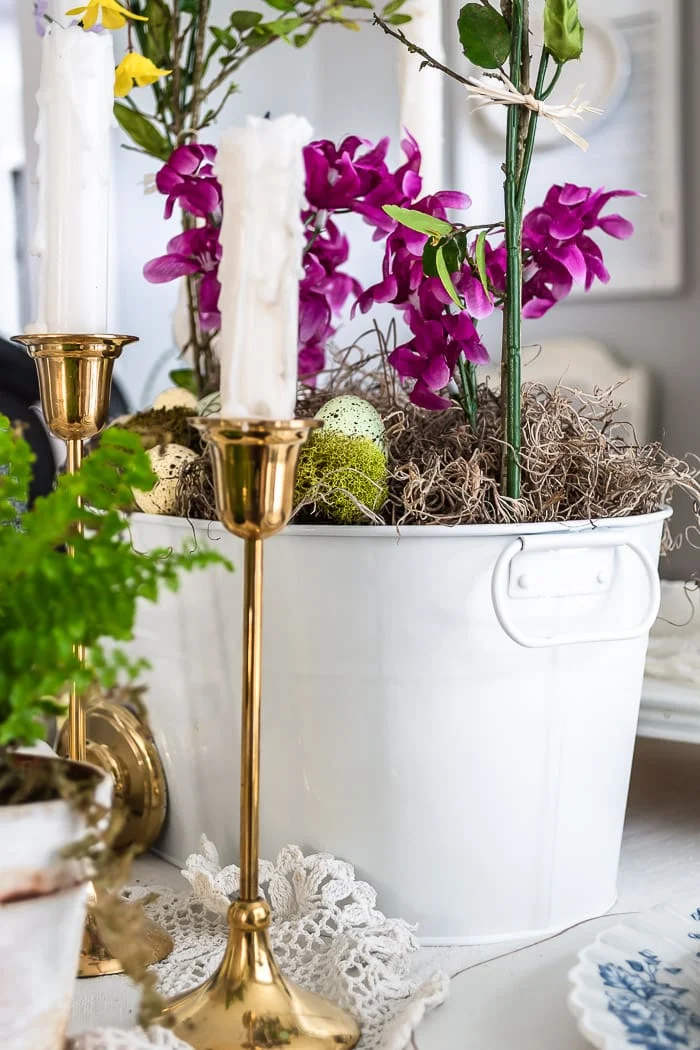
I used a bag of Spanish moss to hide all the foam, and added a few eggs, moss
and feathers on top.
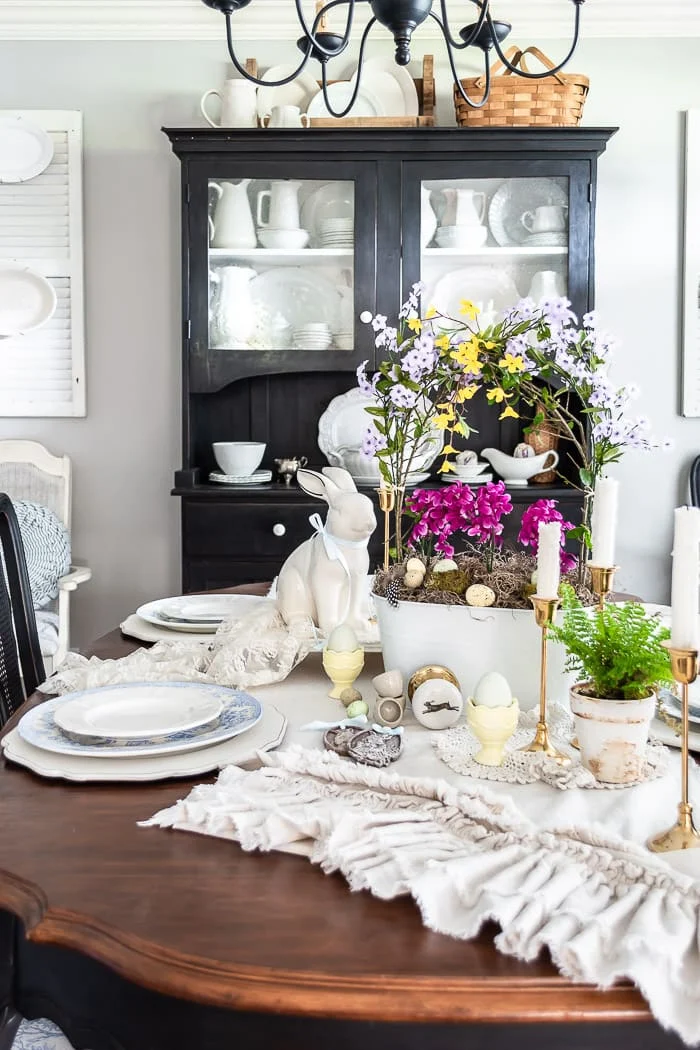
I did add a little bunny as well as some Easter themed items, because my plan
was to use this set up for my Easter table this year. It will be so easy to
transition just by removing the eggs and bunnies, and like I said, what a
wonderful gift this floral basket would be for mom!
To make it work as a Mother's Day basket, you could fill it with some of her favorite things like:
- tea bags (have you seen these blooming tea flowers?)
- candles ( these aromatherapy candles come in beautiful tins)
- pretty wrapped soaps
- a pretty piece of jewelry (I love this pressed flower pendant and these pressed flower teardrop earrings!)
- a pretty mug covered in blooms
SHOP MOM'S DAY IDEAS
I hope you're inspired to make your own DIY floral basket! Let me know in the
comments.
SHOP THE DIY
Let's head over and see the direction my friends went with the inspiration
image.
Lora of Lora Bloomquist
is next and I know you'll enjoy her Spring basket centerpiece. Click the links
below to check them all out!
Pin it to remember!
bringing beauty to the ordinary,


Cindy,
ReplyDeleteYour basket is just beautiful. I love the floral handle. So cute.
Thanks Rachel, so happy you like it!
DeleteHI Cindy, The handles are perfect! Never thought of that! Looks great! laura in Colorado
ReplyDeleteThank you Laura, it's unexpected but so easy to do!
DeleteWhat a beautiful centerpiece, Cindy. I love how you created the flower handle. Miss is always part of any flower arrangement. Good Luck with all the packing.
ReplyDeleteThank you Carol, yes moss is a must! We are making headway with the packing but have a long way to go!
DeleteI love that you used a metal bucket too and I adore how you created a handle with flowrs. So pretty
ReplyDeleteThank you so much Marty!
DeleteI've always wanted to bend and attach limbs in a floral arrangement but never have because I wasn't sure how. Now I know! Your entire centerpiece is magnificent and full of joy. So much to see in all your little details. Thank you so much for joining us. I love how yours turned out. Happy Spring! pinned
ReplyDeleteThank you so much Cindy!
DeleteI absolutely LOVE your arrangment. I also smiled in agreement regarding your borrowed decor. As we enter into month 5 of renovation I am so ready to have my things back in the house. :)
ReplyDeleteThank you Laura! Oh gosh, it will be so much fun to move into your home completely!
DeleteFantastic floral arrangement Cindy! Such a cheerful table to gather around and I really love the table runner! So elegant!
ReplyDeleteI absolutely love how you created the handle/arch, Cindy! Great tutorial on how to do it, too. Perfect centerpiece for Easter to Mom's Day!
ReplyDeleteThanks so much Lora!
DeleteCindy, I'm glad you created more of an Easter basket, too! I went with a rabbit and I think that rabbits just say springtime, and not just Easter. Love the little touches you have with the quail feathers, eggs and the egg cups for breakfast!
ReplyDeleteEnjoy your pretty table,
Barb :)