Packing Tape Rabbit Transfers on Vintage Ceramic Door Knobs
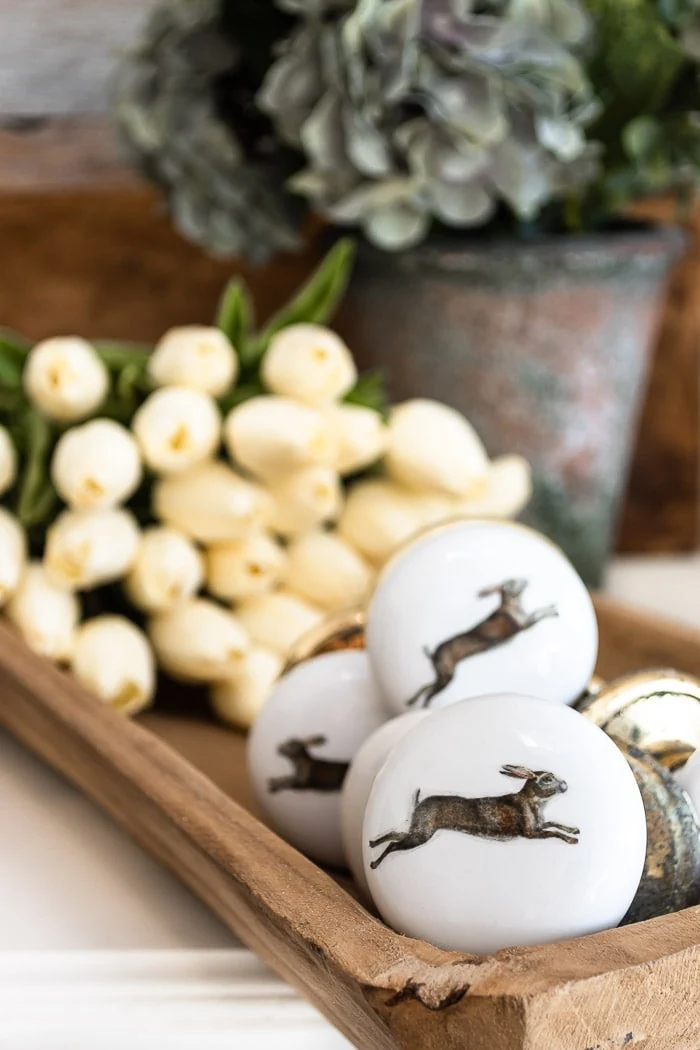
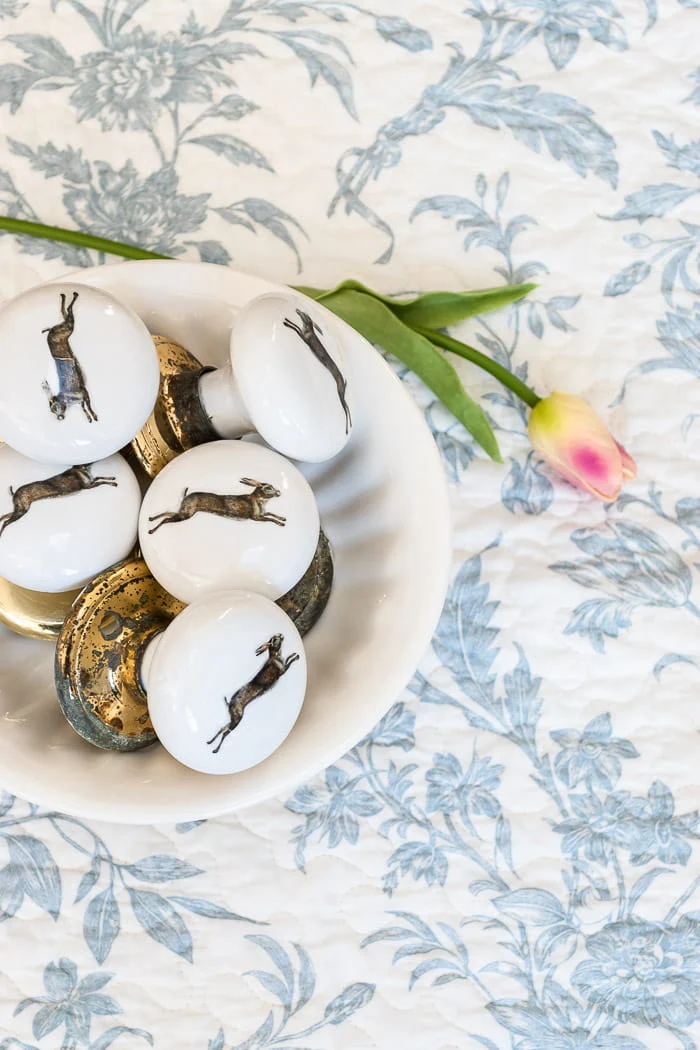
Turn any image into a removeable decal using this easy packing tape transfer method. I'm sharing how I made these sweet rabbit transfers that I added to vintage ceramic door knobs.
This post may contain Amazon or other affiliate links. As an Amazon
affiliate I earn from qualifying purchases.
My full disclosure policy can be found here.
Have you ever wanted to decorate a mug or glass vase with a graphic but
wasn't quite sure how to do it?
These packing tape transfers just may be the answer you've been searching for!
But I'll bet you have some questions, so let's just dive right in to some
FAQs. Feel free to ask any additional questions in the comments section below.
What is a packing tape transfer?
Packing tape transfers are a way of transfering a paper design to packing tape. You're essentially making a clear sticker that can then be placed on any hard surface, like glass or ceramics, for a unique look.Is a packing tape transfer permanent?
No, the stickers that you make will stick to glass or ceramics but are
removeable. You can make any design permanent by using glue.
Do I need to use special paper or printer?
You can print your designs onto regular copy paper but will have the best
results if you use a laser printer. The ink from an inkjet printer doesn't
dry as quickly, so proceed with caution if you go that route
(you'll need to let the designs dry for several hours first)! I took
my designs to a paper copy center and printed them for pennies.
Shop the look
How to make packing tape transfers
When I spotted some vintage ceramic door knobs for just $1 each at our local Habitat for Humanity Resale store(see
similar
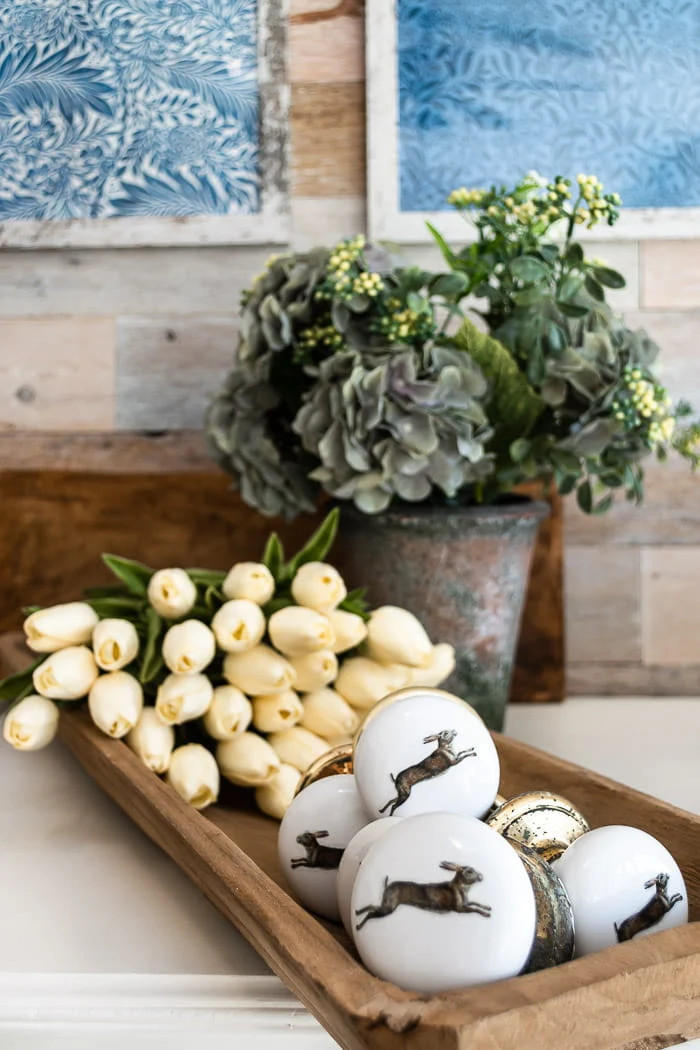
here), I knew right away how I wanted to use them! Rabbits have been popular
for ages, and not just in Easter decorating! I knew I wanted to make some
rabbit transfers that I could add to the ceramic door knobs, and pile them
in a
long wood bowl. They made very inexpensive Spring decor that works right through Easter
and can really stay out all year long (rabbits are a classic to decorate
with!)
Supplies
- packing tape
- scissors
- water
- design graphic printed onto paper
- ceramic or glass surface ( knobs, vase, mug, platter, etc)
Here are the steps to make these packing tape transfers.
Step 1: Print and cut out designs
I found the rabbits I'm using at
The Graphics Fairy. Karen has lots of free vintage graphics that you can use for projects. I
printed them in color at Office Depot (first making sure that I resized them
for my ceramic knobs).
I cut around each rabbit as close to the design as possible.
Step 2: Add tape and burnish
Next, add a strip of packaging tape to the design. You want to burnish it with
either your finger or something flat and stiff
(a
wood craft stick
will work) . I used the
scraper tool
from my Silhouette machine. You want the tape to be well adhered to your
printed design. A
cutting mat
like I'm using is a great surface to work on.
Step 3: Cut out design again
Next, you'll want to cut the excess tape away from the design. Cut around your
original cut lines, removing the excess tape that isn't needed.
Step 4: Soak packing tape designs in water
Add your packing tape designs to a bowl of water and let them soak for a
couple of minutes to soften the paper. They will curl up a little but that
won't last.
Step 5: Remove paper backing from transfers
Take the designs out of the water one at a time and lay them on a flat surface
with the paper side up. Use your finger to gently rub off the paper. The paper
has layers, so just work slowly and gently but rub hard enough to work the
paper off the packing tape.
When you think you have removed all the paper, let the design dry. Once dry,
you'll be able to see any paper you missed. Soak in water again, and continue
to rub gently until no paper remains. You now have a clear sticker of your
design!
Apply your packing tape design to your hard surface and burnish a little to
remove any air bubbles.
Have fun with these packing tape transfers, there are so many possibilities!
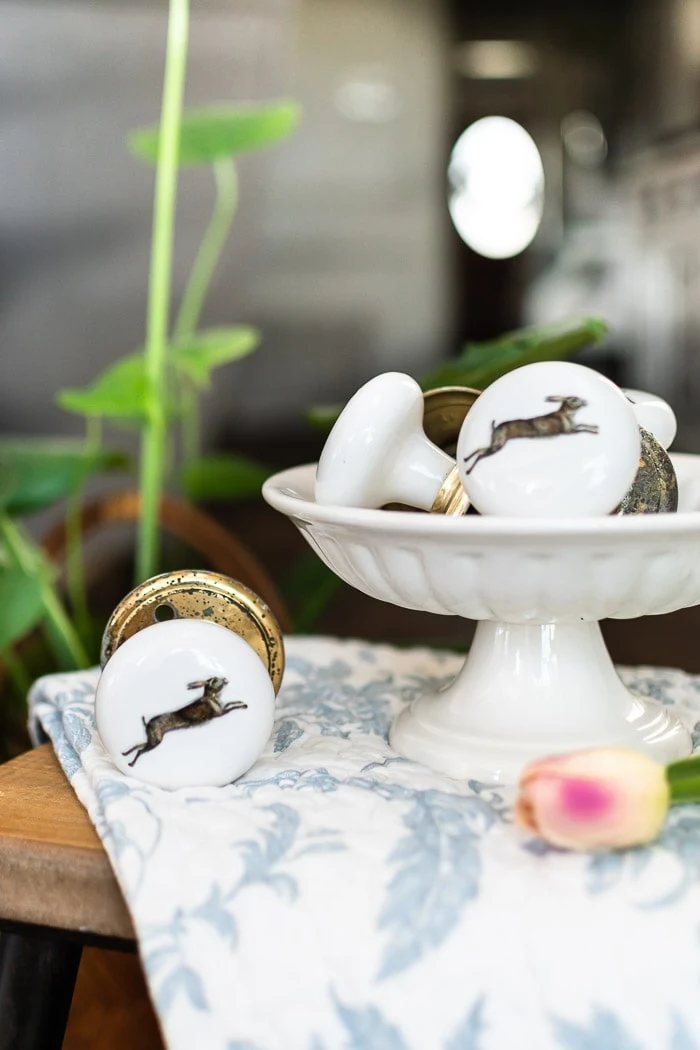
I love how the rabbits seem to be leaping all over this ironstone bowl! And if
I ever tire of the bunnies, they can easily be peeled off and replaced with
another packing tape transfer! I'm thinking HO HO HO for Christmas as well as
a few vintage Santas like I used for
this garland.
Once you get the hang of packing tape transfers, it's so easy to decorate
anything! Put them on mugs, glasses, decorate the bottoms of clear dishes,
platters, vases, even candles. There are so many ideas! This inexpensive
packing tape transfer method is a great way to create custom gifts!
I'd love to know what idea this sparked in your imagination? What kind of
packing tape transfer will you make first?


Really cute and clever and your tutorial finally makes it clear to me, pun intended, how this works. I've never understood it before.
ReplyDeleteThat's great to hear Teddee, I'm so glad the tutorial was clear! Happy crafting!
DeleteThese look so fun, new and old at the same time! Love how they turned out. Pinned!
ReplyDeleteThanks Cindy!
DeleteWow! Those are awesome. I am certainly going to give that a try!
ReplyDeleteCongrats on selling your home; that was a quick blessing. Praying you find a wonderful new home and that you will have an easy move.
Denise TX
Thanks Denise, I appreciate that! Yes we feel very blessed it sold so quickly!
DeleteLove this. I am definitely going to try it!!!
ReplyDeleteThanks so much Zefi, have fun making your decals!
DeleteOhhhh this is so clever! Those bunny knobs are so decadent and look like high end pieces! Precious.
ReplyDeleteThanks so much Donna!
Delete