Easy Stamped Lavender Sachets
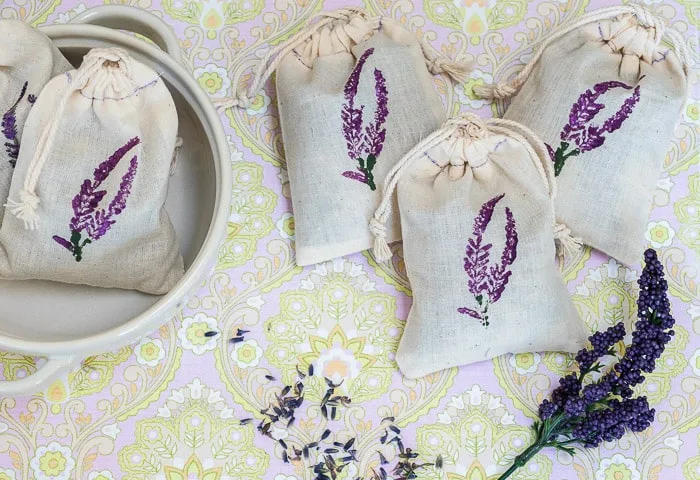
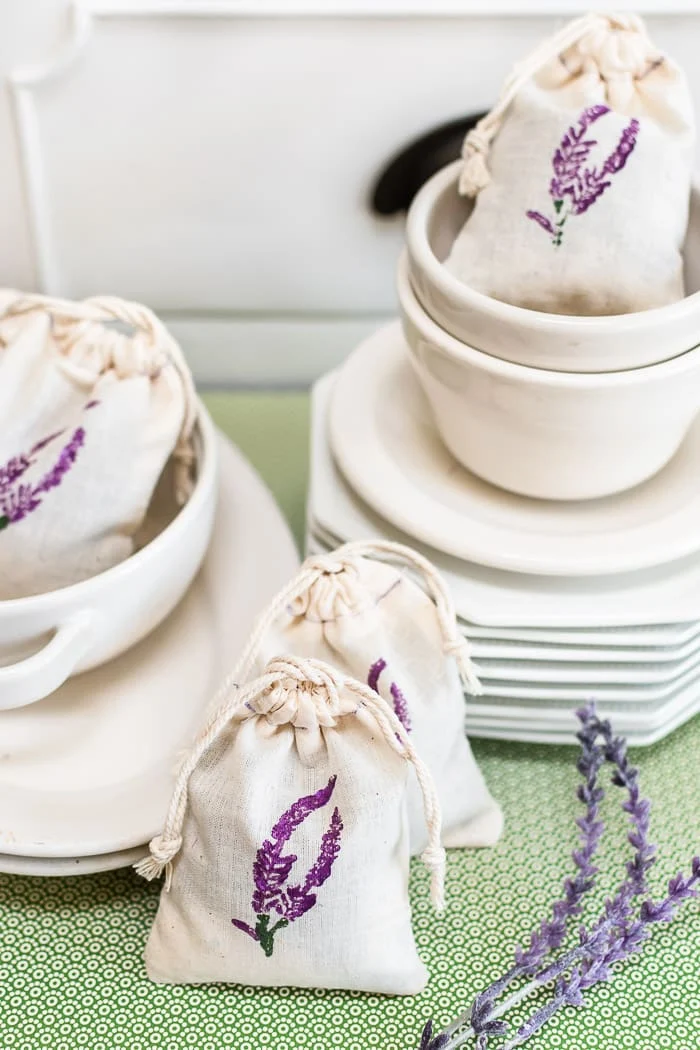
Lavender sachets are so easy to make using canvas drawstring bags. They add a fresh smell to closets, drawers and hutches! Find the tutorial right here for making these sachets with a stamped lavender image!
This post may contain Amazon or other affiliate links. As an Amazon
affiliate I earn from qualifying purchases.
My full disclosure policy can be found here.
I hope your summer is going well!
We recently moved to Tennessee from Texas and are currently looking for a
home. We may end up in Mississippi! How that's for confusing? I promise to
share more once we're settled but in the meantime, I wanted to share this easy
tutorial with you.
I made these lavender sachets before we had packed up our home and just hadn't
shared the tutorial yet.
I love the calming scent of lavender and was looking for ways to use up the
small drawstring bags that I'd purchased. I have already made a
Valentines garland
and a
faux grainsack Christmas advent countdown
with the bags, and these lavender sachets seemed like they would be quick and
easy. I found some affordable French lavender on Amazon and it was the perfect
amount.
What can you use a lavender sachet for?
Lavender sachets are perfect to tuck almost anywhere! Think clothes drawers,
china hutches, linen closets... basically anywhere you want the mild, fresh
scent of lavender. They're also really pretty sitting out in a bowl! Lavender
is a calming scent, helpful for relaxation so maybe tuck one under your
pillow! Or make a few for a friend who's going through a stressful time.
Supplies I used:
- small muslin drawstring bags
- dried lavender
- rice
- lavender stamp (see additional options here)
- acrylic craft paints
- dye based black ink pad
- detail craft brushes or swabs (not pictured)
How to make easy lavender sachets
It's much easier to decorate the sachet bags BEFORE adding the dried lavender!
I came up with a couple different methods to decorate the bags with the stamp.
I'm sharing them below, you can choose the one that works best for you!
Stamp sachet bags - 3 methods
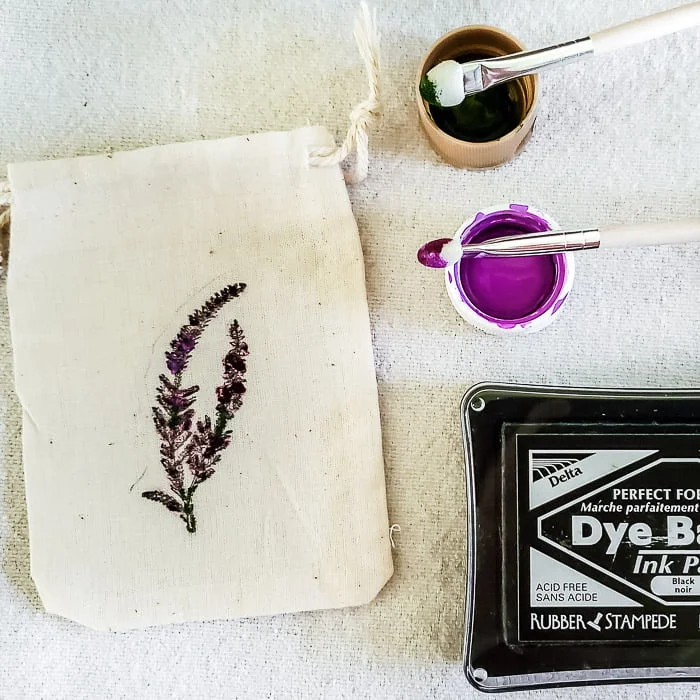
Using acrylic craft paints
The first method I tried, which ended up being my favorite, was to dab the
acrylic paints onto the stamp with a small foam brush, and then press the
stamp to the muslin bag. I was able to use a variety of paint colors so the
stamped image had some variety of purples and green.
If you choose to do this method, make sure you apply very little paint to the
stamp, otherwise you'll lose the distinct image. I recommend testing on a
scrap piece of fabric first until you're comfortable with the amount of paint
to use. You could probably use Q-tips to apply the paint to the stamp.
Here's what the results of this method look like on the muslin sachets.
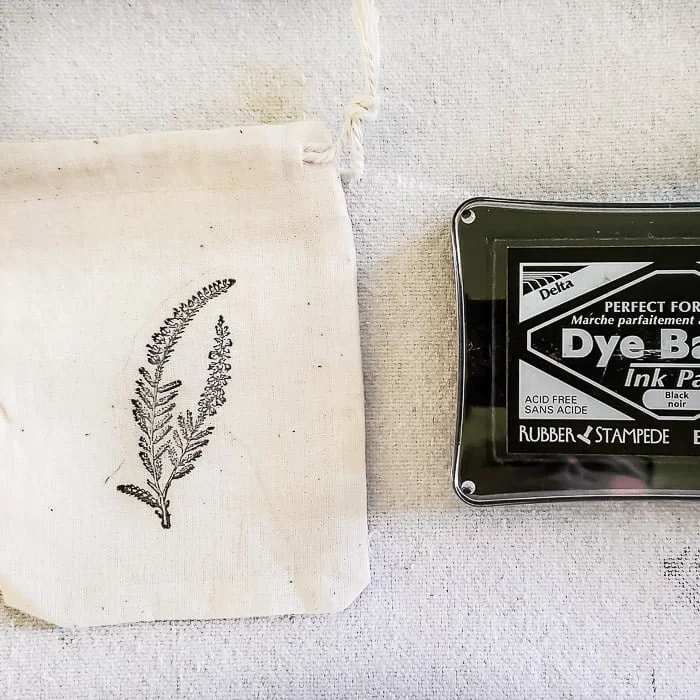
Using dye based ink pad
If you want your stamped image to be very distinct, then you might prefer
using an ink pad. I only had black ink, and while I like how the image is very
defined, I felt it was missing color. You could trying using a
purple ink pad if lack of color is a concern.
Combination of ink pad and acrylic paints
This method combines both of the ones described above. I stamped the image
with the black ink pad first, and then dabbed color onto the stamped image
with the foam daubers.
I hope those descriptions are helpful and I'd love to know if you have tried
any other methods for stamping onto fabric!
In the end, I preferred the look of the paints added directly to the stamp and
then pressed onto the muslin fabric, so that's how I did the rest of my
lavender sachets.
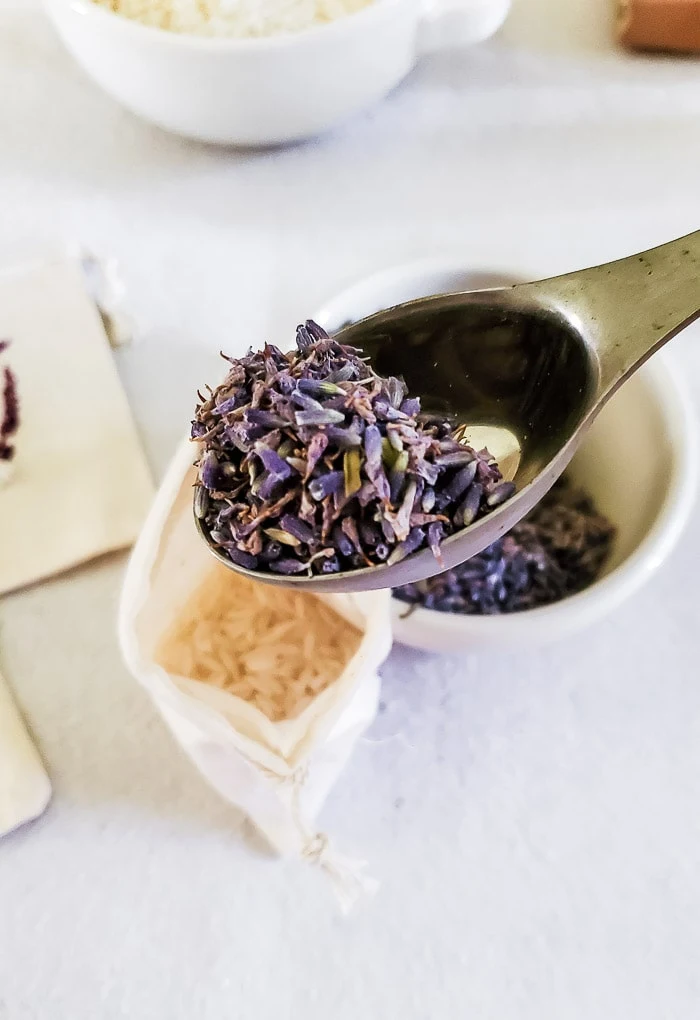
Fill bags with lavender/rice combo
Once the paint had dried on all the bags, it was time to fill them with the
dried lavender. I chose to mix the lavender with rice so that it would go
further. I used slightly more lavender than rice to fill each bag, and I was
careful not to fill it all the way to the top. You need to leave room to sew
or glue the bags shut.
I used my
coffee scoop
to easily transfer the rice and lavender into the small sachet bags.
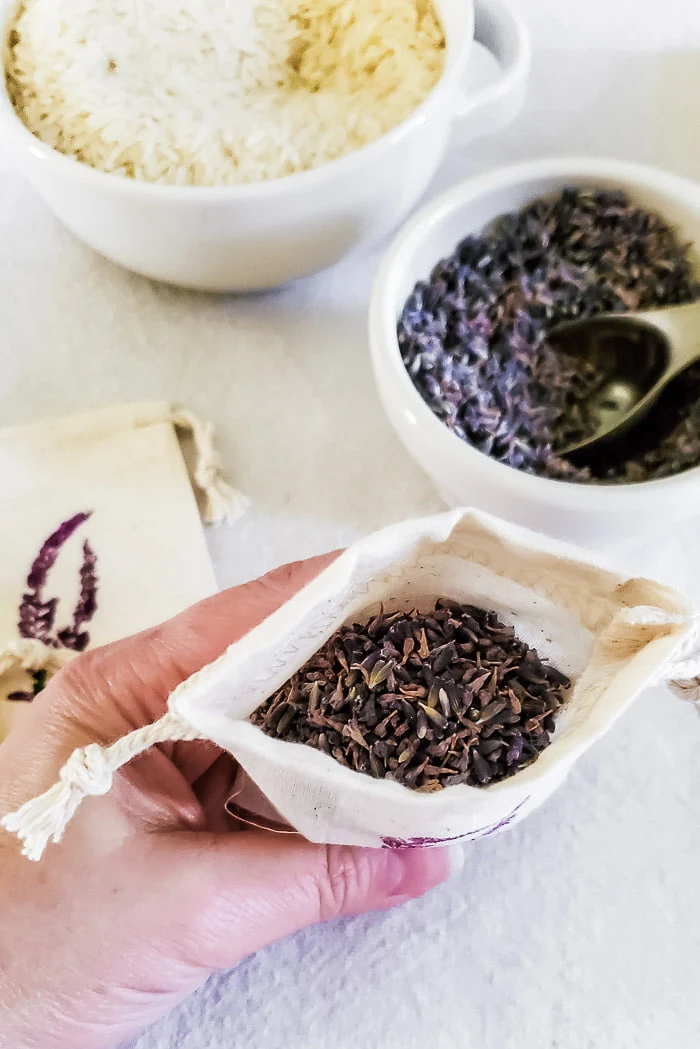
I didn't mix my rice and lavender together first, but added them separately
and then used my hands to squish and mix the contents of the sachets bags
AFTER I had secured the bags closed.
You can see in the image below that I left about a thumb's width of space to
the tops of each bag.
Close bags
More options for ya here! You can sew a seam across the top of the sachet bags
as I did (using purple thread), or use
fabric glue
for a no-sew option. There are also hot glue sticks made for fabric (see them
here).
I've never tried these but plan to use them on some future projects!
Note that I sewed the bags along the stitching line at the top of the bags but
BELOW the drawstrings. Whether you sew or glue your bags closed, make sure you
do that below the strings so that you can still cinch the bags closed using
the drawstrings.
Cinching the drawstrings closed gives these lavender sachets a finished look.
I love how these easy lavender sachets turned out, and the subtle lavender scent is so fresh and pleasing!
These easy to make lavender sachets would be perfect as a gift (or tucked into
a gift!) for a lucky friend!
Have you ever made lavender sachets? Let me know! Or if I've inspired you to
make your own, I would love to hear!
Pin it to remember it!
bringing beauty to the ordinary,








These are so delicate and pretty, Cindy! Thank you so much for the beautiful inspiration.
ReplyDeleteYou're very welcome Mary Beth, thank you for the sweet comments!
DeleteThank you for your tutorial. I have a question regarding the rice filling. I have always used flax mixed with lavender for sachets. Is there an advantage/disadvantage of using either filling?
ReplyDeleteI just used rice for convenience, I'm not sure it matters!
Delete