Man in the Moon DIY Signs With Vinyl
A tutorial to create vintage style man in the moon signs with black vinyl! This is a quick and easy Fall project for your Cricut or Silhouette!
This post may contain Amazon or other affiliate links. As an Amazon
affiliate I earn from qualifying purchases.
My full disclosure policy can be found here.
When I shared these man in the moon vintage style signs on
my Instagram page
recently, I got a lot of requests for a tutorial so that's what I'm sharing
today!
I've loved these cute signs for years and always intended to make one. What
stopped me was the thought of painstakingly painting the faces. I have made
hand painted signs in the past, but we just moved into a new home in a new
state, and I'm busy with all the things!
So I put on my thinking cap and came up with a faster and easier way to make
your own man in the moon signs!
Will I need any special tools for this project?
You will need to own a Silhouette or Cricut machine, or have access to one
because the design is cut with a die cut machine.
You will also need a hand sander if you're using raw wood.
What kind of vinyl should I use?
I am a huge fan of Oracal vinyl and for this project I used Oracal 651, which
is
permanent vinyl for designs you want to stay put long term. You can use
matte vinyl
or
glossy. I
suggest matte for this project because it gives the signs more of a soft
vintage look.
How long will this project take?
This is a fast project but it does have several components. If you're using
painted wood rounds, the rest will go much faster.
How do I get a large vinyl sticker to adhere perfectly?
There is a wonderful product called transfer paper or
transfer tape.
This transfer paper
is by far my favorite and I've purchased it multiple times. Once you've cut
and weeded your design (removed the vinyl you won't be using), cut a piece of
transfer paper to fit. Peel off the back and apply it tacky side down onto
your vinyl design. Use a flat tool to press the paper evenly. Then you'll peel
up the paper and your design should come with it. The grids on the paper make
it so easy to line it up perfectly and the entire design transfers at one
time! It's seriously like magic!
How to make man in the moon signs with vinyl
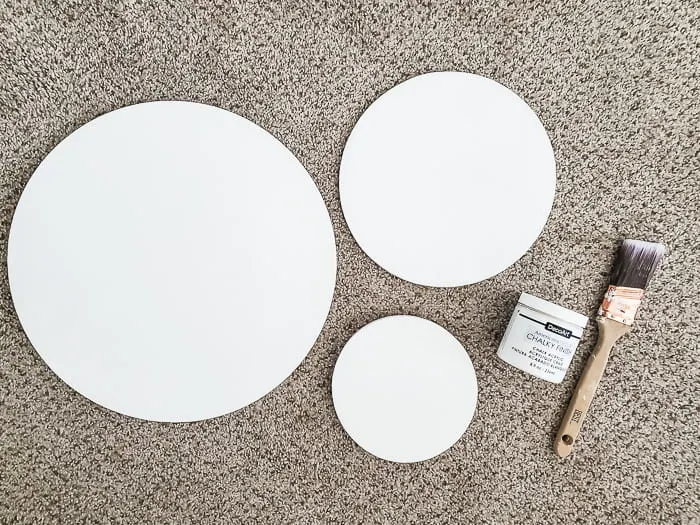
Here are the supplies you'll need to make your custom signs.
Supplies
- wood rounds, various sizes (I bought this 15" wood round)
- Silhouette or Cricut diecut machine
- palm sander
- white chalk paint
- brush
- SVG designs for the man in the moon faces (I purchased this winking face and this face on Etsy)*
- black vinyl
- transfer paper
- flat tool
- weeding tool (this toolkit has everything you'll need)
- matte Mod Podge
*I was only able to find two different man in the moon cutting designs. I
did a little Google searching and found
this one with the moon and owls
that I used for my smallest sign. It's not an SVG file but I was able to
upload the image into my Silhouette and cut it out without any problem.
Let's get started!
STEP ONE: PREPARE WOOD ROUNDS
I used 2 wood rounds in various sizes and a melamine round that had a black
base. The black round had a hole in it, which I filled with lightweight
spackling compound. I also cut the rope hanger off the largest round.
When you're applying vinyl designs to wood, you need a flat surface free of
splinters. I sanded both wood rounds so they were very smooth on top and
edges, with no hint of any splinters.
STEP TWO: PAINT WOOD CIRCLES
Next, paint circles with white chalk paint. My circles needed two coats of
paint. I like to use a
good bristle brush
for larger projects like this because you get better results than using a foam
brush.
You will want to let the paint cure for a couple days, otherwise the vinyl may
not adhere properly.
STEP THREE: CUT OUT DESIGNS
When you purchase the man in the moon SVG files, you will receive instructions
for uploading them to your cutting machine.
You'll be able to customize the man in the moon faces to fit the size wood
rounds you're using. My Silhouette cuts 12" wide so I had to enlarge one of
the moon faces to fit my biggest round (which was 15") and cut the parts
separately. The smaller ones were a cinch.
The designs came with a black border, which I opted not to use. This is
personal choice! You can decide if you want to cut them out with the black
borders or not.
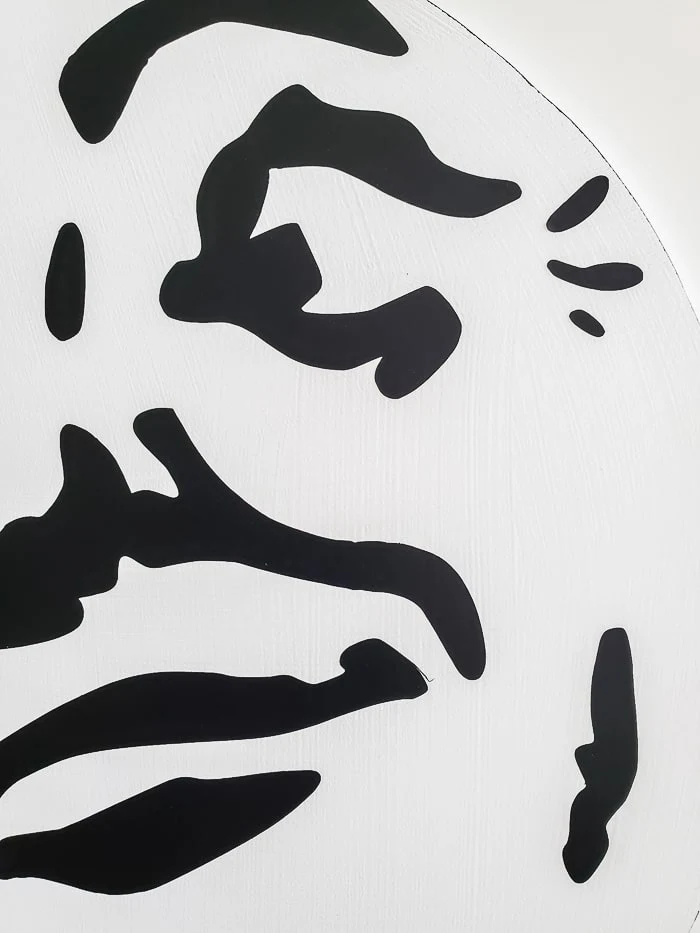
Use the transfer paper to apply the man in the moon vinyl cutout to the wood
round, making sure to center it. The flat tool will help to ensure the vinyl
is stuck on well. Carefully peel back the transfer paper, going slowly to be
sure the entire design transfers to the painted wood.
STEP 5: SEAL DESIGN
To make sure that man in the moon design stays put, you will want to seal it
with a matte sealer. Brush on a coat or two of Mod Podge, letting it dry
between coats. The design will now be permanent and will be easy to clean.
SO easy right? I love how fast this is and that there's no finicky hand
painting involved. Let your Cricut or Silhouette do all the hard work! Of
course, if you prefer not to make your own sign, there are lots of sellers who
will make one for you. Check out the premade signs below.
SHOP PREMADE SIGNS
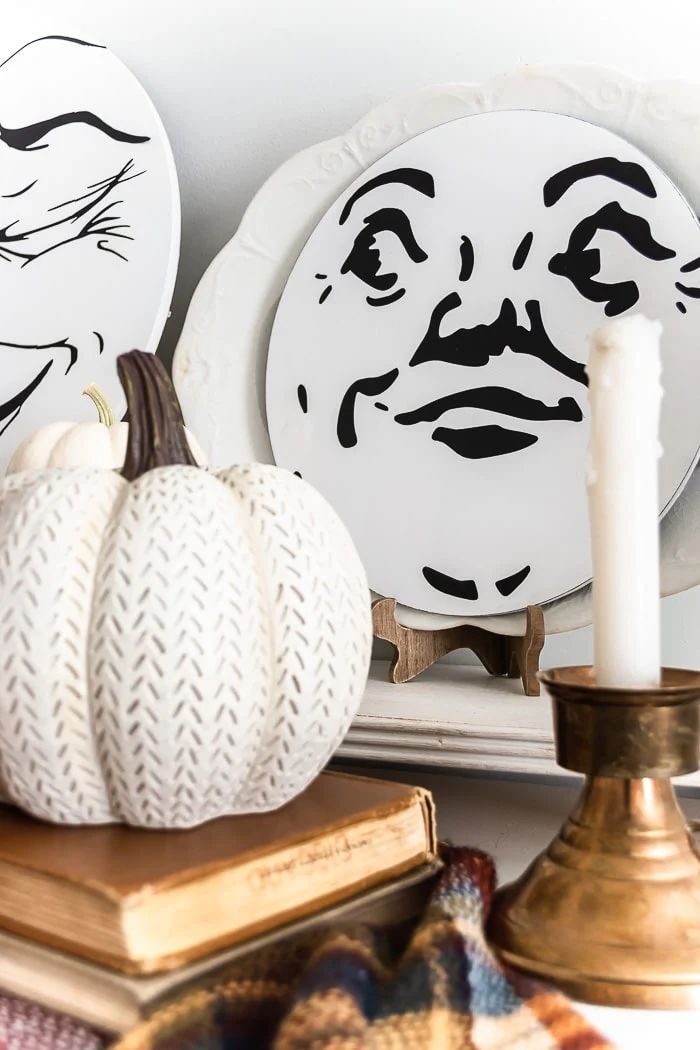
I have a fun display idea for my vinyl signs, but for now I styled them with
some fall decor and warm colors as well as neutral black and white. Which do
you like better?
Please let me know if you have any questions about this project!

.jpg)


I have long LOVED man on the moon images so thanks for your tutorial! I'd love to make a few of my own! And now I know how.
ReplyDeleteThanks Donna, I've been wanting to make a few for a long time! Happy to share the tutorial ;)
DeleteI saw this in March but had to pin it for Halloween. Perfect for my mantel this Fall, thank you!
ReplyDelete