DIY Chunky Drippy Candles
Turn inexpensive candles into primitive chunky candles with this easy wax drip technique! Works with both real candles and battery operated ones.
This post may contain Amazon or other affiliate links. As an Amazon
affiliate I earn from qualifying purchases.
My full disclosure policy can be found here.
Are you a candle lover? Here's a really fun and easy way to upcycle
inexpensive candles, even those battery operated votives and pillar candles!
The chunky, drippy technique makes them just look so much better!
I'm sharing two tutorials in this post, so keep reading if you want to learn:
- How to make the chunky, drippy candles from plain ones
- How to turn those chunky candles into primitive ones!
Let's get started with the first tutorial, turning plain candles into
drippy, chunky candles that will look so beautiful in your home!
How to make easy chunky, drippy candles
I always buy white/off-white taper candles when I find them on sale. You can
find packages of 12 tapers at HomeGoods, Walmart and even
Amazon for less than $10.
Supplies to make chunky, drippy candles
- 1-2 taper candles (this is your melted wax source)
- real or battery operated candle you want to turn chunky (could be tealights, votives, pillar or taper candles)
- lighter
- cardboard or paper to protect your work surface
Here's how to add drippy wax to your candles to make them extra chunky. But
before you start, be sure to
- lay something down to protect your work surface from melted wax
- please exercise caution when working with a lighted candle! Never leave a burning candle unattended!
- wear gloves to protect your hands from melted wax
- have a candle holder nearby to place your chunky taper to cool
Steps to DIY chunky, drippy candles
- Light a taper candle and hold it straight up until melted wax starts to build up.
- Hold your chosen candle (I'm going to use 'pillar' for the purposes of explanation) in your other hand, and slowly let the wax from the taper candle drip on the top edge of the pillar.
- Work your way around the pillar, letting melted wax continue to drip and build up on the edge of the pillar. Don't worry if some of the wax slides sideways on the pillar candle, just continue to work around the pillar and let the wax build up and it will cover any imperfections!
(the video shows a spray sealer that I used at the end; please DO NOT use a
sealer like this on any candles you plan to burn - it's
highly flammable! ONLY use a spray sealer on battery operated
candles!)

When your taper candle wax source is about 2" long, please blow it out and light
a new one!

When is your chunky candle done?
You're done when the wax drips have built up and you are satisfied with the
look of your candle!
I love how a simple candle is elevated to a thing of beauty and interest!
Now I'd love to show you how to turn those chunky, drippy candles that we just
made into primitive chunky and drippy candles! The rich color of these DIY
primitive candles and their drippy texture is so perfect for the Fall season!
How to make primitive chunky candles
You'll need just a few supplies for this step of turning those chunky and
drippy candles we made into primitive ones. You might be surprised that some of
these ingredients come straight from your kitchen!
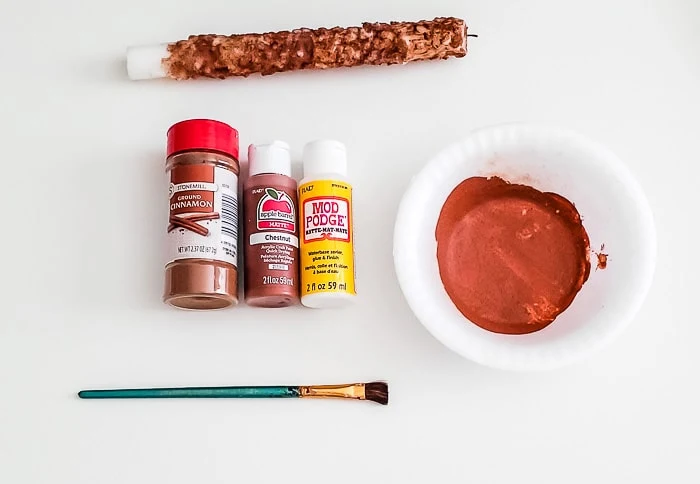
Supplies for primitive candles
- chunky, drippy candles that we just made in the above tutorial (be sure to allow the wax to completely harden first)
- disposable bowl
- disposable spoon
- matte mod podge
- brown acrylic paint (I used Chestnut, but if you can't find it, this is a good alternative)
- small paint brush
- ground cinnamon
- coffee grounds ( instant or regular)
**If you're looking at the candle above, and wondering if that's the result of
this step, it's not! Remember I said that I tested a few different ways to
make these candles? That was one of my tests, but I wasn't really happy with
the overall look! Keep reading and I'll show you how to make your candles look
really primitive
(and smell really good!)
Steps to DIY Primitive Candles
- Add a healthy squirt of mod podge, and about 1/2 the amount of brown paint to a disposable bowl
- Shake in about 1/2 tsp of ground cinnamon
- Add about 1 tsp dry coffee grounds
- Mix it all together
- Paint this mixture onto your candles, making sure not to paint the top around the wick (if you're planning to burn your DIY primitive candles, you need to leave the wick area free of paint; if you're planning to just decorate with them, then you can paint the area where the wick is)
Tip: you don't need to be too precise about measurements! Just mix the 4
ingredients together until you have a nice thick and chunky paint mixture!
But be sure that you have more mod podge than paint because the mod podge
is what holds everything together on your candle!
Optional - while the paint is still wet, you can sprinkle additional
cinnamon onto the candle
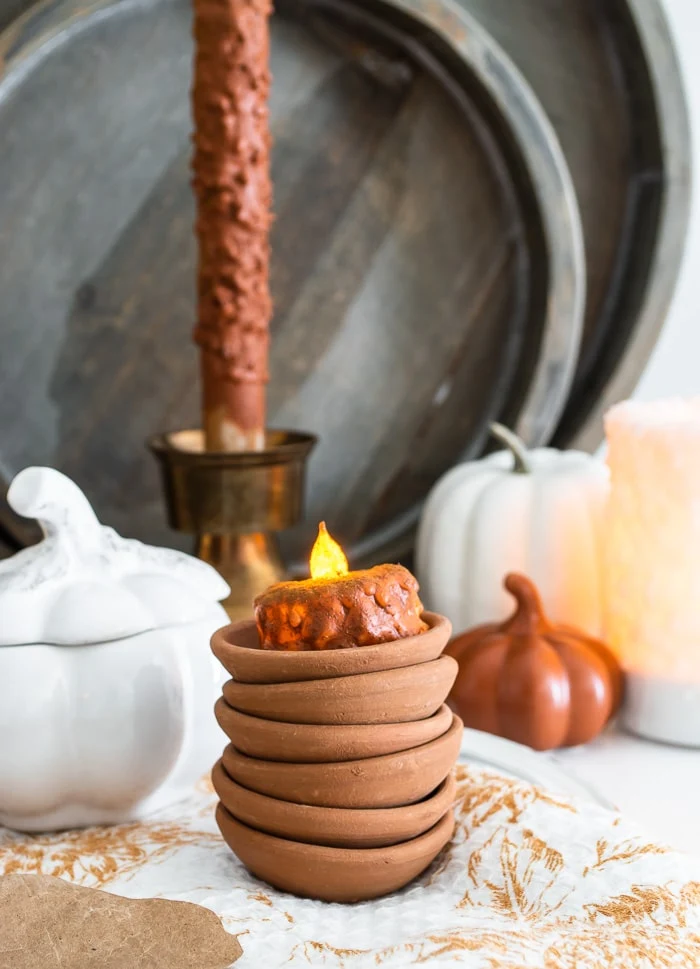
I love using this primitive technique with battery operated candles! I bought
a package of
6 tea lights
from Walmart for under $5 and wow, did this technique ever elevate them and
make them look so chunky and primitive and seasonal!
What a great way to upcycle cheapo candles, even ones you find from the thrift
store! Give them the drippy, chunky technique to hide all the scratches, and
then make them primitive in just a few simple steps!
I hope you love these candle upcycle ideas! Please let me know if you make
them and I would love to see a picture of your chunky, drippy candles!
Pin it to SAVE it
Love this? Don't miss these related projects
bringing beauty to the ordinary,


Comments
Post a Comment
Your comments are like sunshine and chocolate! Thanks for taking the time to leave a nice one ;) I read all comments and love to respond if you leave your name and email! Otherwise, please look for my response under the post where you left it!