How to Make Frosted Pinecone Christmas Tree Ornaments
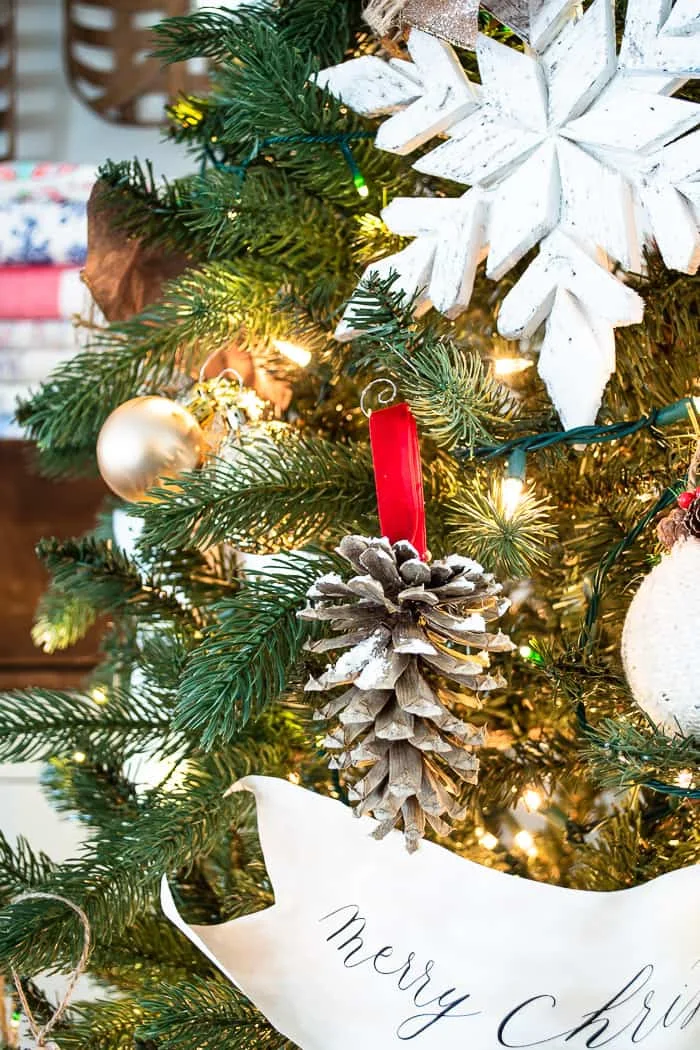
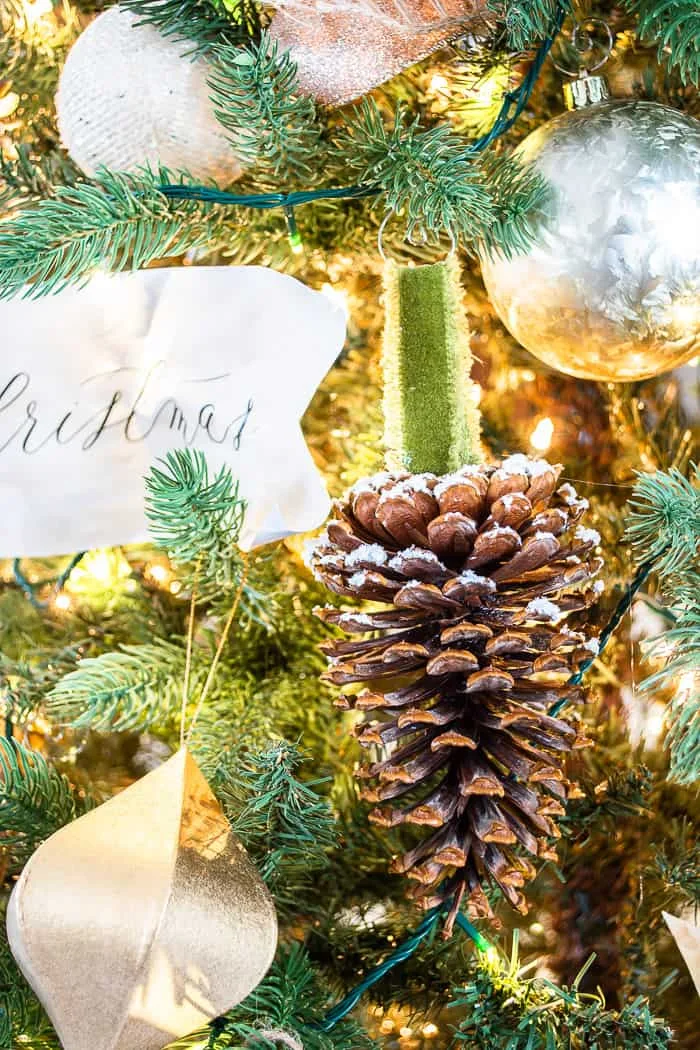
See how easy it is to make DIY Christmas ornaments from foraged pinecones. These frosted pinecones will look beautiful hanging on your Christmas tree, complete with a velvet ribbon hanger.
This post may contain Amazon or other affiliate
links. As an Amazon affiliate I earn from qualifying purchases.
My full disclosure policy can be found here.
When we lived in Texas for 5-1/2 years, one of the things I missed the most
was finding pinecones strewn on the ground. There just weren't many near the
Gulf where we lived, and if I found some, they were tiny.
Since moving to north Mississippi this year, I've been relishing all the
seasonal things, like changing leaves, cool crisp mornings, and foraging for
pinecones on our daily walks!
I brought a couple sacks of pinecones home to craft with and left them in the
garage until I knew just what I wanted to do with them.
Don't miss my brand new gold pinecone ornaments!
Bleaching Pinecones
One of the things I've always wanted to do is bleach pinecones, and I followed
these directions
to bleach about a dozen of my foraged, free pine cones. I had them drying
outside when we were hit with a couple weeks of below average temperatures.
The pine cones closed up in the freezing, wet temps and I knew I'd have to do
something to be able to craft with them.
Baking Pine Cones
I brought the pine cones inside the house, laid them out on a couple of cookie
sheets and baked them in a 200° oven for several hours, until they completely
opened back up again.
What this also did is effectively kill any bugs that were living in my
pinecones!
Crafting with Pinecones
Once they were all dry and opened, I was ready to make some DIY pine cone ornaments. It was so easy to do, but I'll share the tutorial below for anyone who likes to have step by step directions.How to make frosted pine cone ornaments
You can make pinecone ornaments with any pine cones that you can forage or
buy. If they're foraged, I recommend following the baking steps above to kill
any critters before using them for these DIY ornaments.
Supplies:
- pinecones, bleached or not
- Snow-Tex by DecoArt
- craft brush
- glitter (I used both chunky glitter and super fine glitter)
- velvet ribbon
- scissors
- hot glue
- ornament hangers
- stir stick
I used a mix of bleached and regular pinecones for my Christmas ornaments. I like the variety of colors and textures.
Step One: Create a hanger
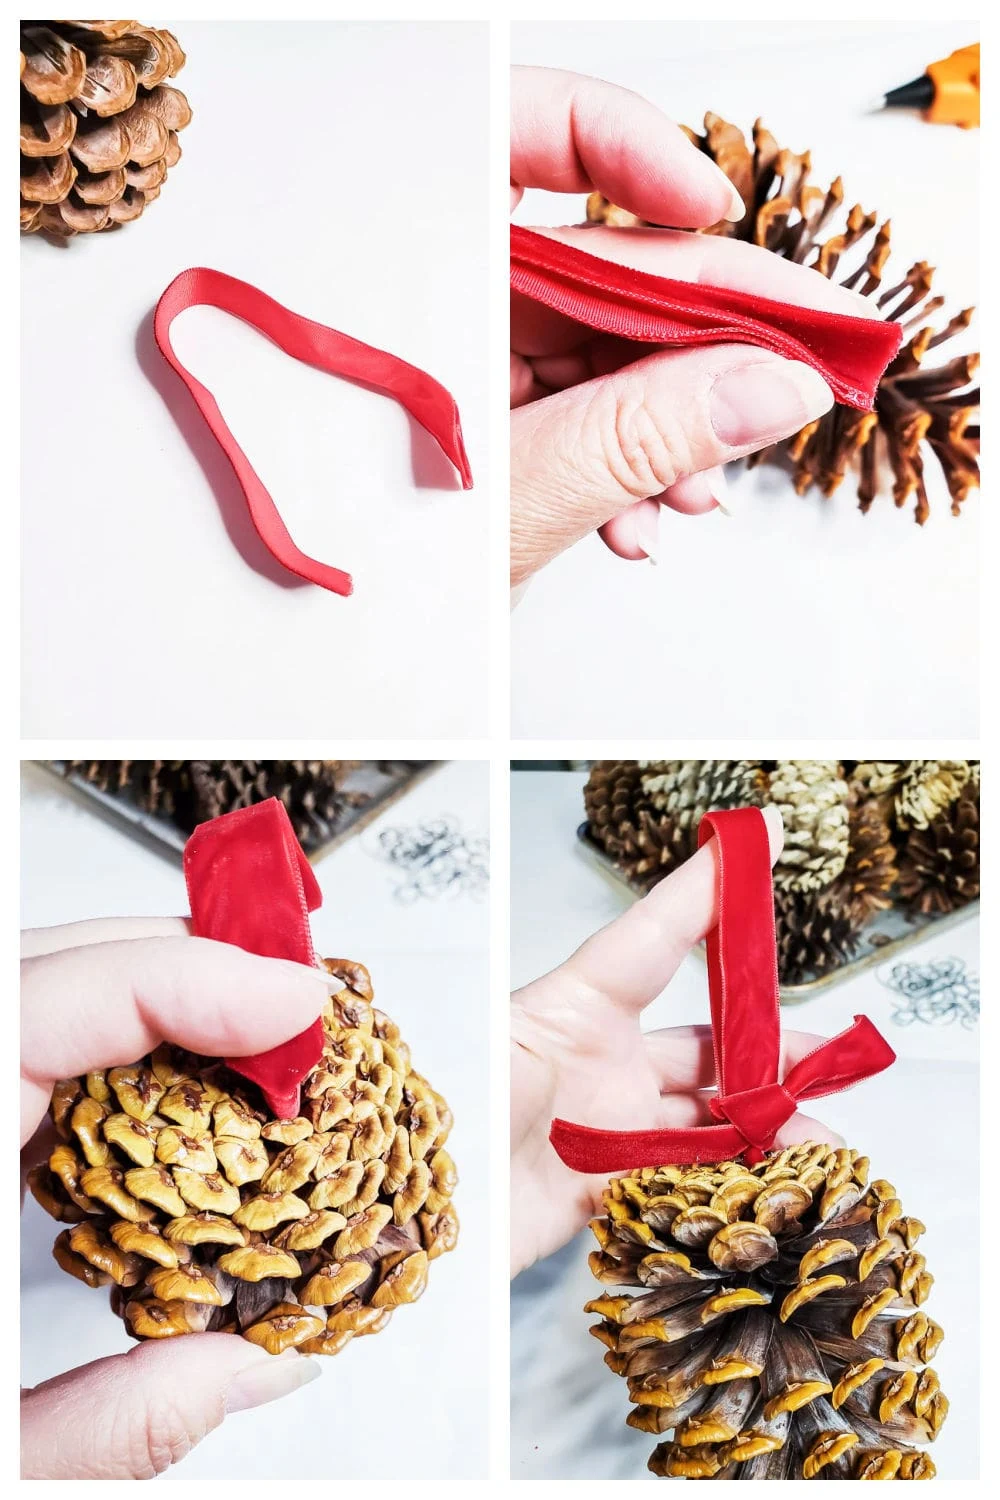
The first thing you want to do is create a hanger for your pinecone ornament.
I decided to use a variety of velvet ribbons that I had in my stash. I love
the rustic elegant mix that the velvet adds to these pine cones.
Several of my pinecones had a divet in the bottom, so I first hot glued the
velvet ribbon together at the ends, and then glued that piece into the divet.
Holding it for a minute or two until the glue sets up is key to the ribbon
staying in place.
Optional - you can tie an additional piece of velvet around the hanger or
not, it's up to you.
Step Two - Add snow
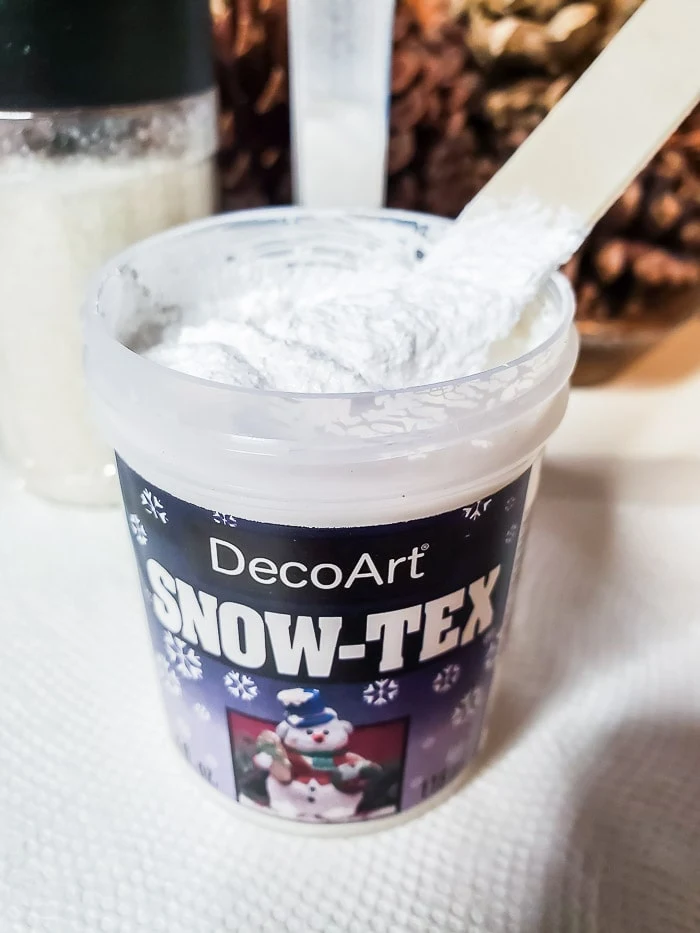
There are several artificial snow products on the market, but I had some of
this Snow-Tex on hand and wanted to try it. It creates dimensional and quite
realistic looking snow. I carefully mixed the product with a craft stick, and
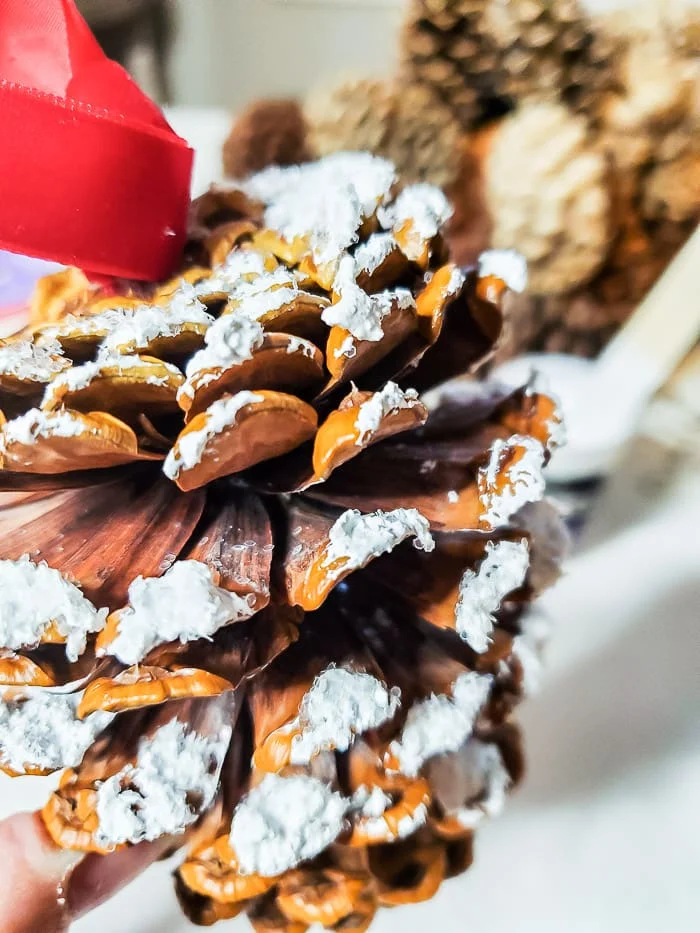
then used that stick to gently tap the 'snow' onto the pine cones. I applied
it to the top third of the pinecones, where the snow would naturally gather.
Step Three - Add glitter
To add a frosted look to the pinecones, I shook some glitter onto the Snow-Tex
while it was still wet and then hung the pine cones up to with ornament hooks
to completely dry. Make sure to have a paper towel under your surface to catch
the excess glitter. You can simply return it to the jar for another use.
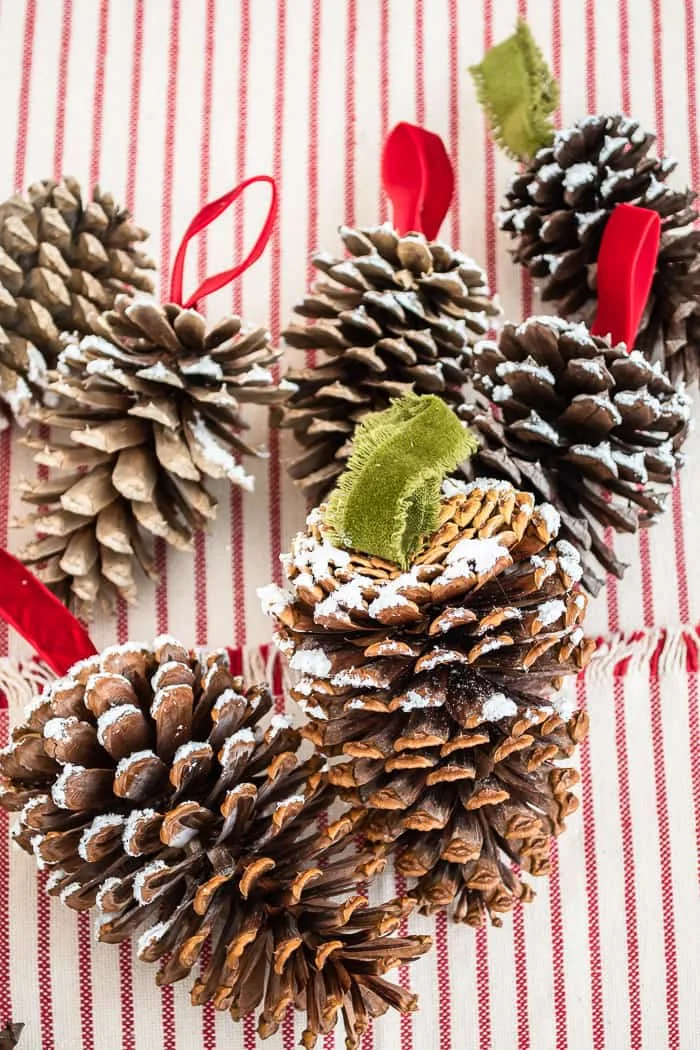
This really couldn't be easier! The frosted pine cone ornaments were ready to
hang the next morning and I love the rustic elegant look they add to my
Christmas tree!
The frosted snow sparkles in the glow of the twinkle lights and makes it look
just magical!
Have you ever made frosted pinecone ornaments? Maybe, like me, this is the
year.
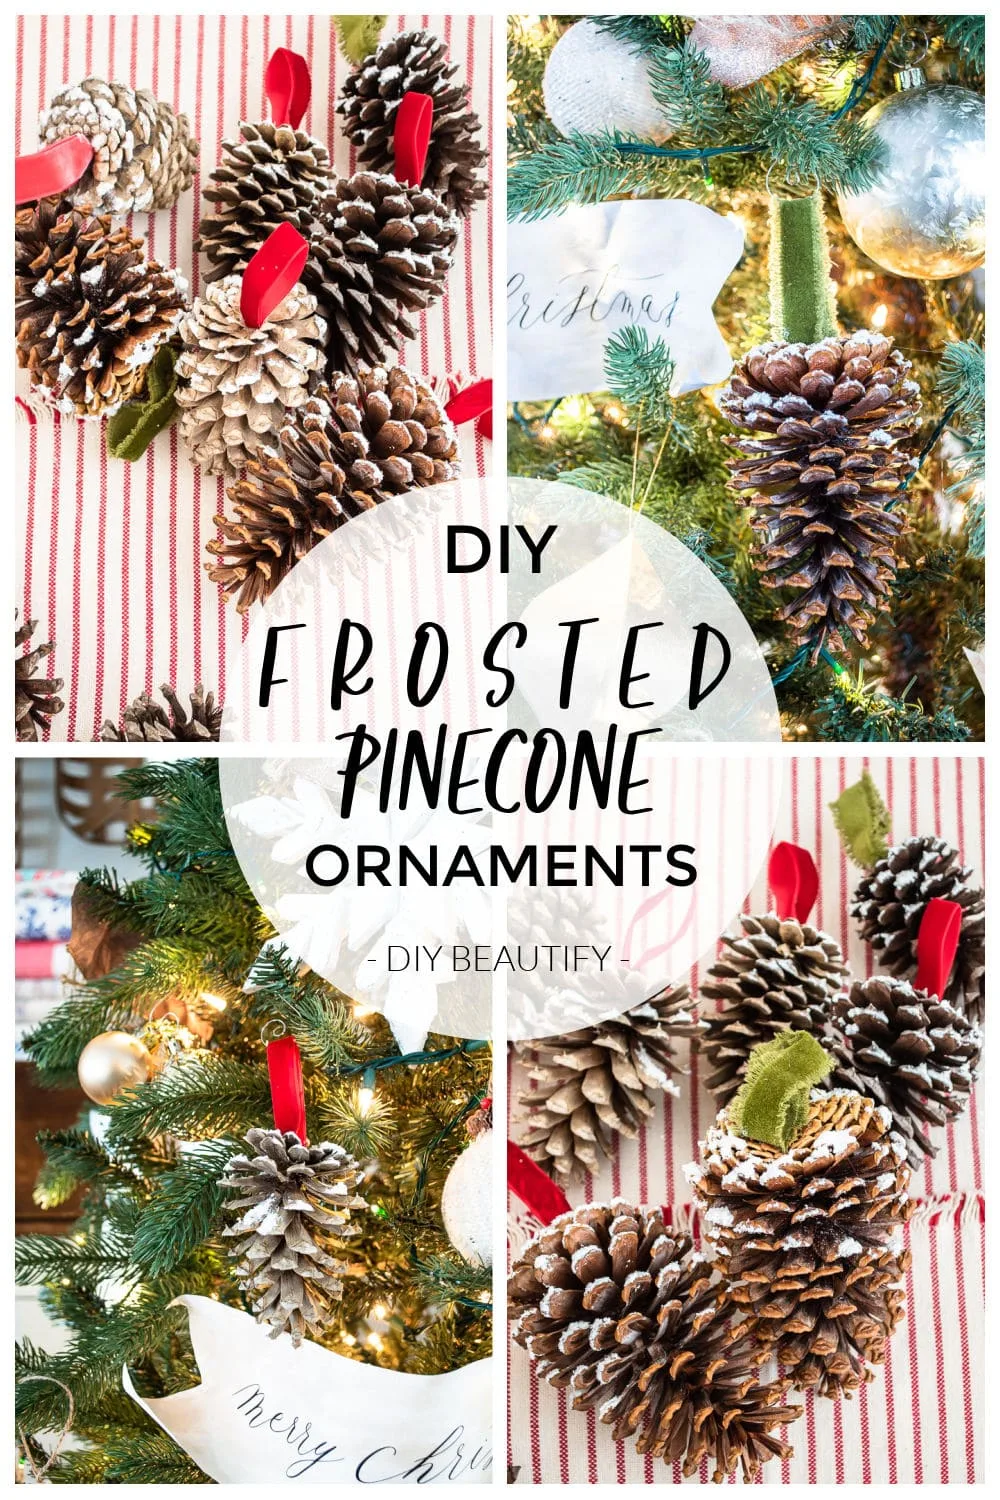
Pin it to Save it!
More DIY Christmas Ornaments
bringing beauty to the ordinary,





Comments
Post a Comment
Your comments are like sunshine and chocolate! Thanks for taking the time to leave a nice one ;) I read all comments and love to respond if you leave your name and email! Otherwise, please look for my response under the post where you left it!