How to Make DIY Dyed Fabric Ribbon
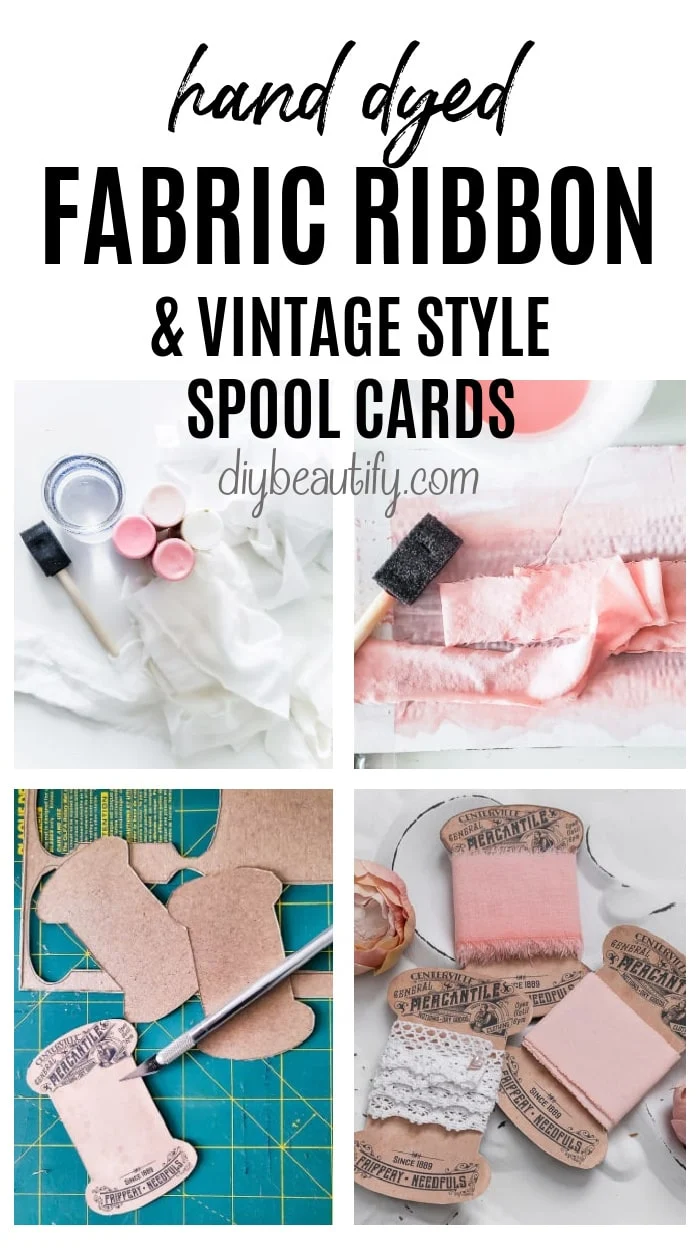
Make your own dyed ribbon using acrylic paints and fabric scraps! Tutorial includes vintage style printable ribbon spools to store your DIY ribbon.
This post may contain Amazon or other affiliate links. As an Amazon affiliate I earn from qualifying purchases. My full disclosure policy can be found here.
Do you ever find yourself strolling the ribbon aisle at the craft store, looking for the perfect color ribbon? Oftentimes I have the just right color in my head, but can't find it in reality. If that sounds familiar, this post is for you!
When you can't find the perfect ribbon color, it can be very frustrating! I
can't wait to show you how to hand dye your own ribbon at home. It's an easy
way to create exactly the color of ribbon you want for your project.
And for all your leftover pieces of handmade ribbon, I'll share a sweet
tutorial to create your own vintage style ribbon holders, a quick design that
you can make on your printer!
This entire project cost me just $4!
Let's get started!
How to hand dye fabric ribbon and make printed spools for storage
There are multiple ways to dye your own fabric ribbon. This past summer I dyed
some cheesecloth for my son's wedding using
RIT dye
and it was pretty easy to do in the sink. This may be the way to go if you're
looking for an even easier way to hand dye fabrics for a special project.
Back in February I was wanting some blush pink ribbon to hang on my
vintage Valentines tree
and couldn't find anything in the right color at the craft stores. I did find
some blush ribbon on
Amazon,
but I didn't want to wait for it to be shipped. I know, I'm impatient!
You're going to be getting two tutorials today - the dyed ribbon, and the
printed ribbon spools. We'll start with the DIY ribbon.
DIY fabric ribbon
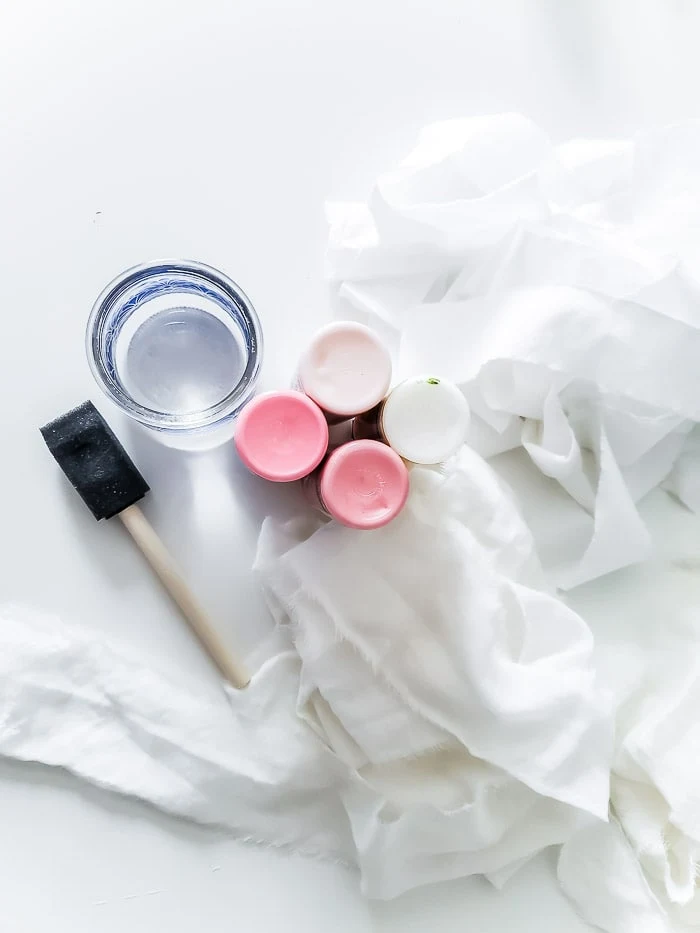
Supplies Needed
- strips of white cotton sheeting and/or sheer fabric*
- acrylic paints
- fabric medium
- water
- foam brush
- surface to work on (old towel, cardboard, etc)
- paper towels
- something to hang ribbon from to dry (I used a clothes hanger)
* I had both an old white cotton sheet and a sheer curtain that I tore
into strips. Make sure fabric has been washed and dried first.
The nice thing about making your own ribbon is that that you get to decide how
wide you want it to be! I tore strips about 1-1/4" as well as some wider 2"
strips.
You can cut the ribbon if you want straight edges; I prefer a little bit of
fray, and find ripping the fabric to be the easiest and fastest. You'll need
to snip a small bit at the edge and then tear down the rest of the way. If
you're using a sheet or curtain with a hem, tear that off first.
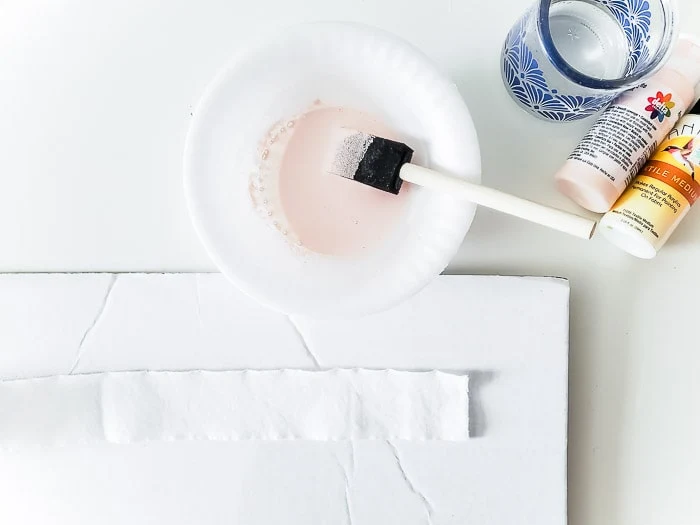
Mix acrylic paint with water
I found I needed more water than I thought. I started with a 1:5 ratio of
paint to water, but would do 1:8 the next time.
Be sure to mix well, the acrylic paint will take awhile to separate and mix
into the water. Press the foam brush into the bowl as you're mixing so you
don't get clumps of paint inside the foam. You also want to stir in the fabric
medium at this time as well (follow directions on the bottle).
Lay ribbon down on flat surface
I used a long piece from a cardboard box under my ribbon. You could also use
wax or parchment paper taped to the table. It's going to get messy, so have
some paper towels on hand to mop up any messes!
Brush paint onto fabric
Now you simply brush the paint onto the fabric strip, going over the same area
a few times to saturate. I didn't paint both sides of my fabrics, I found the
watered down paint soaked through well enough.
Some of my fabric strips were quite long, so after painting a section, I would
lift it into a pile with my brush as I finished painting the rest of the
strip.
Hang to dry
Once all your fabric strips have been dyed, you'll need to hang them somewhere
to dry completely. They will drip, so if you hang them inside, be sure to use
something underneath to protect your floors and catch the drips of paint. The
best place to hang them is outside if possible.
Iron to set
After the dyed fabric ribbon is completely and totally dry, use a dry iron to
set the color. This will also soften up the stiff fabric a little bit.
Tips for success:
- Don't bother ironing fabric first, the wrinkles will be removed as the fabric gets wet while painting it.
- Make sure to make enough paint so you don't run out and have to mix more halfway through.
- If you find the dyed fabric is too dark, you can run the strips under water to remove a little more paint. This also applies if the fabric is drying very stiff.
Like I said, I draped my dyed ribbon over a hanger to dry; however, I had to
be very careful not to get wet paint everywhere! Even if your ribbon doesn't
look overly wet after you paint it, any excess moisture will drip down and
ruin your floors or carpet! So make sure you put down a drop cloth or
something else.
I'm really happy with this project. It cost me nothing because I already had
the paint and fabric on hand. The cotton sheet did dry a bit stiffer than
the sheer fabric, so when I make my own ribbon again, I will only use sheer
fabric (I used an old IKEA curtain) because it kept its softness.
Printed ribbon spools
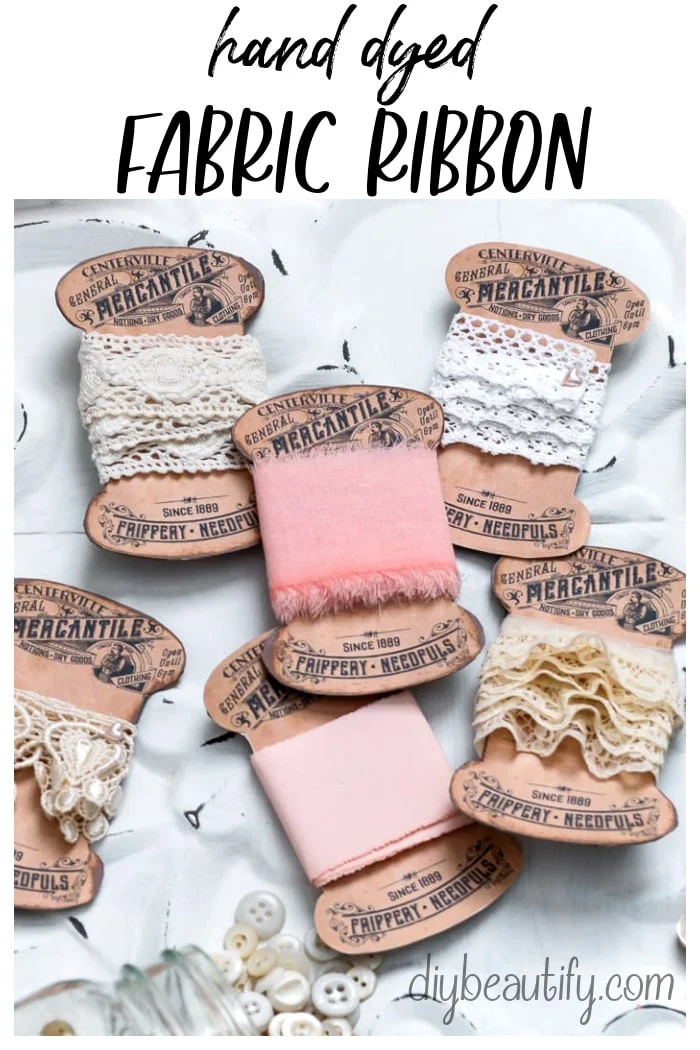
You can make your own vintage style ribbon spools to store ribbon for a
beautiful display. These printable cardboard ribbon spools have a vintage
look and are perfect for the vintage lover. Wouldn't these look pretty
displayed in a glass jar?
First, print the spools onto a sheet of printer paper. They are already
colored with a vintage brown, so make sure to choose full color.
Next, trace the cut spools onto a piece of cardboard and cut out. I found
the back of a cracker or cereal box is just the right thickness. Glue one of
the printed spools to each cardboard spool using craft glue or Mod Podge.
Finally, to add a little more dimension to the printed ribbon cards, add a
little brown ink to the edges (I used
Distress Oxide in Vintage Photo). This is an optional step, but really does make the cards look better!
The last thing to do is wrap your hand dyed ribbons, and other embellishments
around the spool cards. You can use a little piece of tape to secure the ends,
or a
small decorative pin. I happened to have these little heart pins on hand so I used them.
I would love to know if you are inspired to dye your own ribbons! What color
would you make?
Pin to save
Sharing and pinning my images is a great way to support my site, thank you ❤


Oh my goodness. This is just so pretty to look at... those printed spools look like real vintage packaging! Amazing.
ReplyDeleteThanks so much Donna!
DeleteThe ribbon looks just like silk, so soft and beautiful and the tags do indeed look vintage. You've done a beautiful job!
ReplyDelete