DIY Chippy Wood Flag for $5
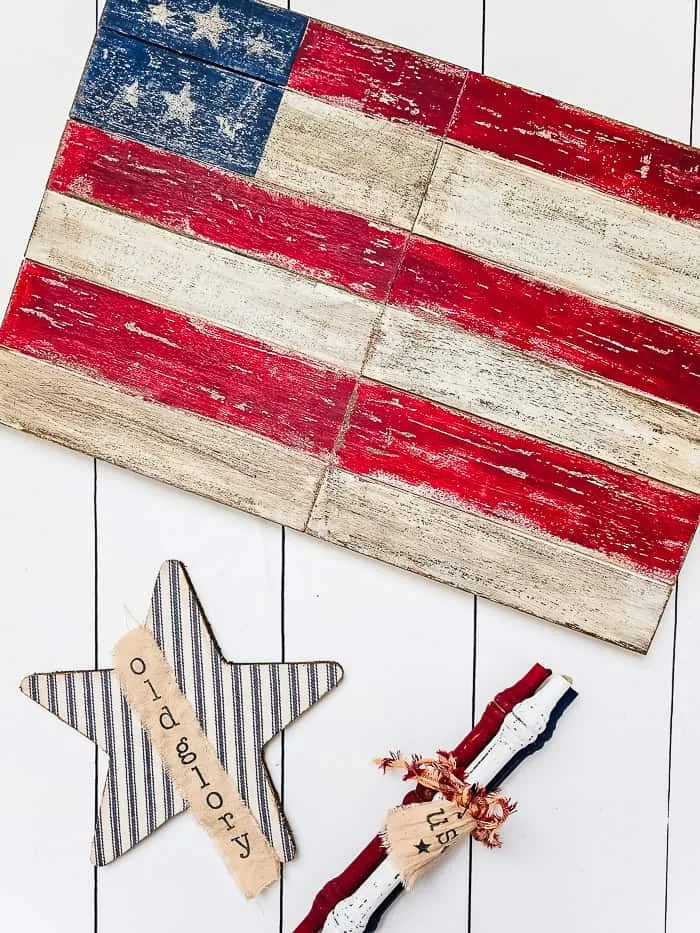
Wood pieces from Dollar Tree are painted and chippy-ed to create a weathered, vintage wood flag that looks worn and old.
This post may contain Amazon or other affiliate links. As an Amazon
affiliate I earn from qualifying purchases.
My full disclosure policy can be found here.
If you love decorating on the cheap, you are going to love this DIY wood flag
idea! A recent stroll through the aisles of Dollar Tree sparked the idea for
this chippy wood flag. Come along with me as I show you exactly how to make
this worn, vintage-inspired flag.
Let me just preface this by saying if you prefer new and shiny to old and
weathered, the following tutorial is still for you! You can just omit the
steps I took to chippy and grunge up this DIY wood flag to make it work for
your decor!
Make a DIY Wood Flag From Dollar Tree Pieces
Supplies Needed
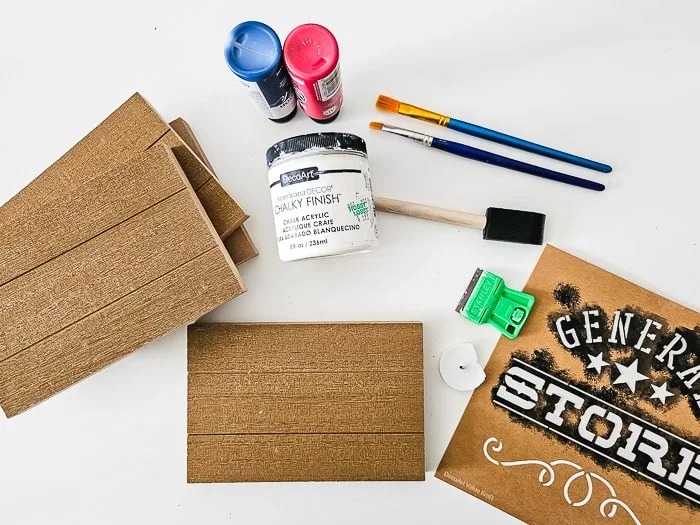
- four 5x7 wood plank panels from Dollar Tree*
- white candle
- creamy white chalk paint
- red and blue acrylic paint
- star stencil
- painters or frog tape
- foam brushes
- dark paste wax
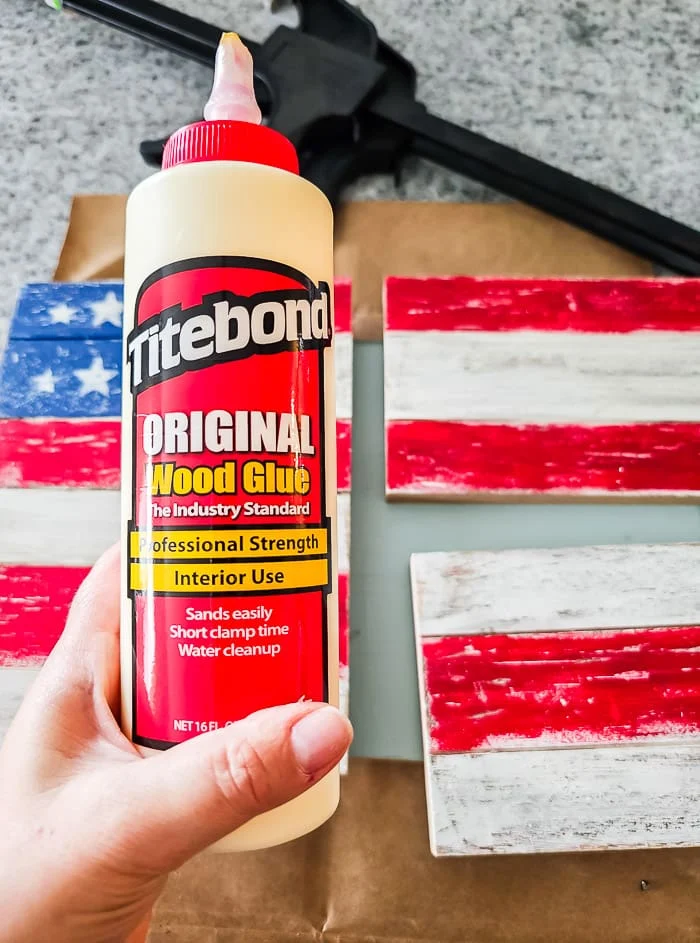
- wood glue
- clamps
-
razor blade scraper
- white candle
* I wasn't able to find a link to the wood panels with three planks I used,
but you could use
these plank panels
or these wood panels
from Amazon
You could make individual small flags with these wood panels, or join four of
them together to create a larger flag, which is what I did. Doesn't this look
like it wants to be a flag to you?
Wax and paint
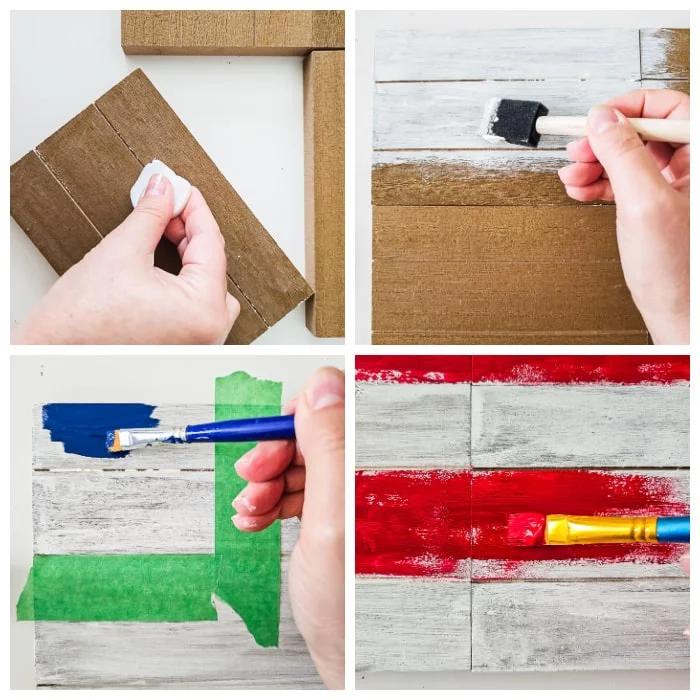
If you love chippy pieces and want to add a chippy feel to your DIY wood flag,
the first step is to rub a candle all over the fronts of the wood panels
(we're doing the wax-resist technique). A tea light is the perfect size for
this!
Next, paint all four pieces with a coat of white chalky paint, and if you're
going for chippy, you'll want to rub that wax on the pieces again once the
paint is dry before moving on.
Tape off the stars section and paint with navy blue acrylic paint, then paint
every other stripe with red acrylic paint. If you're using wood panels without
the plank 'stripes', use the painters tape to tape off stripes. We're not
going for total accuracy here, more for the feel of a flag.
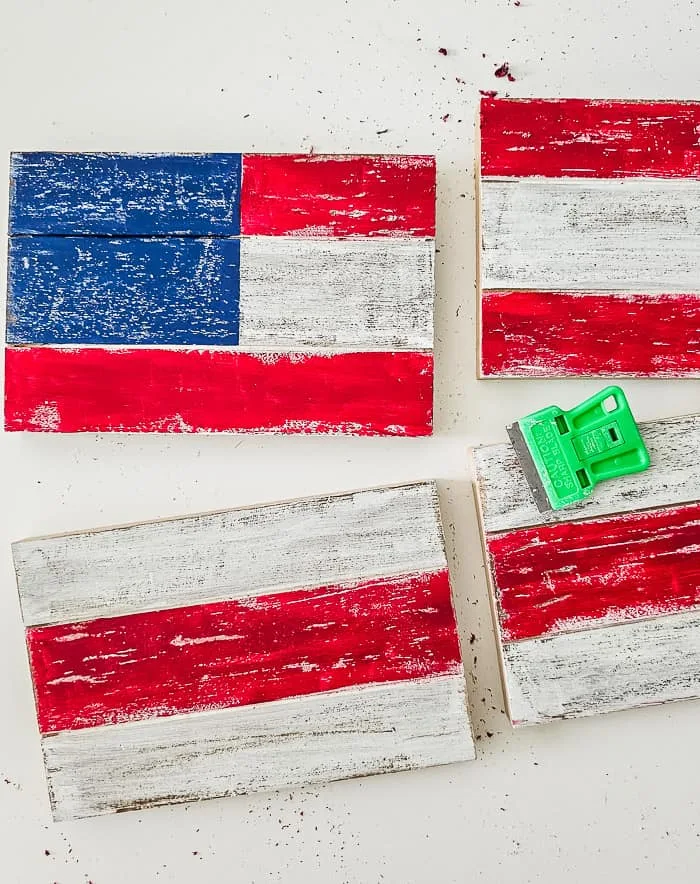
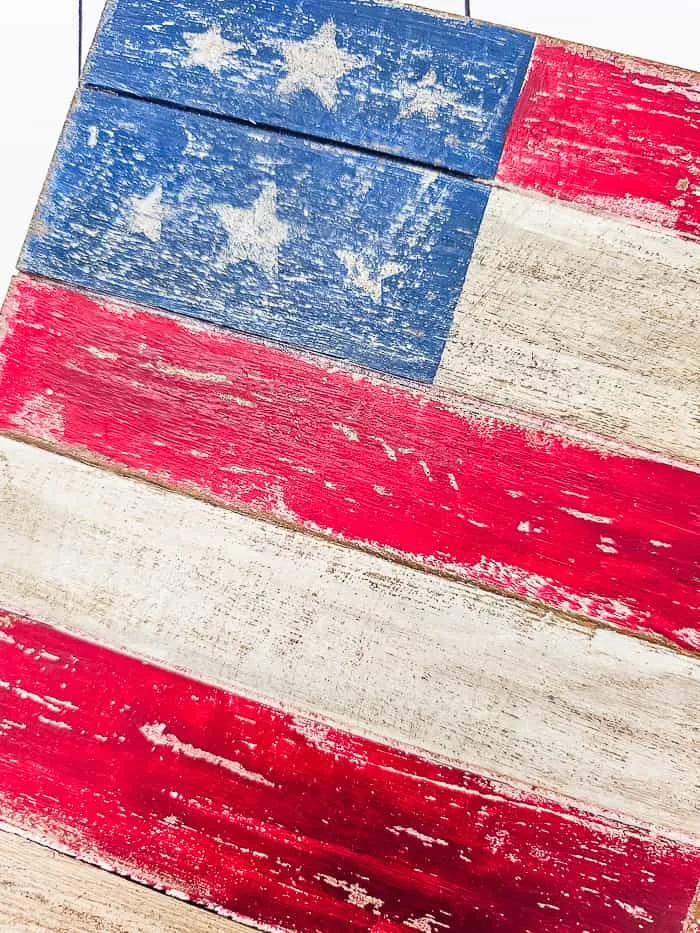
Scrape to chippy
When the paint is dry, use the scraper tool to scrape off some of the paint,
revealing the bottom layer. This adds the chippy look that is so popular in
vintage decor.
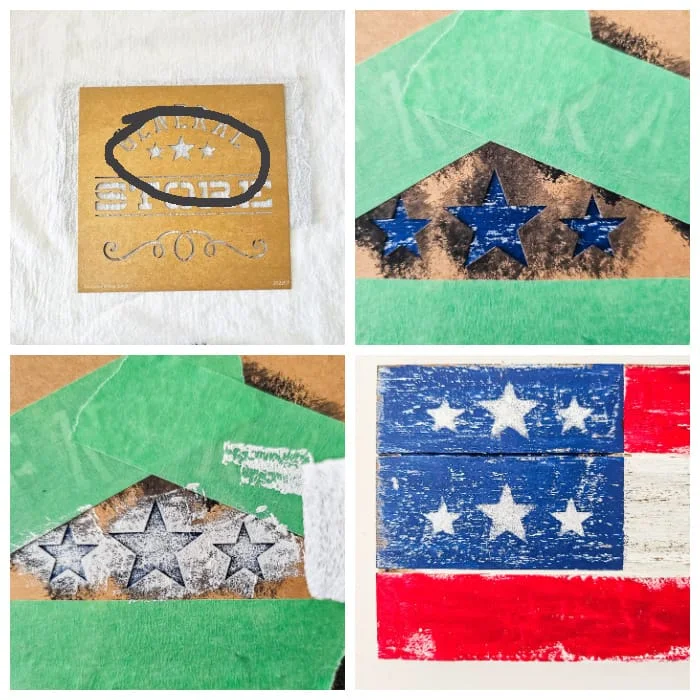
Paint stars
The only star stencil I had in my craft stash was
this one
I used on my stenciled and
ruffled DIY flour sack towels.
I used some painters tape to prevent the rest of the stencil from being
painted, and painted the stars with the white paint. I have two rows of three
stars, again, obviously not accurate, but gives the impression of the stars
section of the US flag.
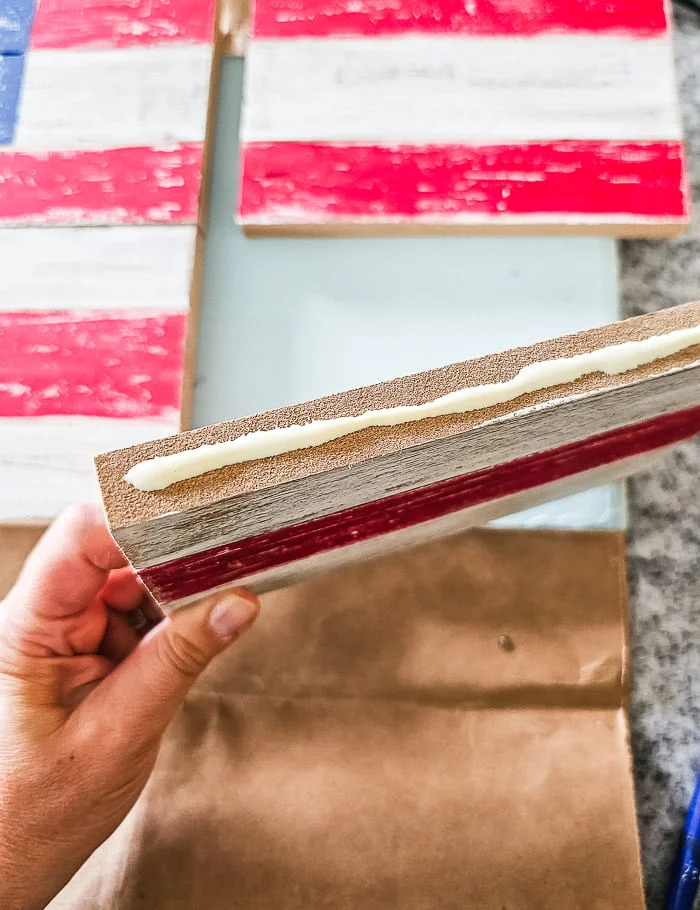
Glue and clamp pieces together
Rather than gluing and clamping all four pieces together at once, Mr DIY
recommended I do it in sections. So I glued two pieces together, clamped them
to hold them in place until the glue dried, then glued the entire flag
together. You can use any wood glue, this is the one we prefer.
I left the glue to dry overnight before finishing the flag.
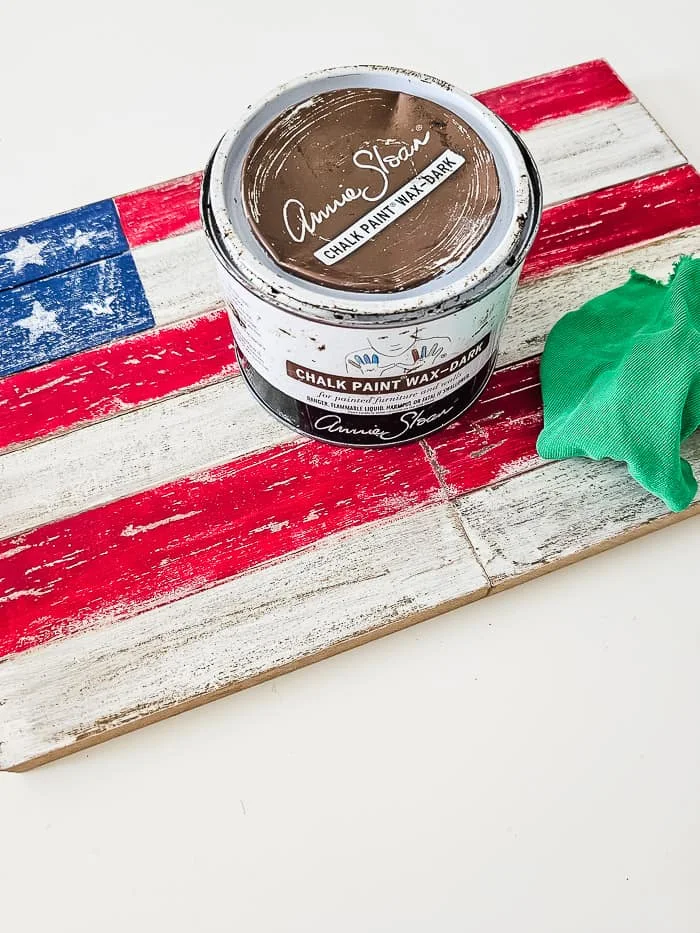
Dark wax
I was all in on making this newly constructed wood flag look old, vintage and
grungy so I wiped on some dark wax to really add age and character to the
flag.
You can see how much darker the painted areas look with the dark wax rubbed
in. It also helps to tone down the brightness of the red and blue painted
areas.
For just over $5, I have another weathered and vintage looking piece to add to my slowly growing patriotic collection.
Because the wood pieces are chunky, the flag works great as a shelf sitter.
I'll be sharing the tutorials for the chippy patriotic spindles and the
ticking striped star soon so keep an eye out for those inexpensive tutorials!
Don't miss my other
Patriotic DIYs HERE.
Pin to Save
You might also like:
bringing beauty to the ordinary,







Very cute! I like this and will have to try to make it.
ReplyDeleteThanks Melanie, hope you can find the wood pieces! 🤞
DeleteRustic wooden chippy patriotic flags? Yes please! These are adorable, and you sure have that chippy finish down, Cindy! They look so authentic!
ReplyDeleteThanks Donna, I'm so glad you like them, they were so fun to make!
Delete