How to Make Custom Candles With Napkins
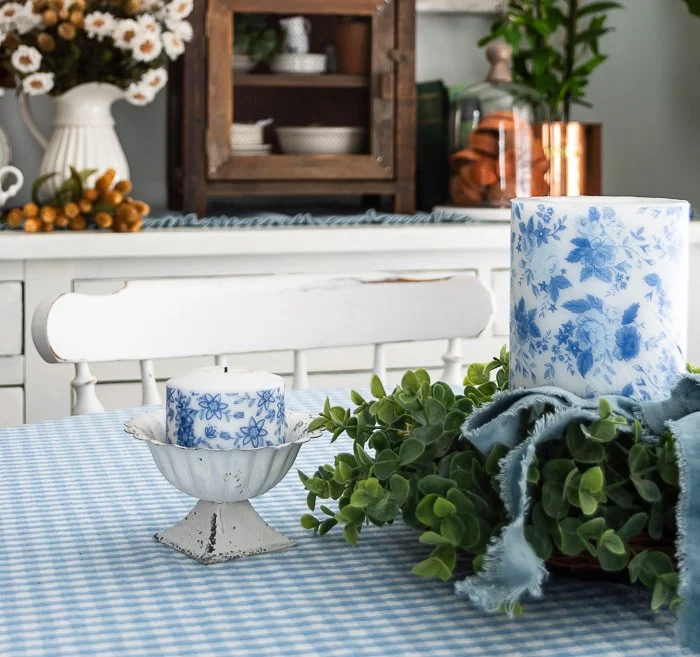
Transform any wax candle with just a paper napkin and a blow dryer or heating tool! An easy, affordable and mess free way to create custom decor for your home!
This post may contain Amazon or other affiliate links. As an Amazon
affiliate I earn from qualifying purchases.
My full disclosure policy can be found here.
I'm always on the lookout for affordable and easy home decor ideas to share
with you! Whether you are looking to make custom candles for a wedding,
shower or themed birthday party - or you just want some pretty candles that
match your home decor, this DIY project is perfect. I cannot wait to show
you how to make your own custom candles using napkins ❤
I'm no stranger to decoupage and who knew that a package of paper napkins
could produce so many different home decor items! I've made
ornaments
for Christmas,
pumpkins for Fall,
decoupaged chargers, even
upcycled a tarnished silver tray, all with these same blue and white floral napkins!
These napkins were the perfect find for my cottage style. I collect vintage
blue and white dishes, and these napkins are just way too pretty to use as
napkins and then throw them away!
Hey, if your style is different than mine, it's no problem! Just take
this idea and use it to create some custom napkins that suit your home decor
style! These candles would also make beautiful gifts for a friend who has a
unique style. I'll share some fun napkins you can shop at the end of this
post.
How to make custom candles with napkins
I was looking for another way to use my favorite blue and white floral napkins (similar here) to create something pretty for my home. Decorated candles came to mind, but I didn't want to use decoupage medium, AKA Mod Podge, because then the candle would not be safe to burn.
The method I'm sharing today is less messy than using Mod Podge, easier, and
safer for you and the environment!
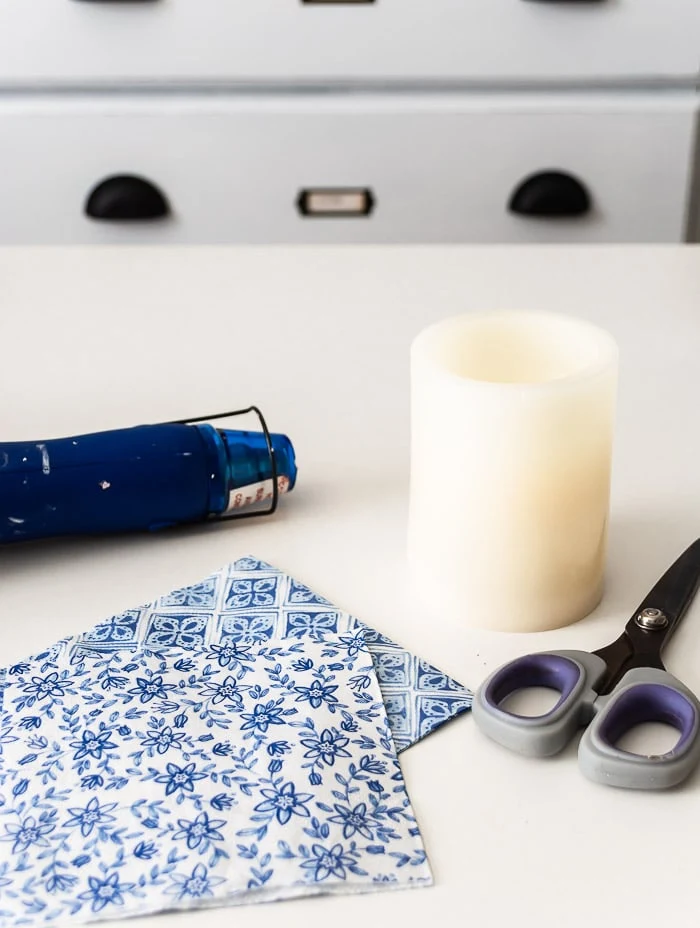
Here's what you'll need for this project.
Supplies
- candle (real wax candle or wax flameless candle)
- paper napkin with design (see below for some fun options)
- heat gun for crafts or blow dryer
- scissors
Important Things to Note:
- The color of the candle should match the base color of the napkin (in the picture above I have a cream candle but I switched to a white candle).
- If you're picky, look for candles with a straight edge rather than a wavy one that will be hard to match up.
- Make sure your napkin is big enough to cover the candle (do a dry fit before starting)
Steps to making napkin covered candles
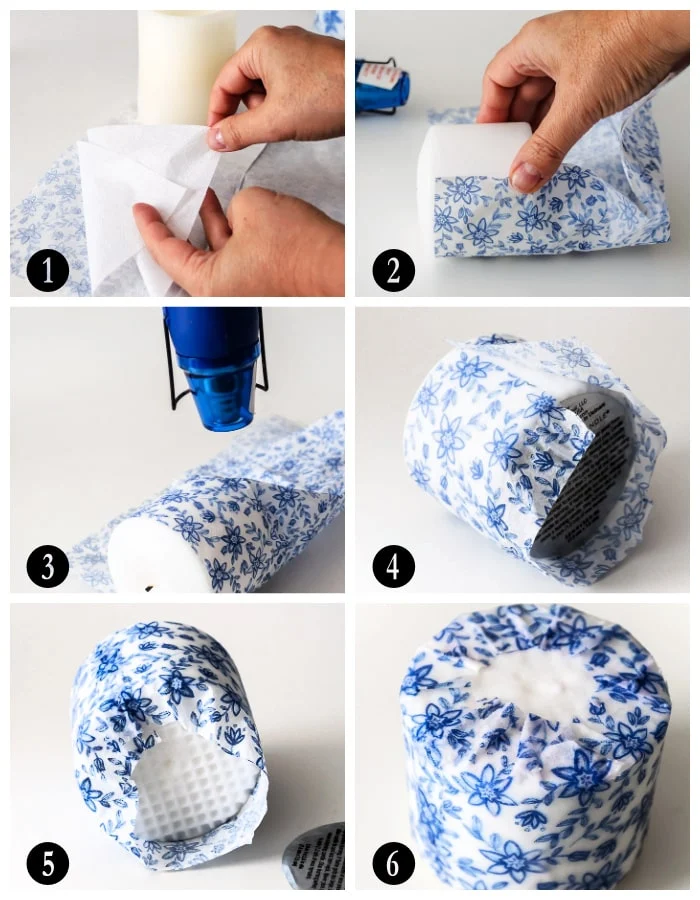
I've illustrated these steps below.
Step 1: Remove the ply
Paper napkins are usually 3 ply - the decorated ply plus two white layers. You
will need to remove all layers until you're left with just the design.
Step 2: Measure and adjust
Wrap the napkin around the candle to be sure it will fit. Line up the top edge
where you want it.
Don't worry about the excess at the bottom, we'll deal with that at the
end.
Step 3: Use heat tool
Using your heat gun or blow dryer, aim the heat onto the candle. Move it back
and forth so you don't scorch the paper. Keep blowing hot air until you see
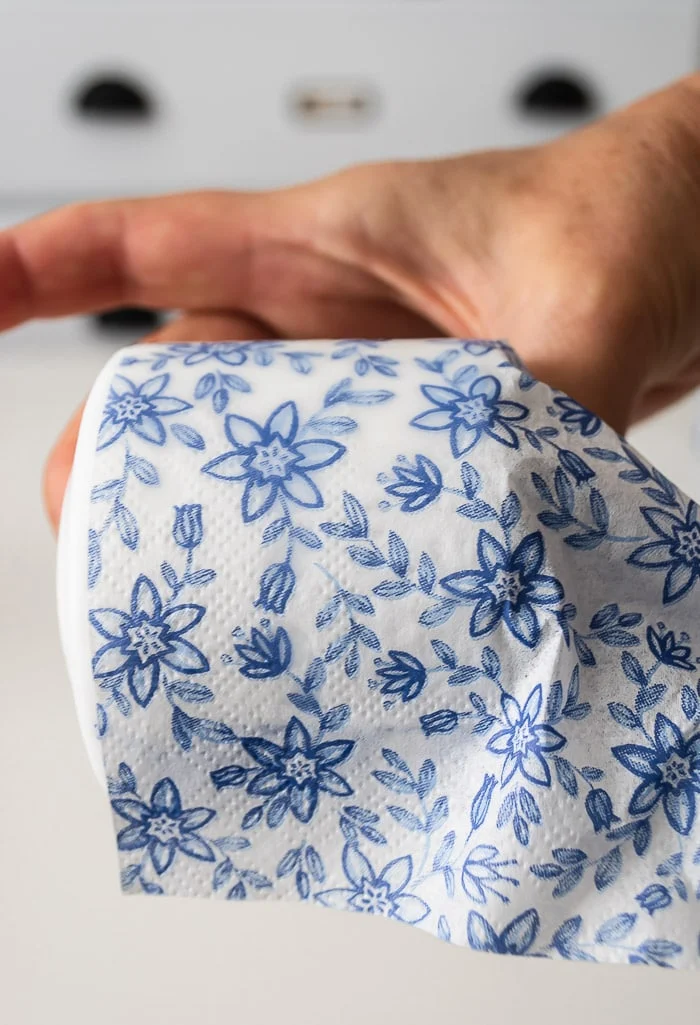
the wax melt and darken the tissue paper (I've included a close up image a
little further down).
Continue moving around the candle until it's almost completely covered.
Warning - when using any heat tool, please exercise caution and be careful
not to burn yourself!
Step 4: Trim
Trim the tissue paper so it overlaps by about 1/4" on the sides, and leave
about 1 inch at the bottom of the candle.
Finish adhering the napkin to the side of the candle.
Step 5: Finish bottom
Remove the sticker covering the bottom of the napkin, and gently heat and
press the excess tissue paper onto the bottom of the candle.
Step 6: Replace sticker or not
Replace the sticker (you'll probably have to glue it to the bottom of the
candle) or leave it off. If you're giving the candle as a gift, I recommend
adhering that bottom piece as it looks more professional.
As you are applying heat to the candle, it will start to melt and you'll see
the tissue paper absorbing the wax. You'll know you're finished with an area
when it looks waxy and you cannot see those tiny perforations anymore. You can
see this in the close up image below.
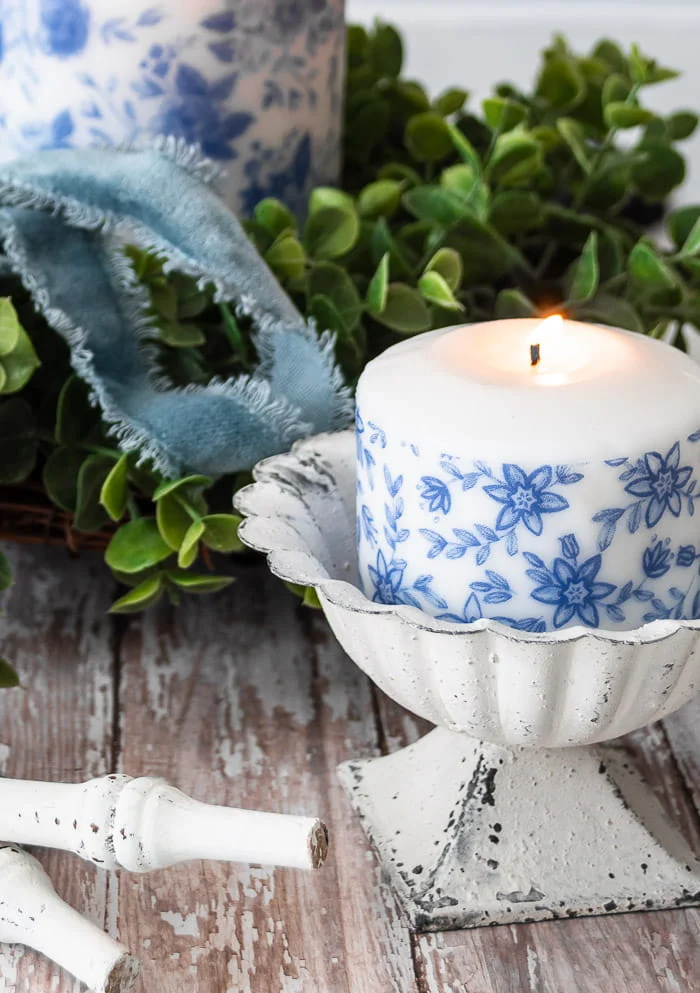
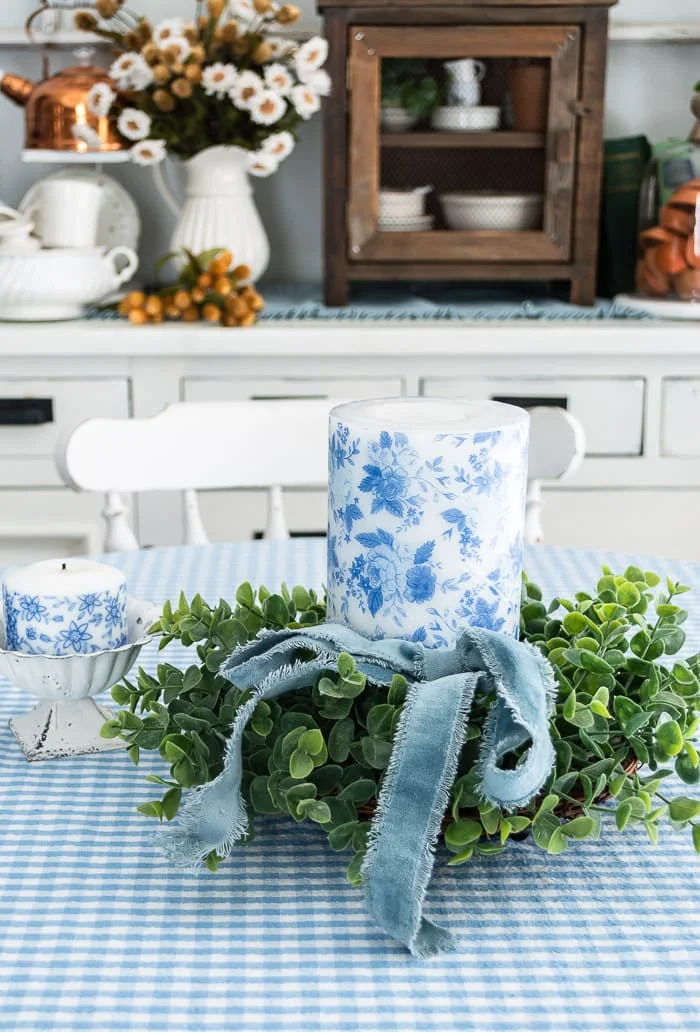
And that's all there is to it! You just made some beautifully decorated custom
candles that are safe to burn! The tissue paper napkin actually looks like wax
because it's completely coated in a layer of wax!





I've always admired a unique candle and I don't know why (maybe the colors) but these are a new fave! They turned out beautifully! pinned
ReplyDeleteThanks Cindy, so happy you like them!
DeleteLove, love, love! Great idea, thank you!
ReplyDeleteThanks Cheryl, so glad you like them!!
DeleteGreat Idea! I am definitely going to try this. Thank you for sharing!
ReplyDeleteWhen the candle burns does the napkin burn too ?
ReplyDeleteMy thoughts were the same. Why is this method safer?
DeleteThe outside of the candle doesn't burn, but as with any candle, it's best not to leave it unattended.
DeleteThank you.. I’m going to try this today.
ReplyDelete