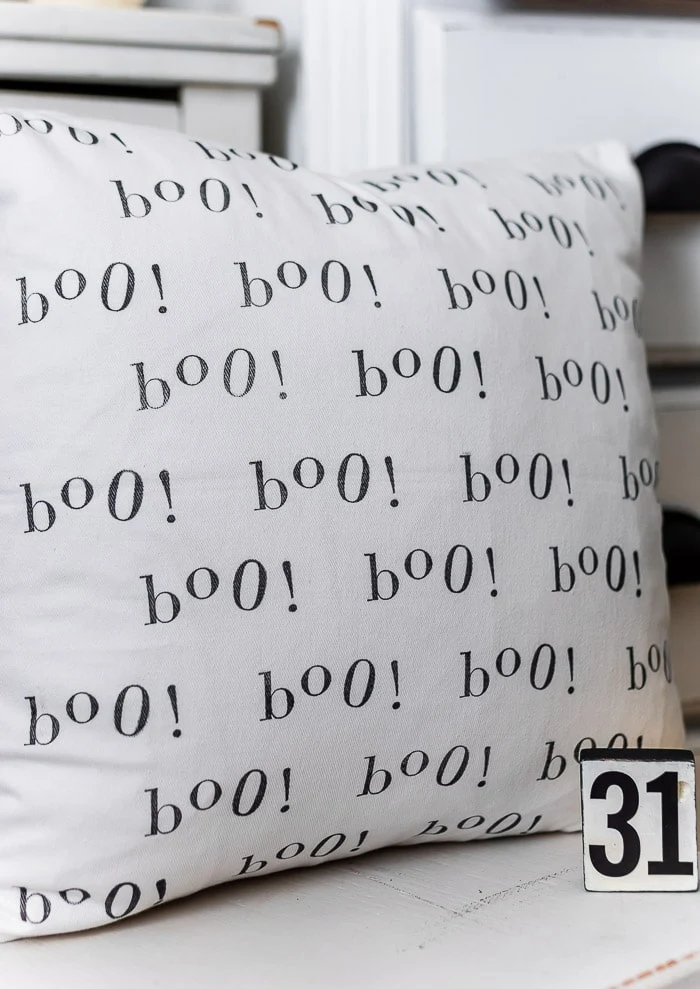
Halloween Stamped Boo Pillow Cover
Simple alphabet stamps are used to create a charming Halloween block print style DIY pillow cover
This post may contain Amazon or other affiliate links. As an Amazon
affiliate I earn from qualifying purchases.
My full disclosure policy can be found here.
Hey friend, I know we're barely into Fall and here I am sharing a Halloween
DIY project! 👻 As a creator, I love sharing ideas before you'll need
them. If you're like me, you need time for ideas to percolate for awhile
before deciding to dive in.
This Halloween "boo" pillow cover couldn't be simpler or cheaper to make,
honestly. I've been making some Fall tea towels and pillow covers, and had the
idea to make a similar style pillow cover for Halloween. After being unable to
find a ghost or spiderweb stamp that I liked enough, I put my thinking cap on.
I went through my existing stamps, and decided I could use my clear alphabet
stamps to create a cute-not-creepy Halloween pillow.
I love when I don't have to dish out any bucks for a project, and I'm calling
this one a win!
What is block printing?
Block printing is a centuries-old practice of using carved wood blocks to make
beautiful printed textiles. You can actually purchase
block print wood stamps on Amazon.
You can see examples of block print pillow covers
here,
here
and here.
While the variety is as extensive as the creative minds out there, typically a
piece is composed of a single design in a repeated pattern.
Block print designs can be used to create patterned paper as well as textiles.
You can read more about the history of block printing
here.
Using stamps
My idea of using stamps to create a similar look to a block print is a much
more simplified process. In just a few minutes you can create something unique
and it's really quite fun to watch the process happen.
How to make a Halloween stamped BOO pillow cover
You'll need minimal supplies for this project. I do recommend cotton pillow
covers as I'm not sure how the ink will perform on polyester or linen.
Supplies needed
- cotton 18x18 pillow cover
- 12x12 piece of cardstock, or parchment paper
- clear alphabet stamps
- acrylic stamp block
- black ink safe for fabric (I recommend this ink)
As a long-time crafter and former scrapbook-er, I have lots of supplies that
I still use today. If you don't have alphabet stamps, maybe try to borrow
them from a friend who makes cards.
* a note about the ink I used - it's not actually meant for fabric, I
didn't read the back until I was done! The ink I listed in the supplies is a
great one to use for fabric and can be heat set with an iron
Why is the stamp block needed?
If you're new to stamping, clear stamps are wonderful because they allow you
to see exactly where to place your design. But, you need a stamp block to hold
the stamps. You'll see pictures further down of how I set my stamps on the
block to form the word boo!. Clear stamps are slightly tacky on the back so
they'll stick to the acrylic block. Generally, clear stamps are less expensive
than wood stamps and I actually find them much easier to use.
Steps to stamping a pillow cover
To create the word boo!, I used a 0 (zero) as one of my o's because I wanted a
complete word on the block to make the stamping go fast and easy. It makes for
a slightly quirky look, which is perfect for my DIY Halloween cute not creepy
pillow cover.
Step 1: prepare pillow cover
Take a minute to insert something inside the pillow cover to protect the
backside from any ink. I actually forgot to move mine a couple times (my cover
was bigger than the paper), and I didn't get any ink bleed through; however,
it's better to be safe than sorry.
You can measure your design and decide how you want it to look on your pillow
cover. Use a ruler and mark the placement with a pencil. Or, you can wing it
like I did! I actually did a dry run with my stamps beforehand, so
I knew how many would fit across my cover.
Step 2: ink stamp
Rather than press your stamp into the ink pad, lay the stamp flat on the work
surface. Gently tap the ink pad onto the stamp until it's fully covered.
Step 3: stamp cover
Place the acrylic block where you'd like your design and press firmly. Lift it
up and off the fabric in one move so you don't make a mess 😉
Repeat until the pillow cover is finished. I re-inked my stamp each time.
Step 4: heat set design
You'll want to heat set your design with a hot iron once the ink has
completely dried. This allows the pillow cover to be washable!
Tips for success:
- practice on a piece of similar fabric first so you know how much pressure you'll need to exert to get a nice, clean image
- keep a damp paper towel or baby wipes nearby to wipe off any excess ink that may get around the edge of your stamps
- don't worry if some stamped images are darker than others - this is a handmade project and perfection is over-rated!
- have fun with it and make your pillow cover as unique as you are
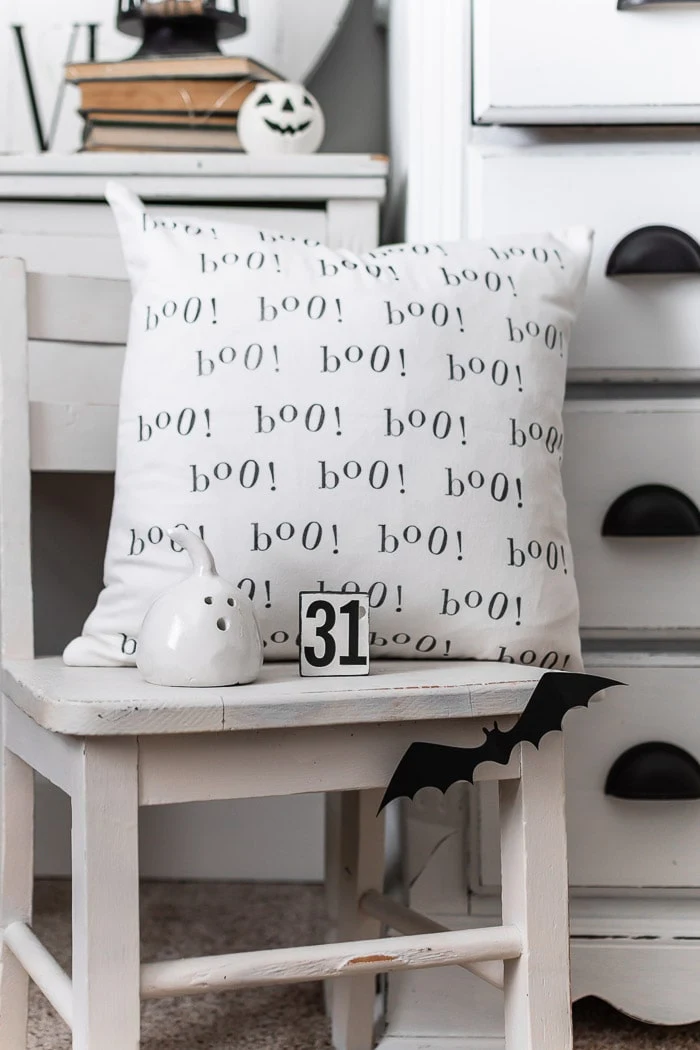
Making this simple black and white pillow cover actually inspired a whole
Halloween vignette in my office! I'm just sharing a peek here, but be watching
for the full reveal soon. I had so much fun spending a lazy Saturday afternoon
setting this up 👻❤ and Millie was quite the little helper lol.
Let me know if you're inspired to make a Halloween pillow cover! I love to
hear from you and your comments always make my day!
SHOP
Pin to Save
bringing beauty to the ordinary,


Comments
Post a Comment
Your comments are like sunshine and chocolate! Thanks for taking the time to leave a nice one ;) I read all comments and love to respond if you leave your name and email! Otherwise, please look for my response under the post where you left it!