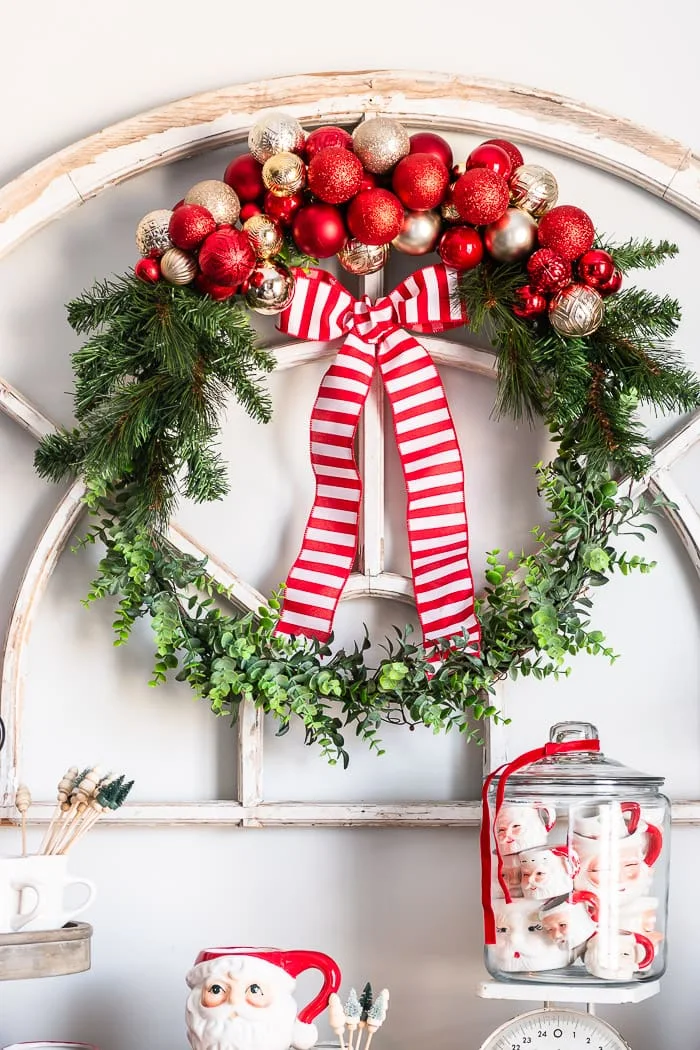
An easy Christmas wreath made with clusters of inexpensive plastic
ornaments and red striped ribbon.
This ornament cluster wreath is perfect for making something bold and
beautiful for your home this holiday season! Whether you hang this Christmas
wreath on your front door, or use it inside your home, it's bound to get
noticed.
This DIY Christmas ornament is made with inexpensive
plastic ornaments, keeping it lightweight while adding vibrant holiday color.
Christmas Crafts E-Book
Before I share my wreath tutorial, I am so excited to let you know I have a
holiday eBook, 12 Crafts of Christmas, that is free for
subscribers! If you're not already following along, you can sign up here and download the eBook from my Resource Library.
I'm joining several fellow bloggers to share our DIY Christmas wreaths with
you today, hosted by my sweet friend
Jen of Tatertots and Jello. There's variety and a beautiful assortment. I know something will catch
your eye! Visit the links below for more details
to making your own Christmas wreath or wreaths this year!
How to make an easy ornament cluster wreath
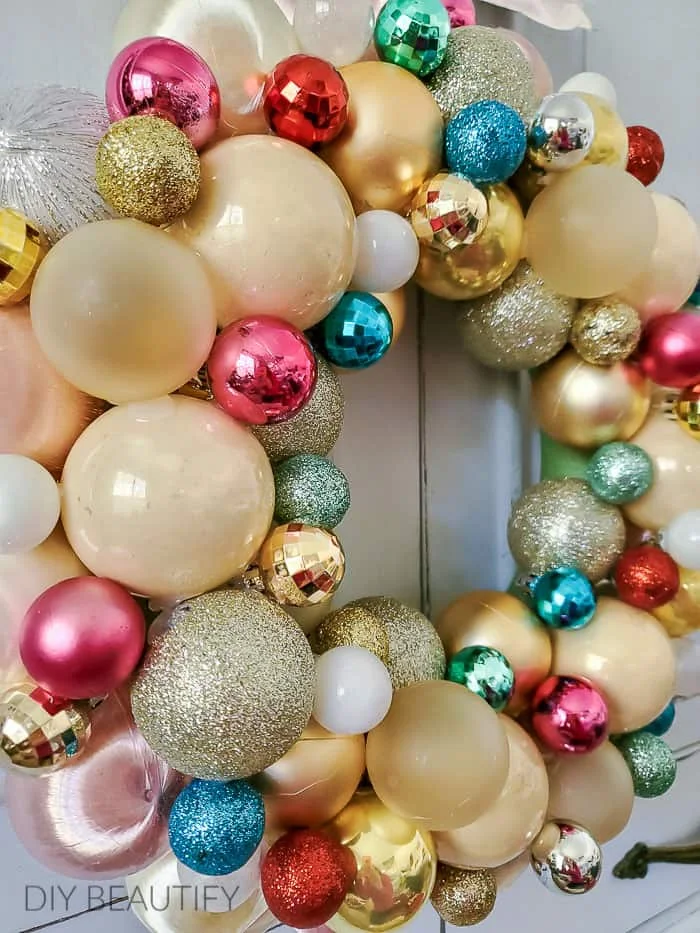
Several years ago I made an ornament wreath using a mix of vintage and new
pastel ornaments. My first attempt was unsuccessful, as the wreath fell
apart in our hot attic. A couple years ago I took it apart and remade it with
a new technique, and this time it turned out beautifully! If you like the look
of a wreath completely covered in ornaments, you can find the tutorial for
that
DIY ornament wreath here.
This year, I wanted to try something a little bit different and a whole lot easier! I had a large tub
filled with plastic ornaments that I've purchased over the years from dollar
and craft stores. Nothing precious, you know the kind that come in a long tube
or a plastic container.
Supplies you'll need:
- wreath base
- greenery stems
- green chenille stems or wire
- plastic ornaments
- ribbon
I built my ornament cluster wreath on a DIY wreath base that I made in the
spring, using faux boxwood and an oversized slender grapevine wreath. You can
see how I made it
here, it was super easy. But if you don't want to do that, you can use any wreath
form depending on the style you want.
I wanted to display this handmade wreath on the antique chippy window that
hangs above my coffee bar. I decorate it every year with my Santa mug
collection (
see last year's Christmas coffee bar here), so red and white ornaments would have looked best. However, this year my
goal is not to spend any money on new Christmas decor, so I used red and gold
ornaments which I already had.
Because my wreath was made from boxwood, I wanted to introduce a little bit of
holiday greenery, which I why I added the two pine stems. If you're using a
base made of pine (or any Christmas greens) just omit this step.
Step 1 - add pine stems
If you're adding pine stems, use green chenille stems (or these
wired pine garland ties
that I found at Dollar Tree last year) to secure the stems to your wreath
base.
Step 2 - make large ornament clusters
To make ornament clusters, simply string ornaments onto a length of chenille
stem, alternating colors, sizes and styles (mix in shiny with embossed and
glittered). I added about 8 ornaments to each cluster, ending up with 3 large
ornament clusters.
Step 3 - wire ornament cluster to wreath
Now you simply place the clusters where you want, and twist the chenille
around the back of the wreath base to secure the ornaments in place. Once
they're all attached, it looks seamless.
Step 4 - make a bow
I used this
red and white horizontal striped ribbon
I had on hand and tied a simple bow with long tails. I used another chenille
stem and fed it through the knot at the back, then wrapped and secured it the
bow to my wreath.
Variations
Try hanging the wreath different ways, to see which you like best. I
originally hung the wreath with the ornaments at the bottom, but with all the
Santa stuff on my coffee bar, it looked a little bottom heavy. However, on a
front door I'm sure it would have looked fine.
I simply hung the wreath the other way, and ended up placing the striped bow
in the middle rather than the side. I like it much better this way, as I feel
it balances all the red on my coffee bar.
I had a bag of small ornaments and could have used them to fill in any gaps on
my wreath by securing them with hot glue. However, I didn't want to use any
glue or make this DIY holiday wreath permanent! I'm someone who changes her
mind frequently, and I like the idea of being able to take everything apart at
the end of the season so I have options for next year 😊
Pin to Save
I hope you're inspired to make your own easy ornament cluster wreath! Let's
see what kinds of wreaths my friends have made. Check them all out below!
bringing beauty to the ordinary,











So festive, I love it!
ReplyDeleteSo happy you like it!
DeleteSuch a pretty wreath, Cindy! I love the way you showed how to cluster the ornaments and that you can hang it both ways! Thanks for joining us! Pinned :)
ReplyDeletexoxo
Thank you so much Jen!
DeleteI love that and I am all about re-using what I have in a new way!
ReplyDeleteThank you Gina, it's a great use for old ornaments!
DeleteThis wreath is so beautiful!! The ornaments are the perfect addition! I love it!!! pinned.
ReplyDeleteThank you Emily!
DeleteYour wreath is just stunning, Cindy. I'm always a big fan of traditional red for the holidays and you knocked this DIY out of the park. I love the pretty striped ribbon too. It is the perfect finishing touch. Pinned!
ReplyDeleteThis is so adorable! Pinned!
ReplyDeleteThanks Ashley!
DeleteWhat a beautiful wreath, Cindy! I love the color combo and the ribbon. I'm a huge fan of red and white décor. Almost every year I tell myself I'll venture into using other colors and every year it's still primarily red. Visiting from Laura Kelly's link party. :)
ReplyDeleteThis is the most adorable project! I shared in my linky party this week and in an email blast too. I tagged you on social.
ReplyDeleteThank you Laura!
Delete