How to Make Vintage Inspired Embossed Trees
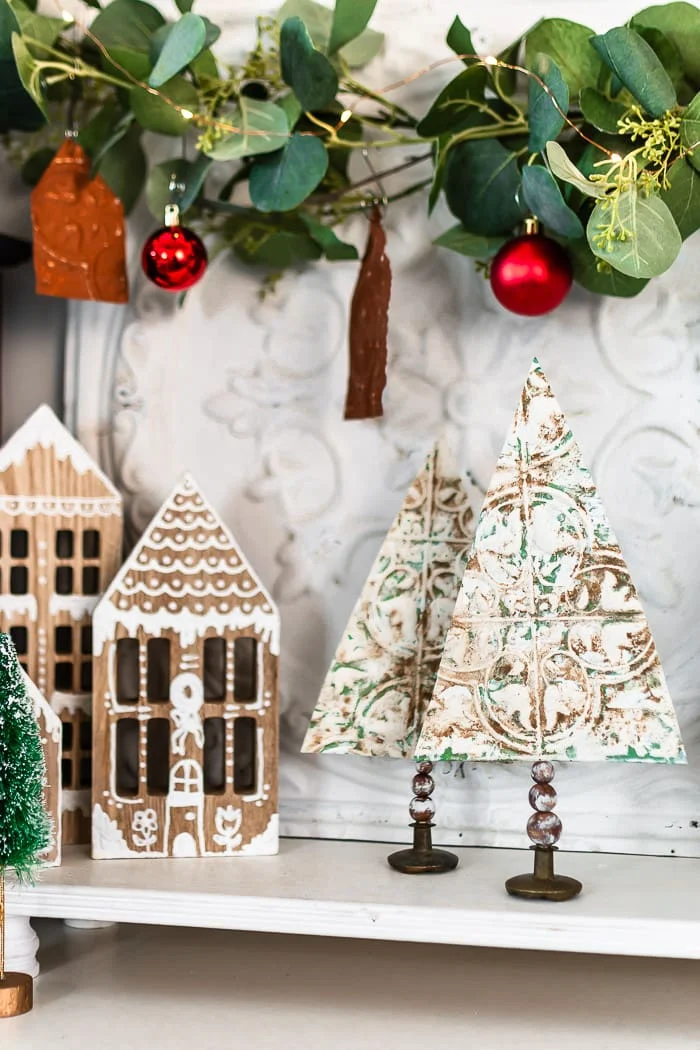
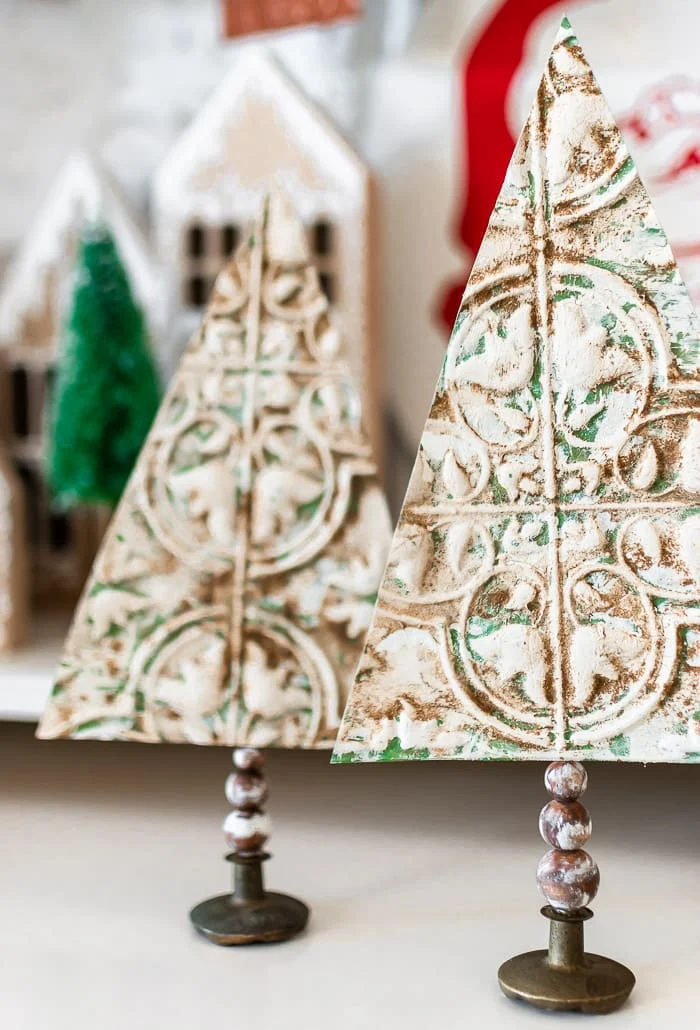
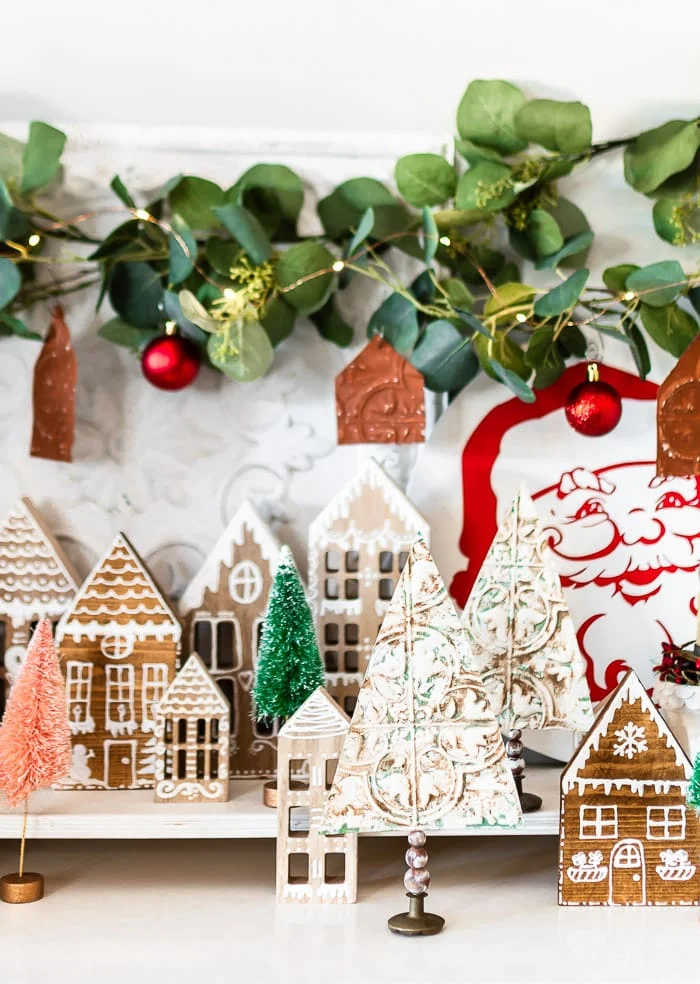
Layered paint gives a vintage distressed look to simple trees created from a dollar store embossed tile.
How to make embossed tree decorations
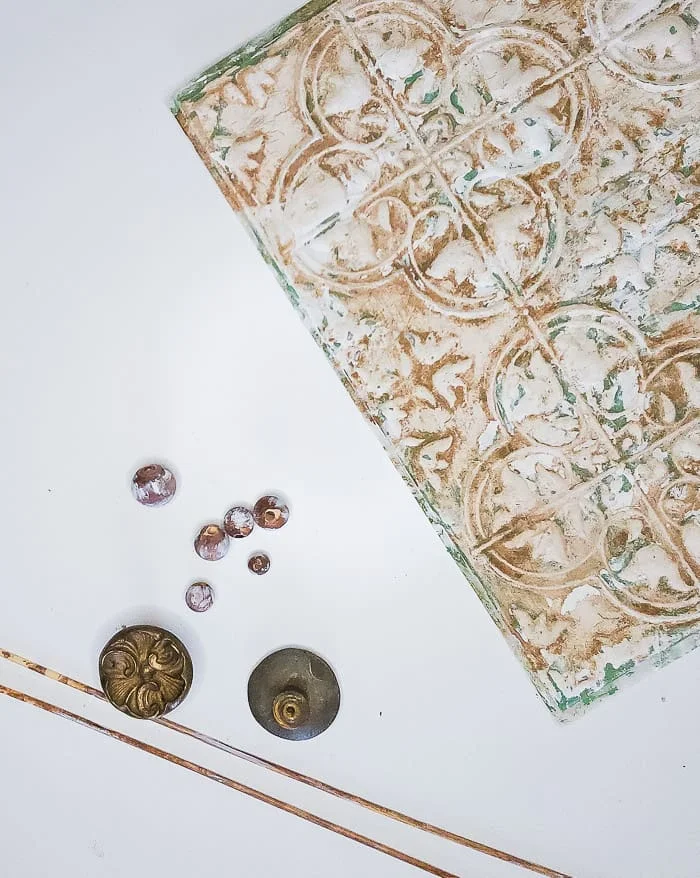
First things first. Use my idea as inspiration but make it your own! Even if you only decorate with modern neutrals, these trees can be customized to your exact wishes!Supplies used:
- embossed tile from Dollar Tree
- white and green chalk paint (I used this white and this green)
- coffee stain (recipe below)
- ground cinnamon
- foam brushes
- heat tool to speed up drying
- fine sandpaper
- scissors
- old doorknob or dresser knobs
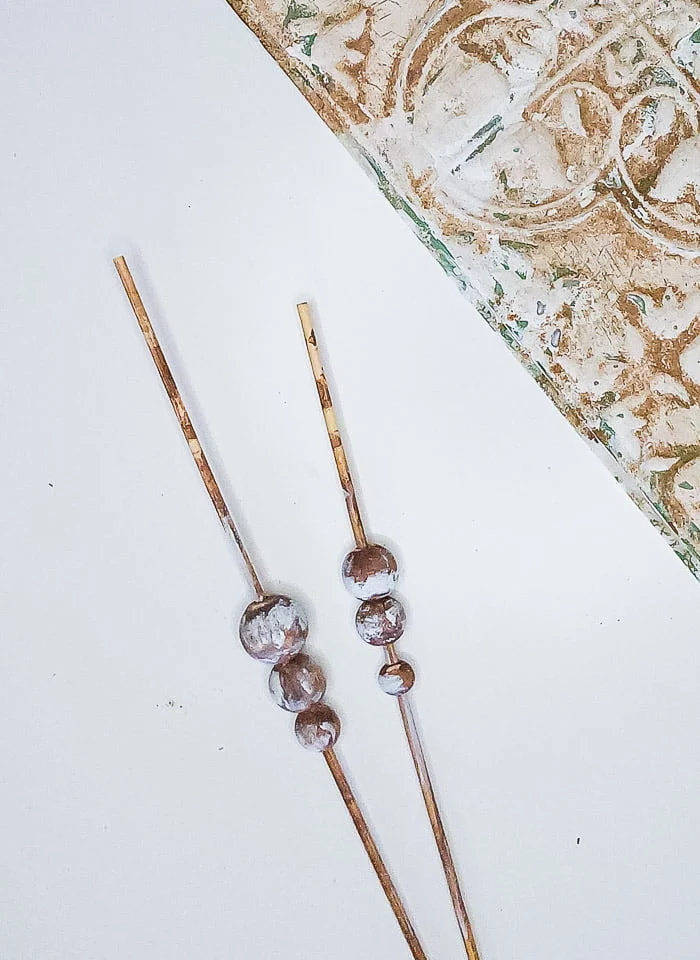
- wood skewer and beads
- hot glue
Paint the tile
- Paint tile with 2 coats of the base color, which is green
- Paint with 2 coats of white
- Lightly sand to reveal base coat
- Brush on coffee stain (recipe below) and sprinkle with cinnamon
- Let dry and brush off excess cinnamon
Coffee Stain Recipe
- 1 cup warm water
- 1/2 cup instant coffee granules
- 2 teaspoons ground cinnamon
- 1-2 teaspoons vanilla
Add all ingredients to a lidded jar. Store in fridge. Shake before using (may heat in microwave to soften cinnamon)
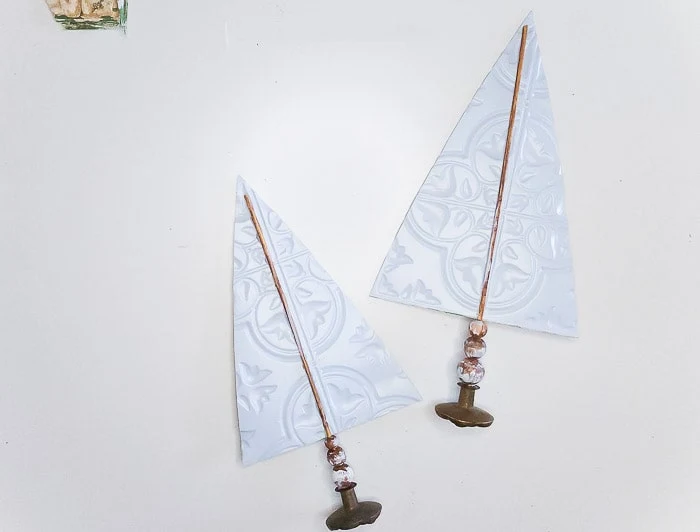
Cut the tile into trees
Make trunk and base
Assemble trees
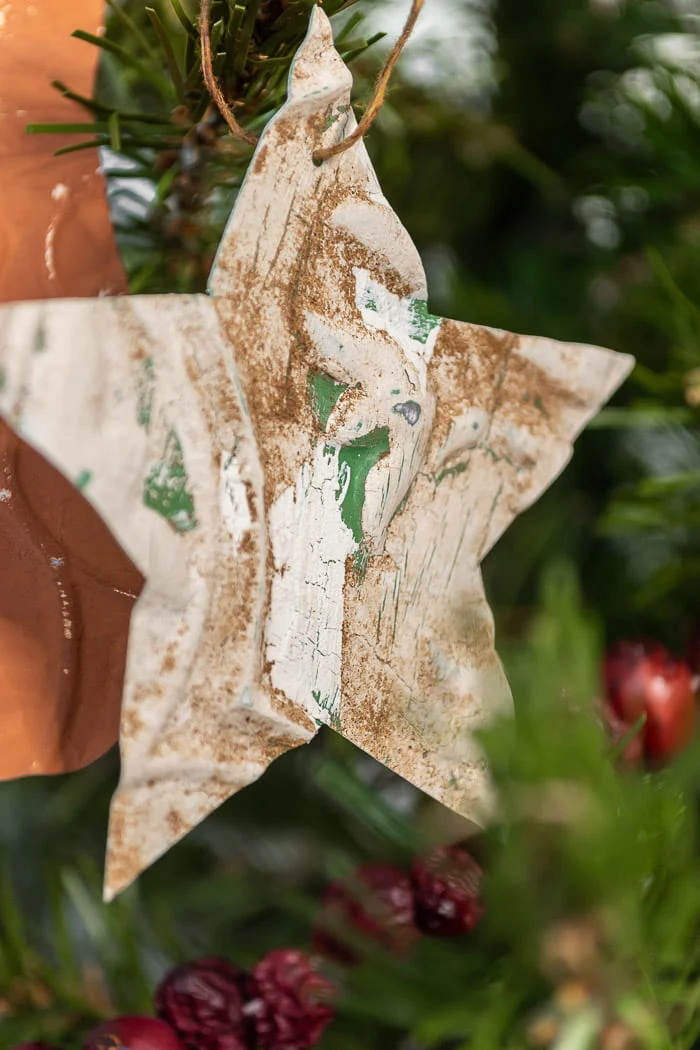
What can I do with the scraps?
What if I don't have old knobs?
- use a new knob with vintage style
- use a wood cube from Dollar Tree (just drill a little hole down the center first)
- make a clay base using air dry clay; push the skewer down into it to create a hole while it's damp
- these wood dowel rod finials would be adorable (just use the appropriate size dowel rod rather than a skewer)
Pin to Save
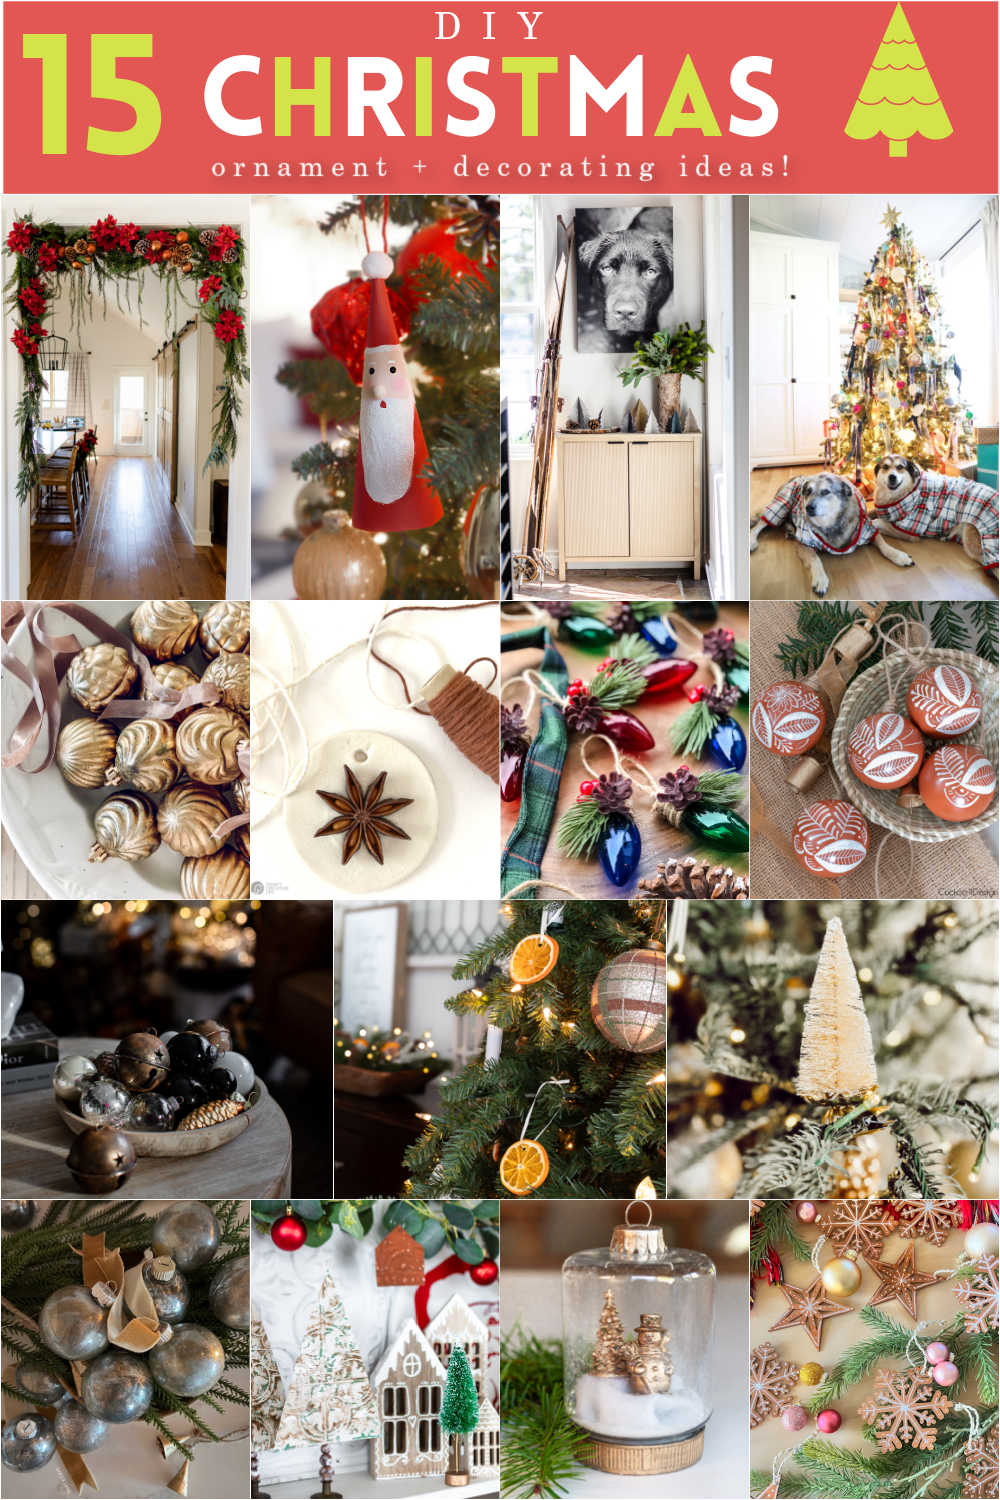
She Gave It A Go | The Ultimate Garland Hanging Hack: Try This Curtain Rod Trick
Paint Me Pink | DIY Santa Ornaments
My Sweet Savannah | DIY Paper Christmas Trees
The Handmade Home | DIY Paw Print Ornaments
Le Cultivateur | DIY Mercury Glass Ornaments
Today's Creative Blog | DIY Anise Ornaments
The Happy Housie | Easy Christmas Ideas
Cuckoo For Design | DIY Mexican Ornaments
Craftberry Bush | DIY Vintage Bell Ornaments
Midwest Life And Style | Holiday Traditions: How To Make Easy Dried Orange Ornaments For Christmas
Eleanor Rose Home | How to Make Rustic DIY Farmhouse Christmas Ornaments
Lolly Jane | Faux Mercury Glass Ornaments
DIY Beautify | Vintage Inspired Embossed Tile Trees
Zevy Joy | DIY Dollar Store Christmas Ornament - Snowy Scene
Tatertots and Jello | DIY Faux Gingerbread Cookie Ornaments







Love your trees! How clever!
ReplyDeleteOh Cindy, these are lovely-pinned! Cheerfully, Brendt
ReplyDeleteWhat a unique idea. Love them!
ReplyDeleteWhat a cute idea! I’m going to try and make 2 triangles and attach the 2nd one on the back for a 360 view. Also, other ideas for a base are spools, wooden disks(thin or chunky) cut from your tree or pieces of branches, antique glass doorknobs, the list is endless! Thanks for sharing.
ReplyDeleteThose are all wonderful ideas, happy I inspired you!
DeleteSo clever! I've gotta look for those metal tiles the next time I'm there!
ReplyDeleteI adore your trees, Cindy. So cute and so clever! And I love how affordable this craft is too. Thank you for sharing. Pinned!
ReplyDeleteThanks for the reminder that I must find these dollar store tiles! Need this stat! Your trees are adorable, just like your other gems you made from these!
ReplyDeleteThanks Donna, I'm so glad you like them! Merry Christmas xx
DeleteAlways the most gorgeous DIY projects, Cindy! These tiles are so versatile! Don't forget to join us over at the Creatively Crafty Linky Party every Wednesday through Sunday
ReplyDeletehttps://creativelybeth.com/creative-crafts-linky-party/
Followed and Pinned!
Creatively, Beth
Thank you Beth!
DeleteBrilliant - what a smart idea to use these tiles! I love how they turned out!
ReplyDeleteThank you so much Krista!
Delete