How to Make Antique Inspired Ornaments With Clay Molds
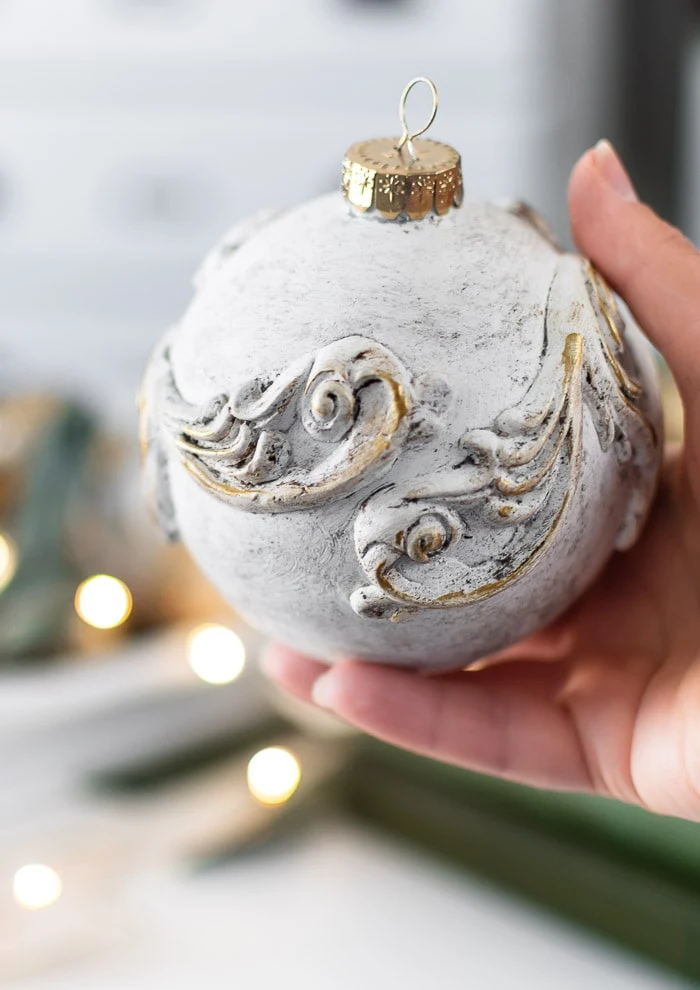
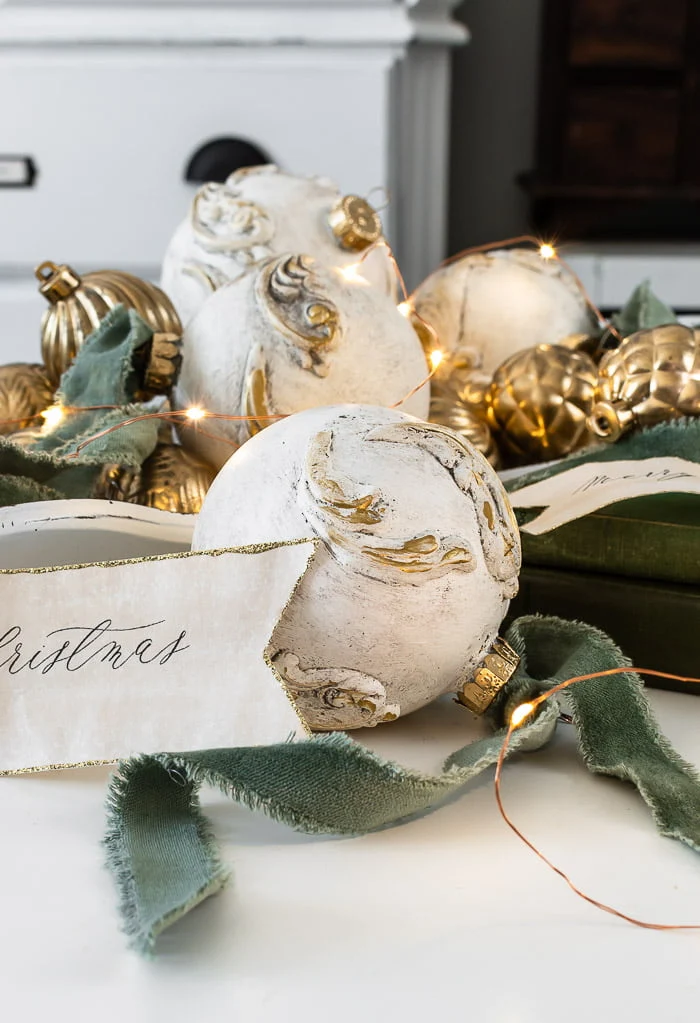
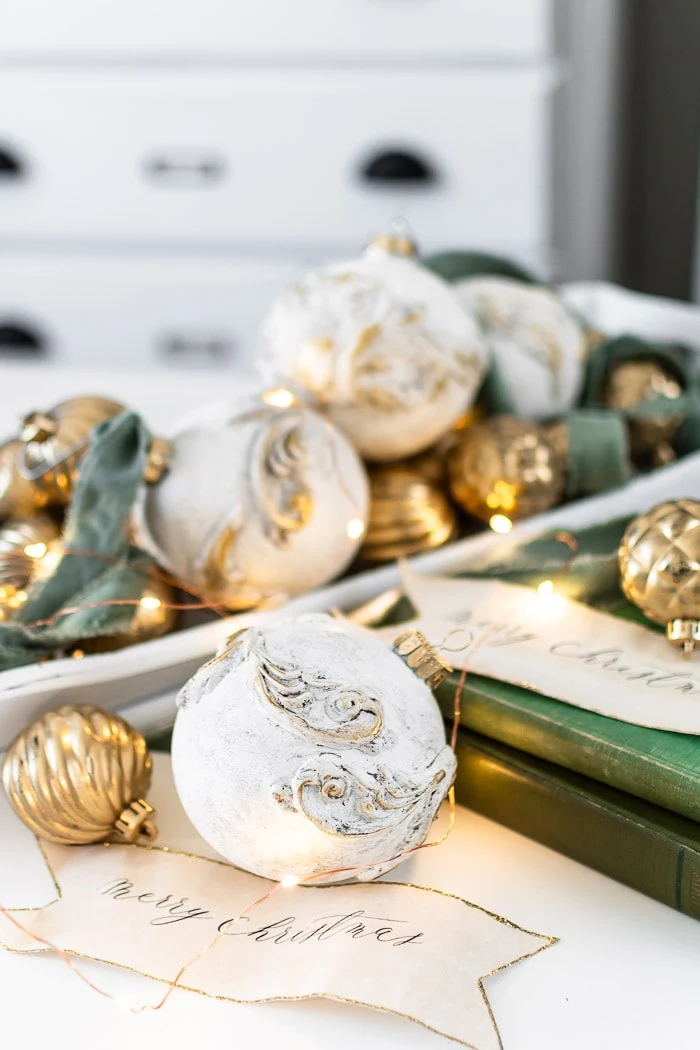
Recycle old ornaments with paint and clay to make these stunning, old world gilded ornaments that are sure to become a Christmas favorite!
This post may contain Amazon or other affiliate links. As an Amazon
affiliate I earn from qualifying purchases.
My full disclosure policy can be found here.
If you're like me, you have some Christmas ornaments that you're tired of.
Maybe they look dated, or they've just lost their appeal. Rather than throw
them out, upcycle them into stunning antique looking ornaments using paint and
clay! It's easier than you think, and I'll walk you through all the steps
below.
Wow, right? I love how these DIY ornaments turned out, and they weren't that
difficult to do! So grab your shabby old ball ornaments
(or pick up some inexpensive ones), and the items listed in the
supplies, and get ready to remake your ornaments into some that look truly
special!
How to Make Antique Effect Ornaments
This is one of those projects where the right clay makes all the difference! I tried this ornament upcycle with my oft used DAS air dry clay, but the results were a very heavy design that cracked, and was cumbersome to work with. I went back to the drawing board and purchased paperclay, which dries to a lightweight piece, can be attached while still wet, and is a breeze to work with.Supplies Used:
- paperclay
- clay mold (I used this mold)*
- tacky glue
- creamy white chalk paint (I used this paint)
- foam brushes
- clear furniture paste wax
- rag
- Dixie Dirt (I used this color)**
- small craft brush
- metallic gold paint
* cake molds don't work (I tried);
use only stiff craft molds or you won't be able to release the clay
** you could use dark paste wax instead
First things first. Clay dries out very quickly. To prevent this, dampen a paper towel and put it inside a ziploc bag. Keep the unused, wrapped clay in the sealed bag with the paper towel until you need more.
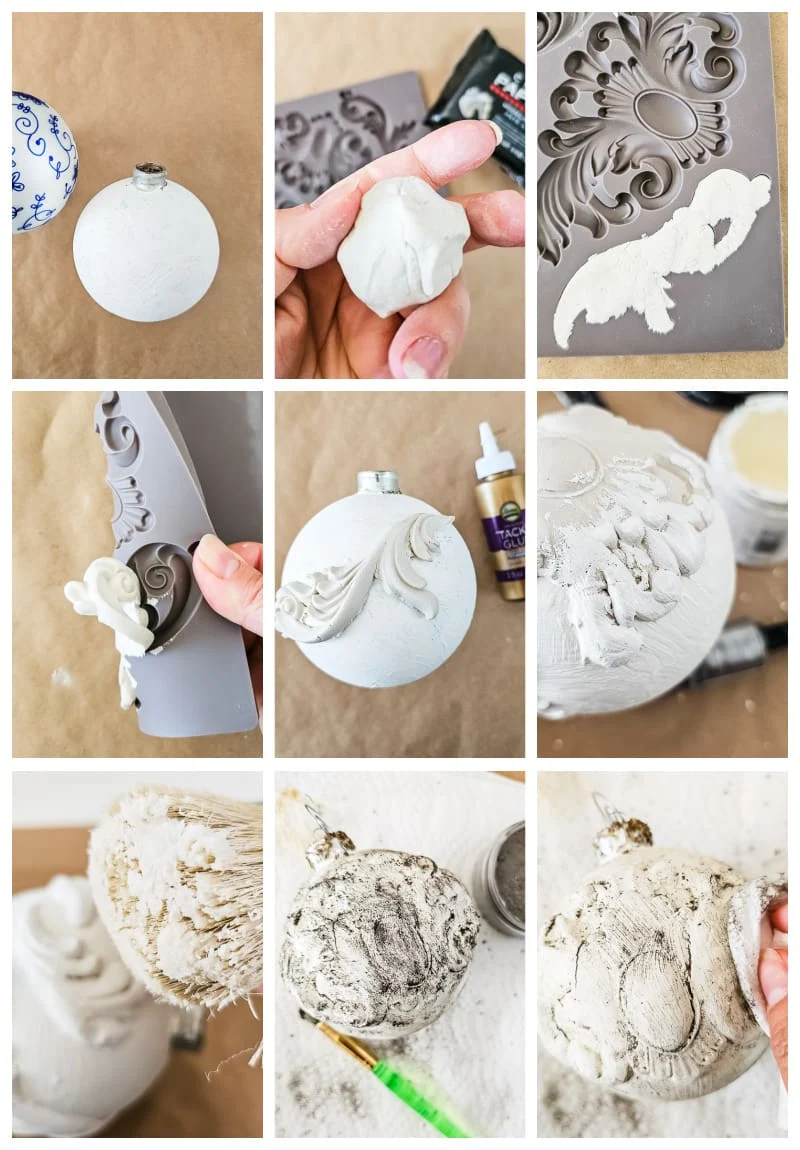
Step 1 - Base coat
If you're upcycling old ornaments, like I did, brush on a base coat of white
(you may need multiple coats).
DIY tip: keep the hanger on the ornament and carefully hang ornament to dry
from a wire hanger or piece of twine that you tack between a doorway
Step 2 - Soften clay
Work a small piece of clay between your fingers to soften it. Roll it into a
ball or a log before placing it into the silicone mold.
Step 3 - Add clay to mold
Press clay firmly into the mold, making sure you fill it completely. Use hand
to flatten clay, and then fingers to gently scrape away excess clay ensuring
the back is flat
(you'll have quite a bit that is removed, add it back into sealed bag).
Step 4 - Remove clay
Yes, while it is damp, remove the clay from the mold. You can bend the mold
away from the clay design and gently use fingers to encourage it to pop out.
Step 5 - Glue mold to ornament
The clay mold needs to be glued to the ornament while it's still soft and
pliable, so it can take the shape of the rounded ornament. Brush tacky glue on
the back of the mold and gently press it to ornament. Hang ornament in a safe
place until the clay is completely dry (about 8-12 hours).
DIY Tip: use your fingers to further press the edges of the clay to the
ornament if you see any gaps
Step 6 - Paint
Paint ornament and mold with a coat of chalky white paint. This really helps
to merge the two together so it looks seamless. Hang to dry.
Step 7 - Wax
The ornaments are beautiful as is, but this step really ages them and adds
that vintage, old-world charm, so don't skip it! I'm including a couple of
different ways to achieve this look, depending on what products you're using.
- Brush a coat of clear paste wax onto the entire ornament. While the wax is still tacky, sprinkle on some Dixie Dust. Let sit a few minutes, then rub off excess with a lint free rag. You can add more of the dust if needed.
- Brush entire ornament with clear wax. Dip a rag or small brush into dark wax and brush onto ornament, paying special attention to any grooves or dips. Let sit a few minutes and then rub off excess with a lint free rag. The coat of clear wax will allow you to move and manipulate the dark wax, removing excess or adding more where you want more of an aged appearance.
Step 8 - Gild
When the wax is completely dry, dip the tip of your finger in the metallic
gold paint and lightly rub it onto the raised surface of the clay mold. This
step is optional, but I think it takes these painted ornaments to the next
level!
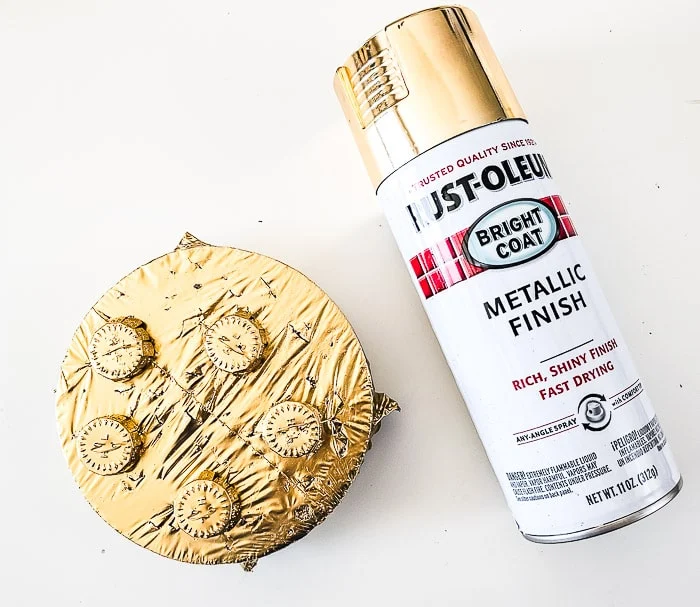
Step 9 - Paint and glue ornament top
Once the ornaments are completely dry, remove the tops and spray paint them
gold. Then, I highly suggest you use a
strong adhesive
to glue the tops to the ornaments. I didn't do this step, and two of my
ornaments fell and broke! After all that work, I was very upset! 😩😩
PRO tip: my favorite way to quickly spray paint ornament tops without them
flying everywhere is to stick them into a piece of craft foam.
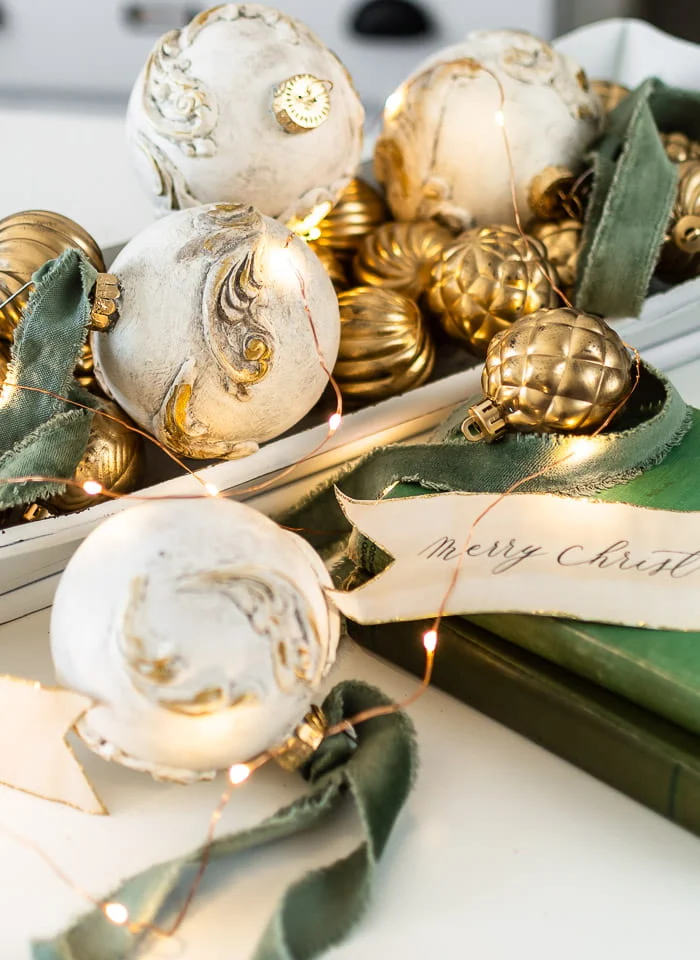
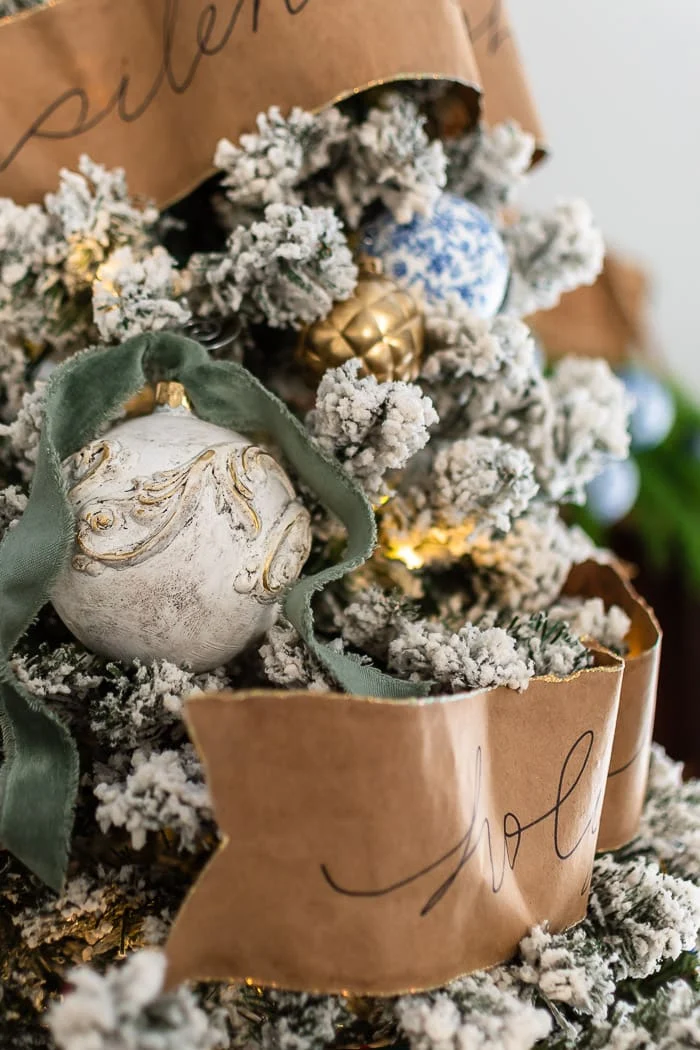
Hang ornaments from velvet ribbon on your tree, or even display them in a
bowl. These antique inspired ornaments make stunning Christmas decor, and
would be wonderful gifts for anyone who loves antiques and old world
decorations.
You can see more of my
dining room Christmas tree here. If you'd like to make my
DIY paper ribbon with song lyrics
for your tree, click the link for the tutorial.






Can you use plastic ornaments to reduce breakage or do you recommend glass?
ReplyDeleteYes, absolutely!
DeleteGreat idea, Cindy. These are so beautiful. I love working with molds. The ideas are endless. Thanks so much.
ReplyDeleteThis is exactly what I was searching for!! I wanted to do this but was unsure of the steps to take. Thank you for sharing this post. I'm getting started on these for this Christmas!!!
ReplyDeleteSo happy you found this helpful! If I made them again, I'd use plastic ornaments because the clay plus glass makes them very heavy!
DeleteThese are absolutely gorgeous! I am wondering if you might have tried silicone instead of the paper clay? Or even hot glue? Just curious because I’m going to try doing just that! Not sure if I’ll get to these anytime soon but I’ve been playing around with both products and I think this may be an option as well. Please give me your thoughts on this.
ReplyDeleteCindy I have to say after many many years of following blogs you are certainly one of the very few that gives the “best of the best” in every craft you have shown over the years, so thank you for all that you do because I know how difficult it is to do all of this day after day, week after week and year after year.
Thank you so much, your kind comments made my day! I haven't tried silicone but hot glue is a great option! I've used it with molds and bc it's lightweight, would make it ideal for these ornaments!
Delete