Decoupage Easter Egg Topiary Tree
Craft eggs are decoupaged to make an Easter egg topiary tree. Full step by step tutorial included.
This post may contain Amazon or other affiliate links. As an Amazon
affiliate I earn from qualifying purchases.
My full disclosure policy can be found here.
Easter is just around the corner! Sunny days give me the urge to create, and
this sweet Easter egg topiary tree is not only adorable, it's easy to make!
Keep reading and I'll show you exactly what you'll need, and just how to do
it.
I was recently gifted some products from Dixie Belle, and one of them that I
was very excited to use was their
distressed damask rice paper. Rice paper is used for decoupage, and unlike napkins, there is only one
ply, so nothing to separate or remove, it's ready to go! There are many
similar options on
Amazon.
Table of Contents
Jump to the desired section:
What is rice paper?
How and why to seal decoupage projects?
Simply brush on a coat of the decoupage medium you are using to the top of
your project to seal and protect it. This protective layer not only seals the
colors in, but it makes the item more durable and longer lasting.
How to make an Easter egg tree topiary
Making new Spring and Easter decor doesn't have to be difficult or
expensive! Let's reimagine a
Dollar Tree foam craft cone as an Easter egg tree! Read on for the full tutorial.
Always check your local craft stores, as well as Walmart, for the best
prices! Amazon links are included here for your convenience.
Supplies:
- floral cone (I used a 7" cone)
- craft eggs (I used 25 regular size craft eggs)*
- rice paper or decorative napkins (preferably something with smaller designs that can be cut out)
- decoupage medium
- craft brush
- moss or excelsior
- hot glue
* please note that I used some eggs that I had previously painted and
speckled. You can see how to do that
here.
Decoupaging craft eggs
Wrinkles are a normal part of decoupage when you apply something flat to
something round. If you're not okay with that imperfection, you might choose
to just paint your craft eggs.
Building the tree
Once all the eggs are completely dry, it's time to assemble the Easter egg
tree. Heat up your glue gun and be sure to have plenty of additional glue
sticks handy.
Continue your way around the cone, building the egg tree row by row. Don't
forget to hot glue an egg to the very top of the cone.
Fill in any holes with a little bit of green moss, or you could even use
excelsior for more of a neutral look. I tried both and here's how the Easter egg tree looks with excelsior. The colors are softer, but the excelsior is a little harder to control than moss!
SHOP THE POST
Tips for success:
- mix eggs as I did, don't feel you need to decoupage all the eggs
- purchase extra eggs, especially if your cone is larger than mine
- add a design to just one side of the egg, as only one side will really be visible
- use designs and colors that will compliment your decor
- be sure to vary the angle of the eggs, to fit them all on the cone and to add interest to the tree
- you could also use a variety of sizes of eggs for a unique look
- hold each egg in place until the glue sets
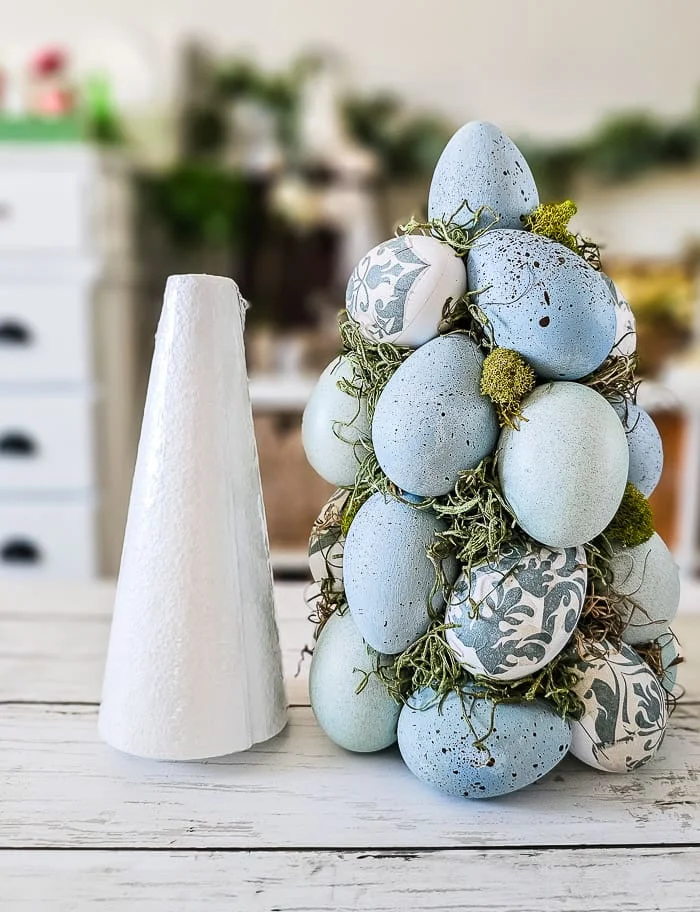
Your cone will be much bigger than it was originally! Just take a look at this
before and after.
Ideas for displaying tree
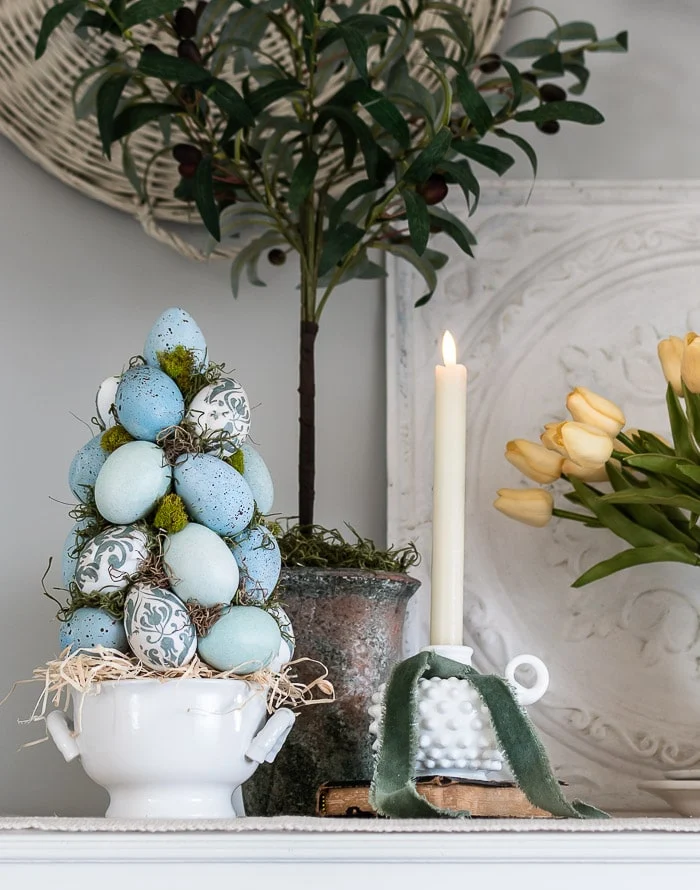
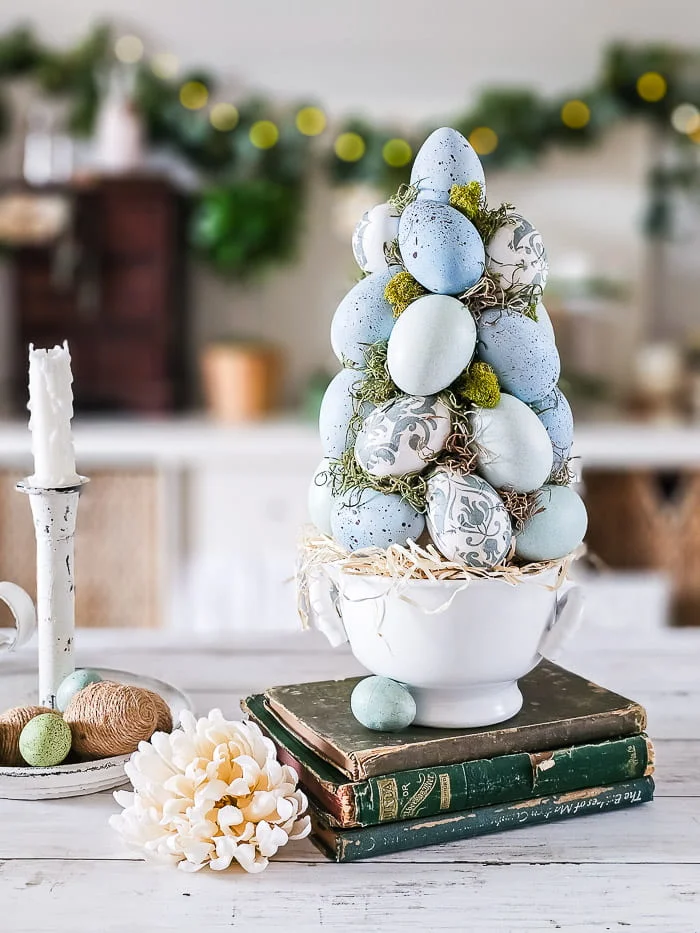
I used a little excelsior in a footed white bowl and set the tree on top. This
gives it the look of a topiary with very little effort! You could also use a
flower pot or other ceramic vessel.
Creating a Spring or Easter vignette with this DIY Easter egg topiary is easy.
Just add a few
drop cloth DIY carrots, bunnies and
faux Spring flowers.
Pin to Save
Here are more DIY topiaries you can make:
bringing beauty to the ordinary,
Disclosure: I used items gifted to me by Dixie Belle. My opinions, as
always, remain my own


So cute! I loved that you used various shades of blue. You have inspired me.
ReplyDeleteThank you Melanie, happy crafting ♡
DeleteLove this I can’t wait to make one! Love your ideas.
ReplyDeleteThanks Lynette, I appreciate that! Would love to see how your Easter egg tree turns out!
DeleteAdore this idea! I need to get my Easter stuff out! pinned
ReplyDeleteThank you Cindy! I love all the bunnies and eggs xx
DeleteSuch a cute craft for Spring! I'm actually planning on doing something similar in a few weeks!! Great minds think alike!
ReplyDeleteI love this idea! I was trying to come up with some kind of unique spring topiary for my mantel and I love this idea! I hope you will come over to Follow the Yellow Brick Home and link up at Thursday Favorite Things , I'd love to feature you next week :)
ReplyDeleteYour Easter egg topiary is SO adorable! You're making me crave Easter and spring even more now!
ReplyDeleteThanks so much Donna!
DeleteHi Cindy - These topiary trees are adorable. I love the colors of blue you selected for a cohesive look. The pattern on some of the eggs is also lovely. Pinned!
ReplyDeleteThank you Anna, so happy you like it!
DeleteThis is just BEAUTIFUL! It's soft and elegant, farmhouse and shabby chic, all at the same time! I need to to make one NOW!
ReplyDeleteThank you Tess, I feel the same way about it! So happy to inspire you xx
Delete