Spring Green Distressed Wood Crate
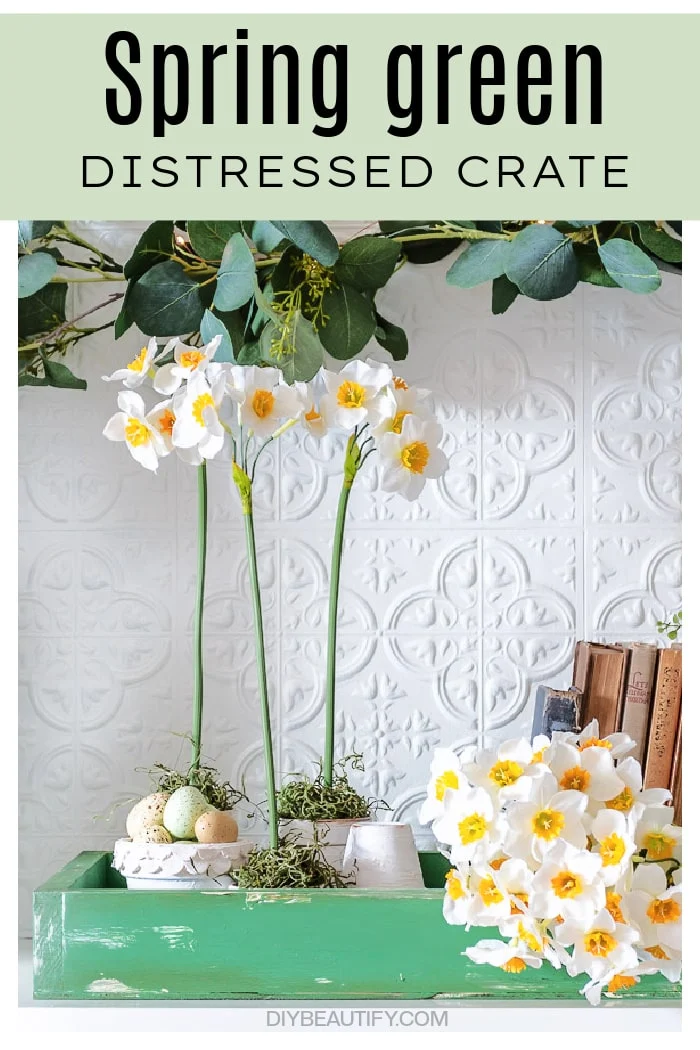
A simply made shallow wood crate is painted in Spring green and distressed, making it ideal for displaying seasonal vignettes.
This post may contain Amazon or other affiliate links. As an Amazon
affiliate I earn from qualifying purchases.
My full disclosure policy can be found here.
If you're wanting to add a pop of Spring green to your decor, look no further than a painted wood tray or crate. Whether you make it yourself or paint an existing one, these steps will help you create a distressed finish.
Mr DIY and I aren't builders or tool afficionados, although together we have
successfully
built barn doors
to replace old French doors in our main bedroom, we built a
herringbone coffee table, and we DIYed an inexpensive
modern platform bed
for our teenage daughter.
Why were these projects successful? Well, I have a good eye for design, and Mr
DIY has the math skills...together, we've made it work, even without owning
all the professional tools.
So when I was wanting a few shallow crates to display vignettes, I naturally
asked Mr DIY if we could DIY them! He grabbed a few inexpensive pieces of wood
from the home improvement store, and we spent an afternoon building three
small crates.
Today I'm sharing how I painted and distressed one of the wood crates Spring
green. If you are interested in the instructions to build a shallow wood
crate, please leave me a comment below, and if I get enough interest, I'll
write a tutorial for the crates that we built.
How to paint and distress a Spring green crate
I used products from Dixie Belle to transform the wood crate into one that looks like it's been around for a long time! I love vintage and antiques, and when I can't find what I'm looking for (at a price I want to pay), I find a way to make them at home! I love using chalk paint when I'm painting anything, it has superior adhesion and a matte finish that complements the vintage style I prefer.Why use chalk paint?
If you're new to chalk paint, I cannot sing its praises enough! It's my paint
of choice anytime I craft. It covers nearly any surface, and virtually no prep
is needed. I have a whole chalk paint series that I recommend if you're
wanting to find out more, start here with
Chalk Paint 101.
Something you may not know is that chalk paint can easily be mixed to create
custom colors. I mixed two colors to come up with the perfect
cottage green dresser
in our guest room.
Below are the supplies that I used to add a vintage and distressed finish to a
new wood crate. Amazon links are included for your convenience.
Supplies:
- green chalk paint (I used Dixie Belle Kudzu)
- white chalk paint (I used Dixie Belle Cotton)
- sandpaper
- clear furniture paste wax (I used Annie Sloan - similar here)
- dark furniture paste wax (I used Annie Sloan - similar here)
- lint free rag
- paint brush (I love this Purdy brush; the shorter handle makes it easier to get into corners)
If you want to distress and add a little vintage charm to a wood crate, the 4
simple steps, outlined below, will show you how to do it.
Step 1
I painted one nice even coat of the Spring green chalk paint onto the natural
wood of the crate and let it dry.
Step 2
I went over select edges and corners with a touch of white chalk paint and let
it dry. I used sandpaper to knock back some of the white to help it better
blend.
Step 3
Working on one side of the crate at a time, I used a lint free rag to swipe on and rub in some clear furniture wax. The clear wax isn't strictly necessary, but it allows you to remove some of the dark wax, applied next, if it's too dark.Step 4
While the clear wax was still wet, I wiped on some dark wax, working it into
the corners and edges especially. Once it set (about 5 minutes), I buffed it
with a clean rag. This adds a wonderful old-world sheen and patina to the
painted piece.
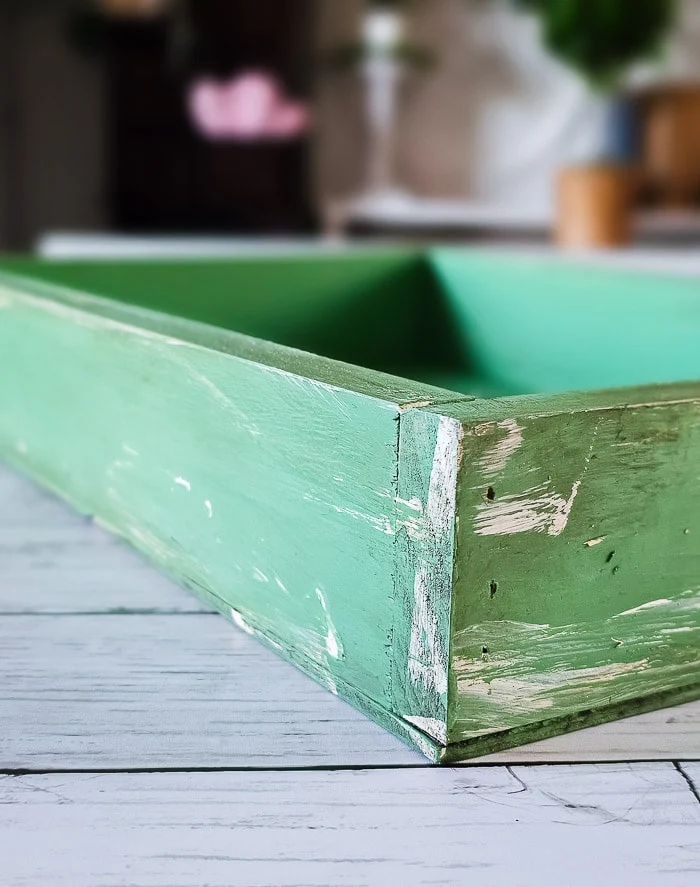
The dark wax gives the painted crate depth and dimension, keeping it from
looking like a brand new piece.
This close up really shows the age and character I was able to add with just
paint and wax! Layering the paint is the trick to achieving this look. You
could even consider multiple colors to give it even more of a layered look.
Styling a Spring green crate
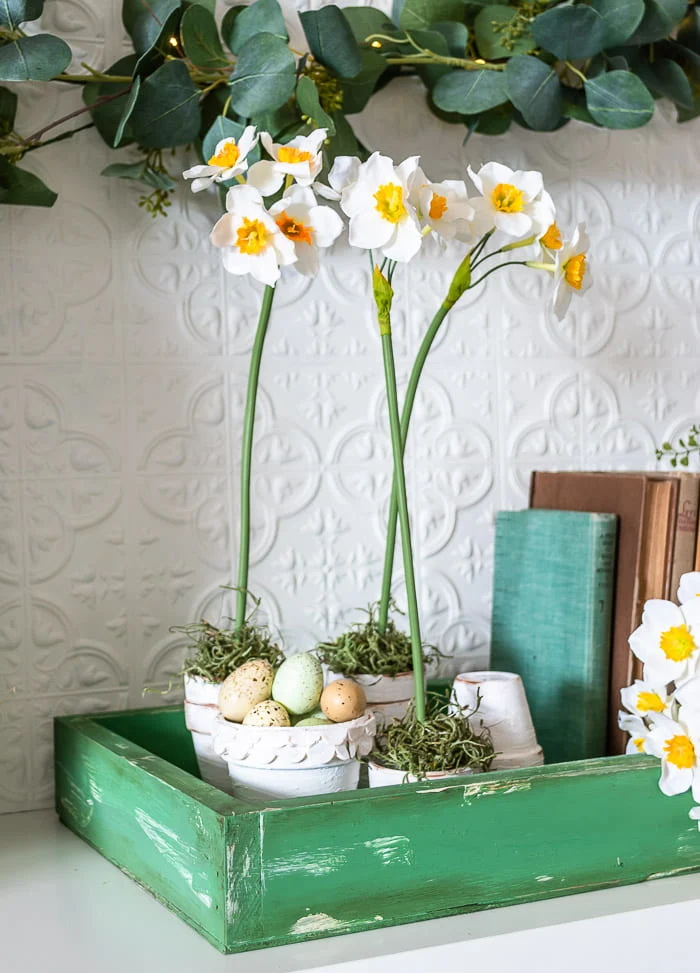
I had so much fun styling my new old wood crate for Spring using some
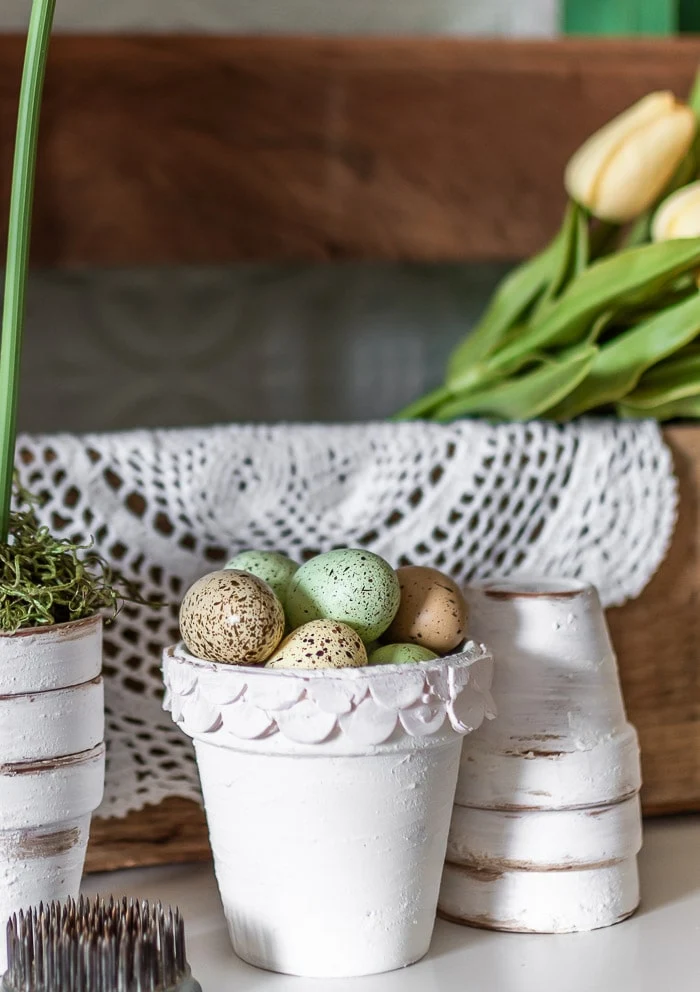
faux daffodils, painted and aged terracotta pots, vintage books and speckled Easter eggs.
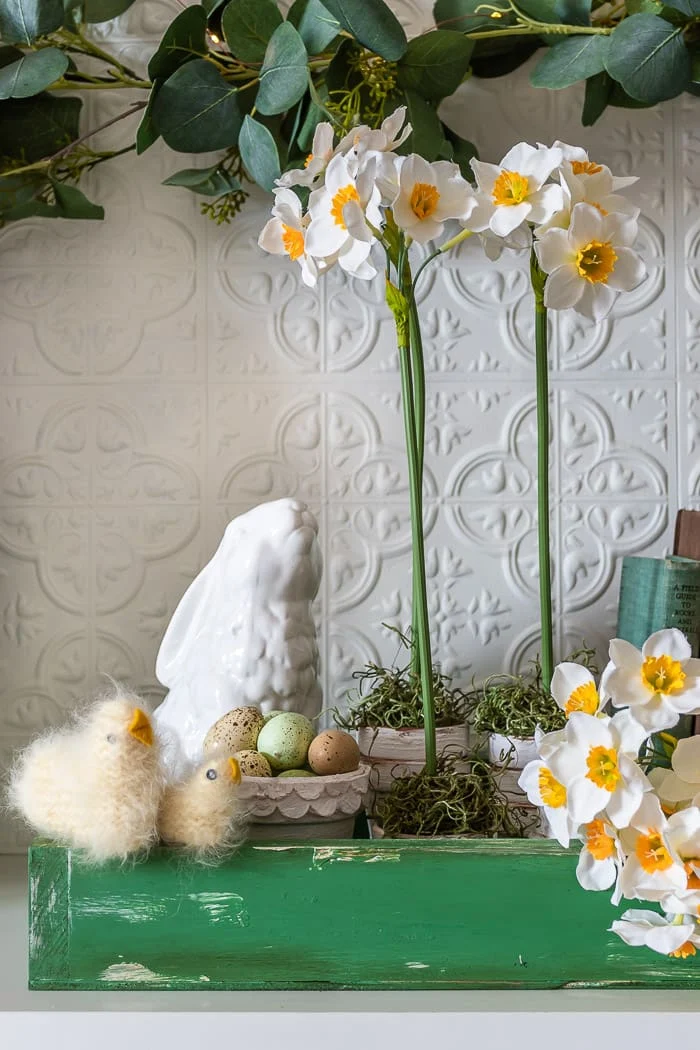
To make this DIY wood crate work for Easter vignettes, just add a bunny or
two, even some fuzzy chicks! My mother in law made these sweet fuzzy chicks
back in the 70's, aren't they adorable?
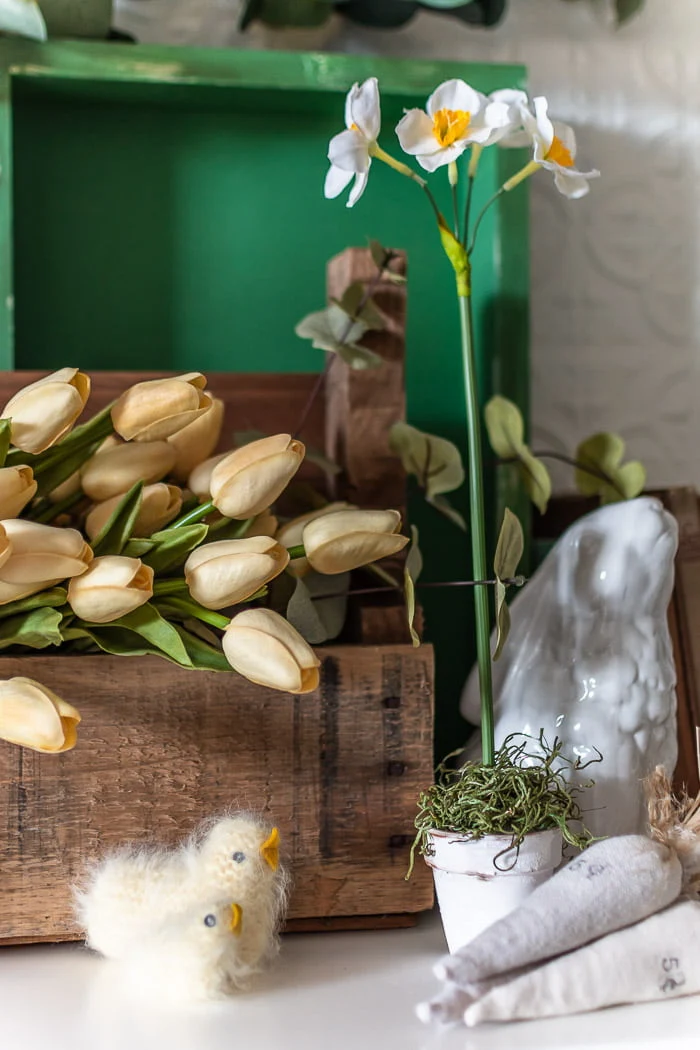
These
faux tulips
and my
vintage style drop cloth carrots
are another option. For this vignette, I propped up the Spring green crate
against the wall as a colorful backdrop.






Love these shallow boxes. would love how to make them. Oh those little chicks are so cute.
ReplyDeleteThank you Mary, I'm working on a tutorial for the boxes! I love the fluffy chicks so much!
DeleteI would love a tutorial on the wooden boxes your husband and you made. Love the sweet little chicks
ReplyDeleteThank you, I'll be putting one together shortly!
DeleteLove the color and how you styled it. Perfect spring decor! pinned
ReplyDeleteThanks Cindy! Happy almost Spring ;)
Deletewould love to see your tutorial on the pots with the scallops
ReplyDeleteThanks for letting me know, I'm working on one!
Delete