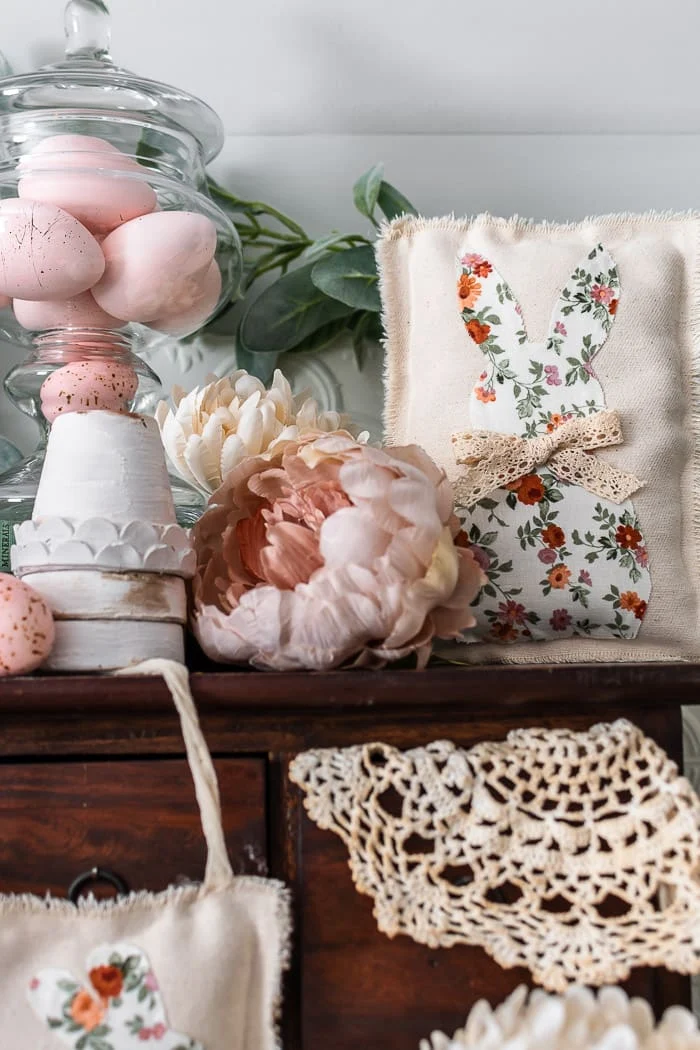
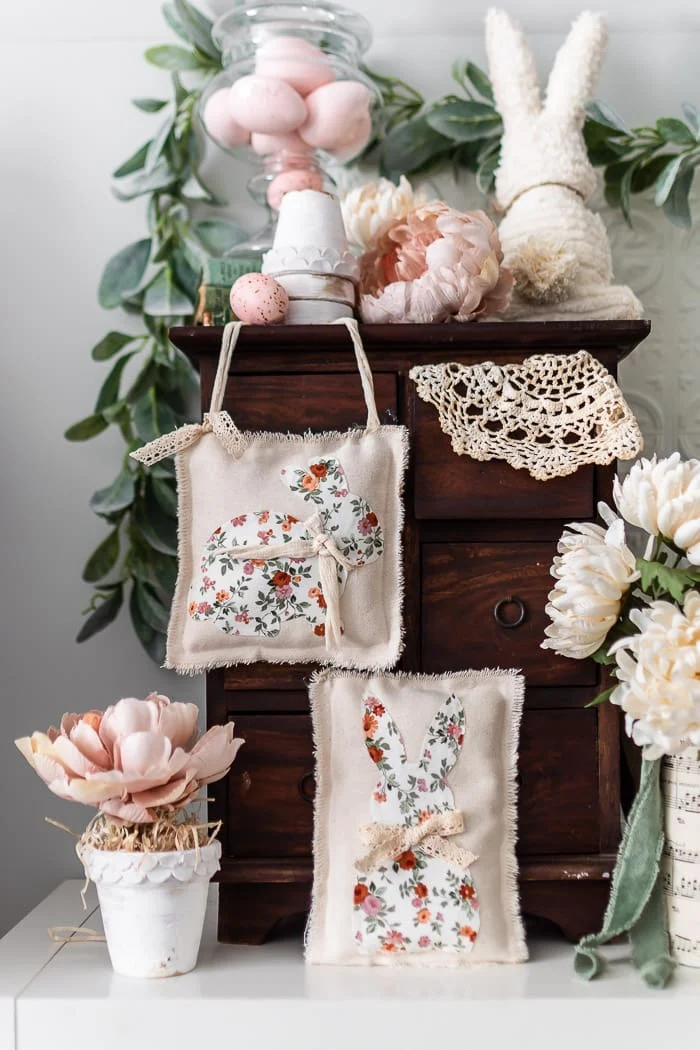
Easy No-Sew Floral Bunny Pillow Decorations
Turn fabric scraps into lightly stuffed hanging bunny pillow decorations. This no sew method creates cute and inexpensive Spring decor in no time!
I wasn't sure what to call these cute fabric bunny
pillow decorations because they're not really pillows. They have hangers, but
they are lightly stuffed so...are they pillows? wall hangings? Maybe you have
a good suggestion?
This is a no-sew project made with scraps of canvas drop cloth and floral
fabrics. These bunny decorations are very easy to make, and will be a great
addition to your Easter and Spring decor, whether you tuck them into a tiered
tray, hang from a peg, add to a basket, wreath or even an Easter basket!
How to make no sew bunny pillow hanging decor
This post may contain Amazon or other affiliate links. As an Amazon
affiliate I earn from qualifying purchases.
My full disclosure policy can be found here.
Like I said, the supplies are minimal for this Spring craft, which is always a
blessing!
As always, check your local stores for the best prices. I'm sharing Amazon
links here for your convenience.
Supplies:
- canvas drop cloth (washed and dried)
- floral fabrics (I used this pink floral and this blue floral from Hobby Lobby)*
- bunny silhouette
- scissors
- hot glue
- ribbon (lace or cheesecloth)
- straight pins
- polyester fiberfill
- printer
* did you know you can buy 1/4 yard of fabric from the store? it's a great
way to keep the cost super low!
Tips when selecting fabrics:
- Contrast Pick a floral that is dark enough to show up against a light background
- Print Select a floral with a small, repetitive print rather than one that's too busy or too large
- Color Be sure the color of the floral complements the background fabric
- Iron Iron all pieces before putting together the mini pillows
Just a note: My style leans towards vintage cottage. If that's not your style, you can still make these bunny decorations, but use fabrics and embellishments to match your style and decor! They would be really cute in a bold, modern print!
I searched Google for a bunny outline and found this one. You want a simple outline with no fancy details. As always, please be sure to respect creator's copyright before you use their image.
These instructions and ideas are just a jumping off point. Use your creativity and imagination to make this bunny craft your own! For example, decorate a canvas pillow cover with the same design, just resize it before printing! Or make a flag for your front porch!
Please refer to the pictures and steps below for details to create these sweet
Spring bunny decorations.
Steps to easy floral bunny pillows
Step 1 - Pin and Cut
Start by printing your design onto regular copy paper and cutting it out. Next
you will use the paper cutout as a pattern. Pin it to the fabric you're using
and cut bunny shape out.
Step 2 - Prepare Drop Cloth
Decide what shape you want your bunny decor to be and tear, don't cut, two
matching pieces of drop cloth fabric. Why tear it? Because you'll get the
straightest cuts, and you'll also end up with perfectly tattered and
frayed edges with zero effort! Make sure your bunny design fits nicely on the
drop cloth with a little breathing room around all edges.
Step 3 & 4 - Glue Bunny
We're going to hot glue the fabric bunny to the drop cloth. BEFORE you glue
the bunny, decide if you want a bow that ties around the bunny's neck. I
suggest a narrow strip of cheesecloth because it won't have any bulk. Glue the
bunny ears down, then tie the cheesecloth loosely and continue gluing the
bunny down. I used glue just around the edges.
You can also choose to make a lace bow and hot glue that onto the bunny once
the pillow is finished.
Step 5 - Glue Drop Cloth
Line up the two pieces of drop cloth and glue around 3 edges, leaving the TOP
SIDE open.
Step 6 - Stuff
Add fiberfill to the pillow, being sure to get down into the corners (use a
pencil tip if you need to). I chose to lightly stuff my pieces because I
wanted to use them more as hangings. If you're making little decorative
pillows, then I would stuff them firmly.
Be sure to stuff right up to the open edge so you don't have an empty spot
once it's glued shut.
Step 7 - Glue ribbon end
Cut a piece of ribbon or cheesecloth for your hanger, if using, and hot glue
one end into place.
Step 8 - Glue hanger in place
Now glue the end of the ribbon to the other corner. You may want to add a
little more stuffing to the pillow top if it needs it before gluing the open
edge closed.
And that's it! The cutest little floral bunny pillows ready to hop into all
your baskets and Easter decor! These are neutral enough that you could really
leave them out year round if you choose!
These floral bunny pillow pair beautifully with my
DIY fabric carrots! I have a full video showing how to make them.
I made a second set of these little pillows, but in vintage blue floral
fabric. I cut out three egg shapes for the smaller pillow and stamped a little
tag to hang on it.
The possibilities are really endless and I hope I've inspired you today to use
up some of that scrap fabric and make something beautiful ❤


I'd call these - Little Pockets of Goodness! They are so cute and I love the fabrics you chose. I also love that they can literally go anywhere. The door knobs, the towel rod in the bathroom, on a cabinet. Perfect for Spring and Easter! pinned
ReplyDeleteThank you Cindy, oh I love that description!!
Delete