Pink and Gold Speckled Eggs
Update craft eggs with pink paint, speckles and gold wax for sweet and shabby chic Spring and Easter decor.
This post may contain Amazon or other affiliate links. As an Amazon
affiliate I earn from qualifying purchases.
My full disclosure policy can be found here.
Do you buy your kids gold wrapped chocolate eggs for Easter? Now it's time to treat yourself with these easy gold and pink speckled eggs for beautiful decor that will last for years. This is a fast and easy craft that anyone can do!
There's just something about a little touch of gold that makes everything
look better. It adds sparkle, gleam and a lucky vibe, even when combined
with shabby chic and rustic elements.
Let's make pink and gold speckled eggs!
You'll need some very basic craft supplies, many of which you might already
have on hand.
Originally, I was going to create several shades of pink eggs, but then I
fell in love with the lightest shade and they all became the same color. Of
course, feel free to paint your eggs any color you'd like!
For the best prices, always check your local craft stores! I'm sharing
Amazon links here for your convenience.
Supplies
- craft eggs, a dozen or two (choose plastic or wood, don't use foam)
- pale pink acrylic paint
- craft brush
- gold rub n buff (I used this shade)
- brown acrylic paint (I used this color)
- old toothbrush or stiff craft brush (I used this brush)
- clear wax (I used Annie Sloan, but THIS is similar)
- lint free rag
You should be able to find craft eggs for 40% off everywhere. I recommend
stocking up so you have a few for next year too! I also had a small set of
goldish colored eggs I bought at Dollar Tree last year.
Steps to making pink and gold speckled eggs
This really couldn't be simpler! We're just painting eggs and then adding
some paint speckles. I will share several tips below to ensure you have
success.
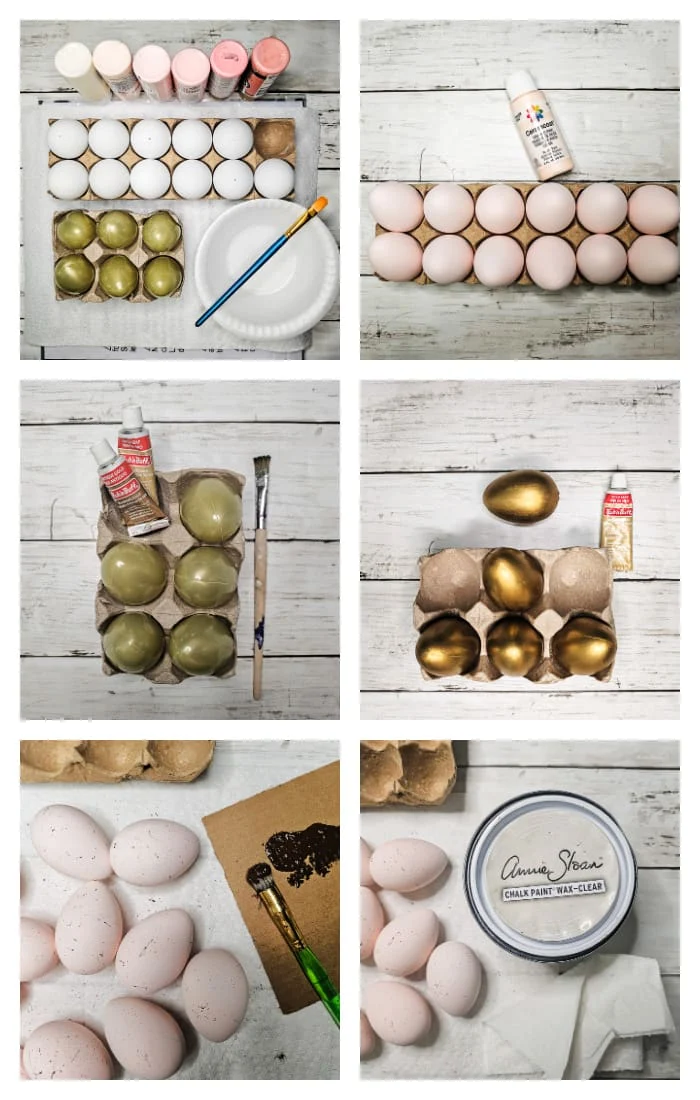
Step 1 - Paint
Paint the eggs pink. I found it easiest to do two very light coats. By the
time I'd finished painting the egg, it was almost dry. Set carefully in tray
until fully dry before painting second coat.
Step 2 - Gold eggs
To make the gold eggs, I rubbed on a little rub n buff onto the goldish eggs
using a paper towel until they were fully covered, then set them aside to
dry. The rub n buff is a wax product, so it's not really wet, but you do
want to let it 'cure' before doing anything else with it. You can use the
rub n buff on the white plastic eggs!
Step 3 - Add speckles
To create the speckles on the eggs, squirt a little dark brown paint out, and mix with a tiny bit of water to loosen it slightly (I didn't use water and had more of a difficult time getting the paint to splatter). Dip just the tips of a stiff brush into the paint/water mixture, then run a finger or thumb down the bristles while aiming at the eggs. This can be messy, so either do it outside or cover your work surface!
Let the speckles dry before moving the eggs so you can get the other sides.
I found it easiest if the eggs were close together as this kept them from
rolling around on me.
You can heavily speckle your eggs or go with a lighter touch, as I
did.
Step 4 - Wax
Applying wax to the dry eggs is not necessary, but will add a very soft
sheen to them, keeping them from looking too matte and one-dimensional. If
you don't have clear wax, you could also brush on a coat of
mod podge.
Please note that I did not speckle or wax the gold eggs. I very gently
buffed them once dry. Like I mentioned, the product is already a wax, so
buffing helps to give them a soft sheen.
That's all there is to creating beautiful pink and gold speckled eggs to
use in your Spring and Easter decor!
Decorating ideas with pink and gold eggs
I had way too much fun creating a couple of different Spring vignettes to
style my painted and speckled eggs!
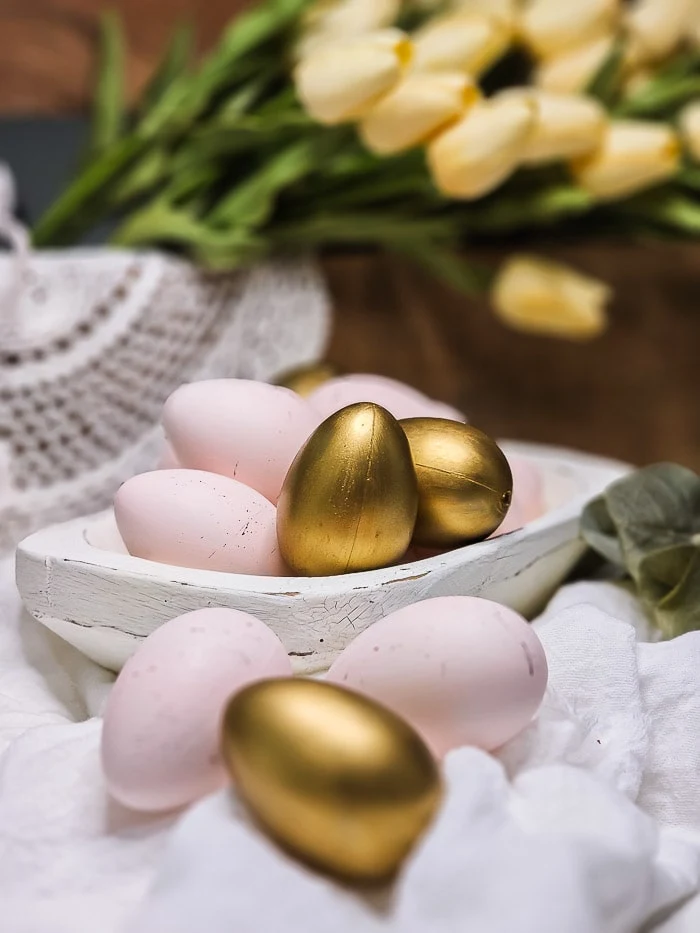
I love pairing different textures together, and a rustic wood crate filled
with
soft yellow tulips
and a vintage white doily is a beautiful combination. I added the painted
eggs to a
white dough bowl. It feels a little shabby chic, doesn't it?
One of my ruffled flour sack towels was used as the base. The generous ruffles are so perfect with this shabby chic vibe!
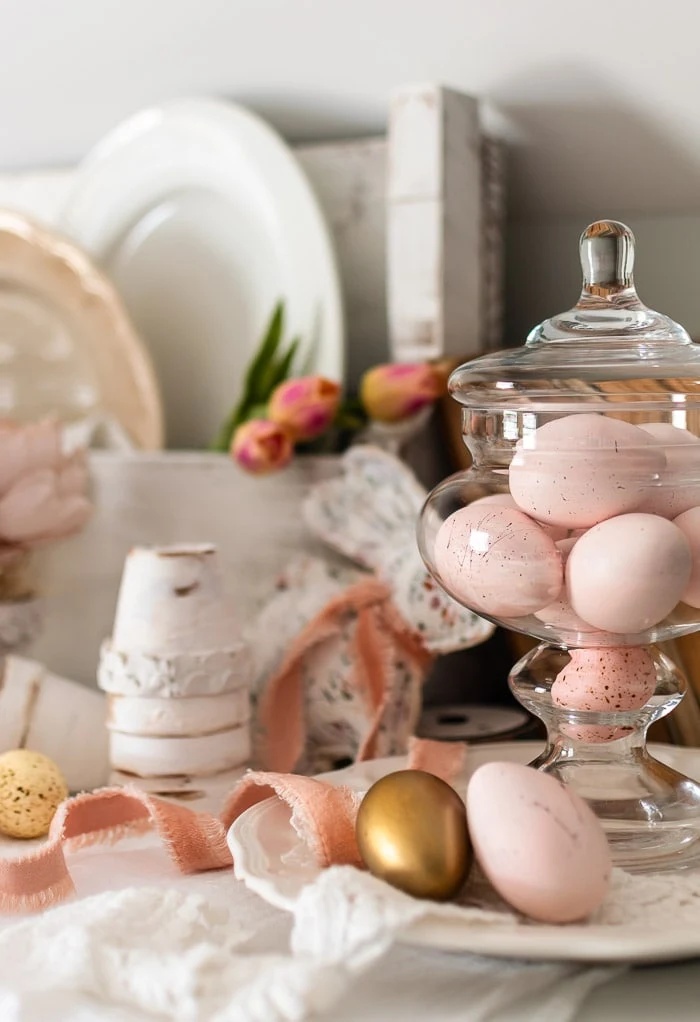
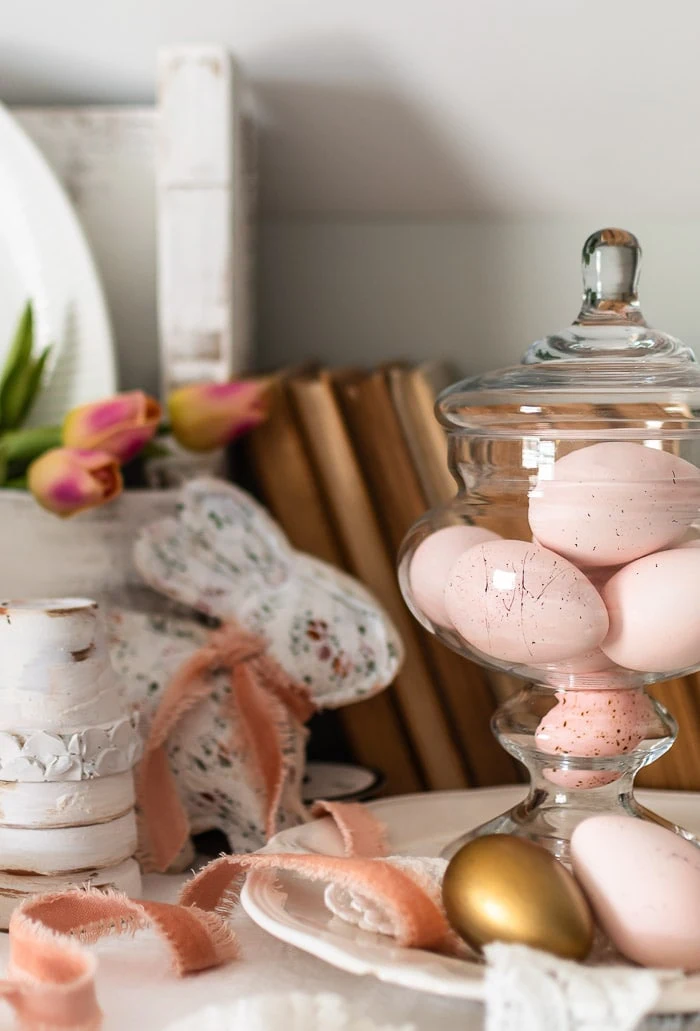
For another variation, I set up a soft pinks vignette on top of the newish dresser that I painted to look old (found curbside).
Lots of creamy whites, soft pink ribbons and vintage books achieved this
dreamy look. I filled a glass candy jar (similar
HERE)
with the pink speckled eggs.
Do you love pink in the Spring?


-min.jpg)


Comments
Post a Comment
Your comments are like sunshine and chocolate! Thanks for taking the time to leave a nice one ;) I read all comments and love to respond. If you don't have Gmail, please leave your name!